
As your woodworking skills grow, so will your tool collection. The more tools you acquire the more places you need to store them safely and in some kind of system that makes sense for how you work. One way to do this is with a custom tool wall and that’s what I’ll show you if you keep reading below!

DID YOU KNOW: You can follow me on these social media platforms!
Instagram · YouTube · Facebook · Pinterest
| Materials & Supplies* | Tools* |
| 5 ft Sliding Barn Door Kit | TS55 Tracksaw |
| (1) 3/4″ 30″ x 48″ Plywood | Trim Nailer |
| (1) 1/2″ 30″ x 24″ Plywood | 1/4″ spiral router bit |
| Hardwood for trim &tool holders | 3/4″ undersized plywood router bit |
| 1″ Black drywall screws | |
| Wood Glue | |
| Cabinet Screws (for mounting to wall) |
*I use affiliate links, please see details on my disclaimer.
Laying Out Your Custom Tool Wall
I would suggest these four criteria when designing your custom tool:
- Out of the way
- Easy to get and and put away tools
- Located near where they will be used the most
- Allow for extra space for future tools
Out of the way because you don’t want to risk damaging them. These are expensive tools and easy to drop off a bench or bang into with a larger tool. Easy to get and and put away because, well, if it isn’t easy then I’m probably not going to do it and you wont either. Locate it near the work area where you will typically use these tools (like your work bench) and plenty of extra space for adding tools you don’t own yet.
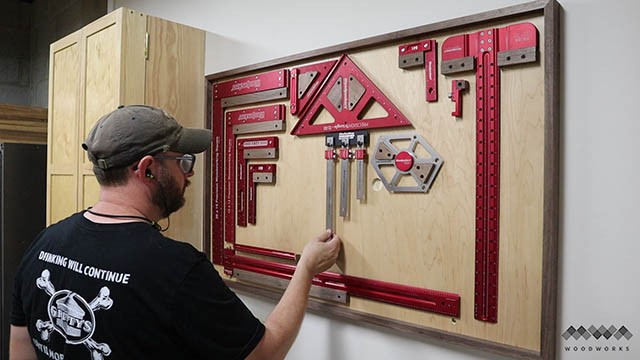
My custom tool wall is in the perfect location for me, on the wall behind my work bench where it is unlikely to get bumped in to and is easy to get the tools I need easily. I also have plenty of room to add new tools down the road.
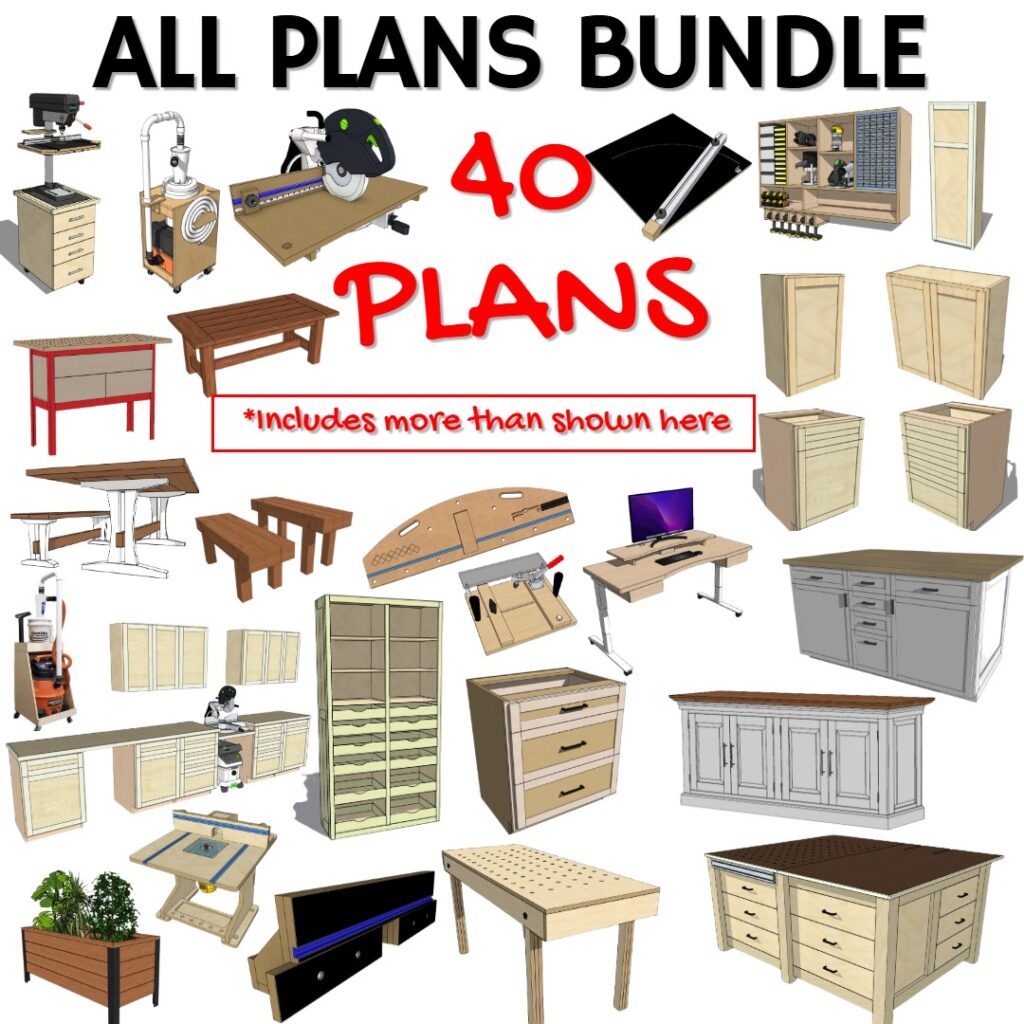
The Whole Enchilada Plan Bundle
The Whole Enchilada Plan Bundle! You want it all? You Got it! Get every plan I offer in one bundle at a savings of over 65%!
This product is a DIGITAL DOWNLOAD. You can immediately download your product off the order receipt page after the purchase. You will also immediately receive an email titled “Your MWA Woodworks order is now complete” that contains the download link in the “Downloads” section of the email.
Cutting the Parts for the Tool Wall
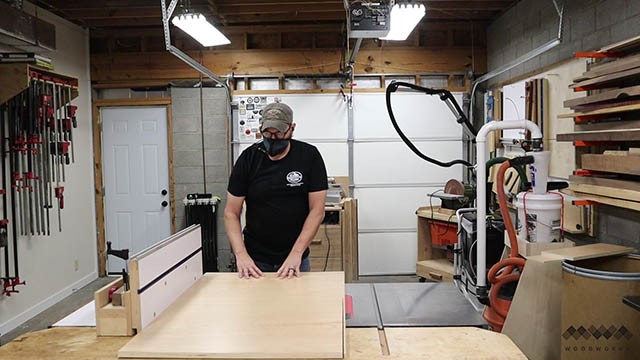
For the main panel of this tool wall, I went with 30″ high and 48″ wide and I used 3/4″ pre-finished maple plywood because I wanted a very finished quality look (without having to actually finish it myself). How wide you make yours is entirely up to you. I would base the dimensions on:
- How much wall space you have to dedicate to your tool wall
- What tools you plan to put on it
- How much extra space you want for future tools
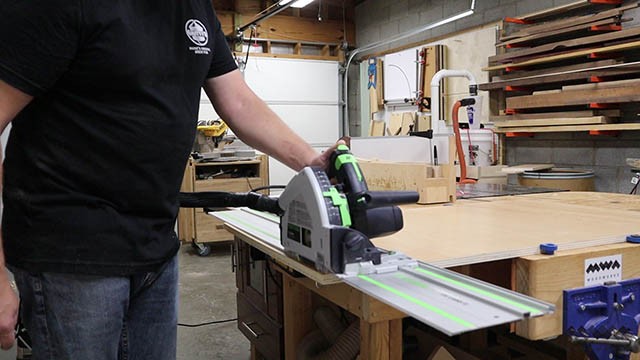
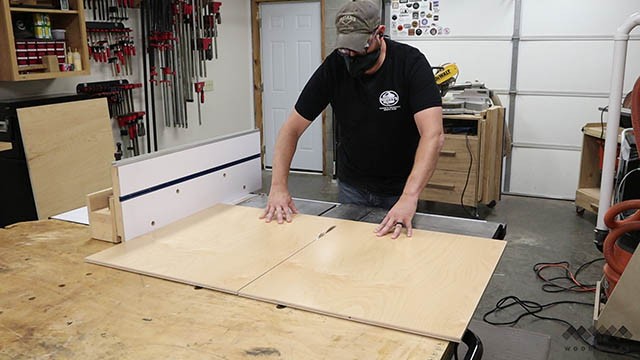
Because I went with 48″ wide and my table saw can’t cut that width, I had to break out the track saw in order to make this cut.
For the “sliding” tool panel, I went with 1/2″ plywood. Why? Well, that’s what I had left in my shop! I made this panel the same height of 30″ to match the main tool panel, but 24″ wide, half the width of the main tool panel so I could access half of the tool wall at a time.
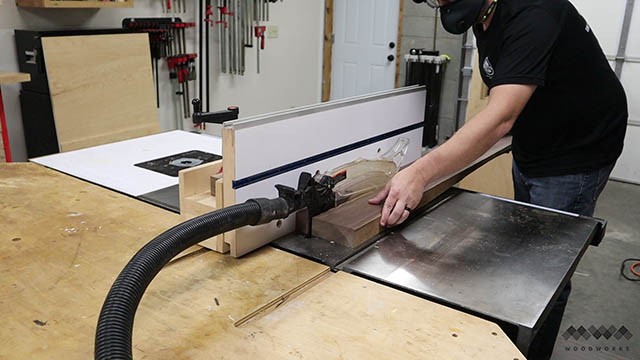
For the trim, I went with walnut because it looks so nice next to the maple plywood. I cut 1 3/4″ square “blanks” out of this stock at 65″ long.
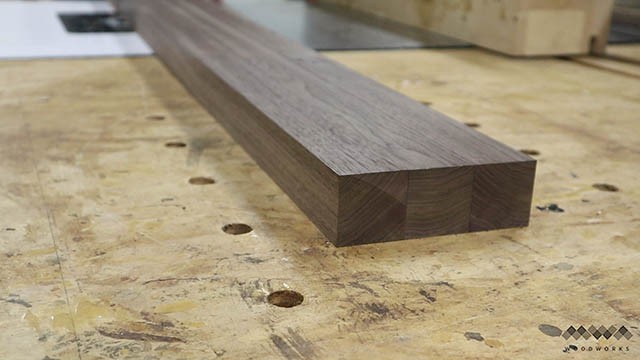
This yielded all the trim parts for this job out of these three blanks.
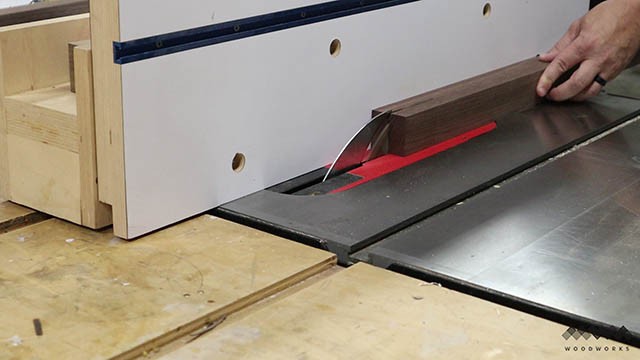
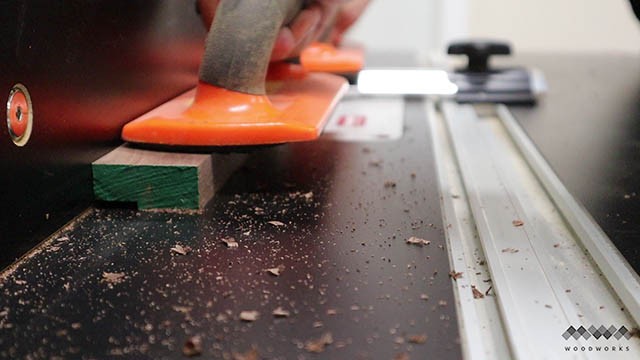
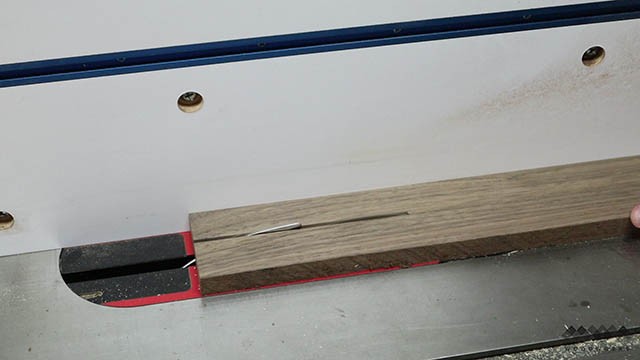
Next, I took each blank and rotated each on its side so that the face grain was facing the fence of the table saw and cut them in half.
More Information
I have more cabinet building resources listed below. If you want to know how to build base cabinets or how to hang cabinets onto concrete walls, I have full build videos, walkthroughs and plans available for download.
✅️ HOW TO BUILD UPPER CABINETS

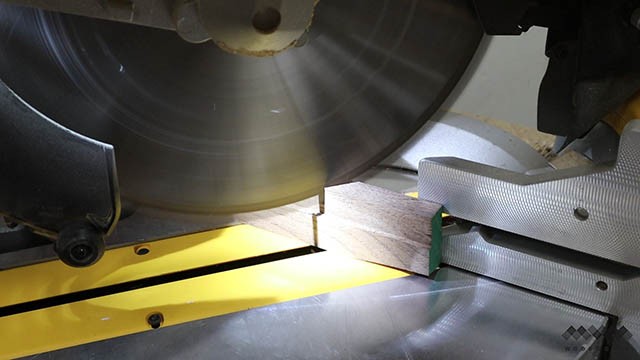
I then took my (now six) trim blanks to the planer and planed them down to 3/4″ thick. I then went to the miter saw and cut out my two top and two side trim pieces. The top and bottom (longer) trim pieces I cut to 50″ and the two side trim pieces I cut to 32″. I could cut the two shorter side pieces out of one of the blanks. By the way, don’t throw your off cuts away!!! We will use those later, I promise.
Creating the Trim for the Custom Tool Wall
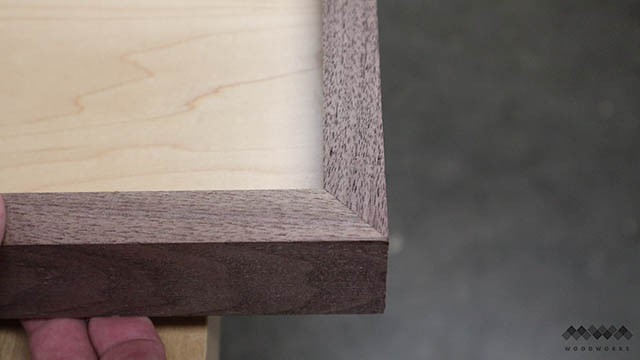
I wanted my trim to “hug” the edges of the plywood so that there was a lip that hung over the edge and covered the edges of the plywood. I think this gives it a super clean look. To accomplish this, I cut a 3/4″ rabbet on the back of each of my trim pieces for the main tool panel (the two 50″ and two 32″ trim pieces). I used a special undersized plywood router bit for this so my rabbets would perfectly fit my plywood and not bee to oversized since plywood isn’t actually 3/4″ thick.
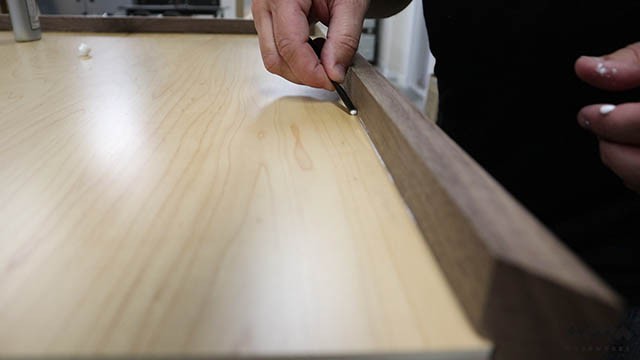
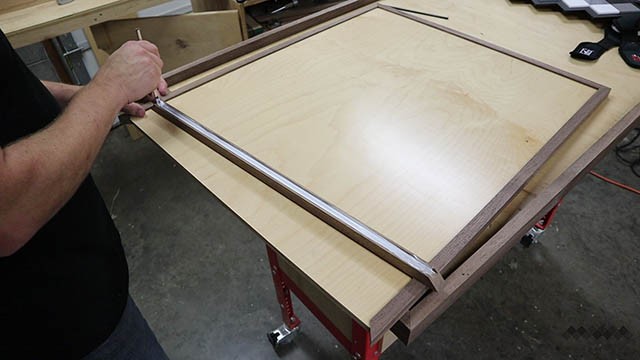
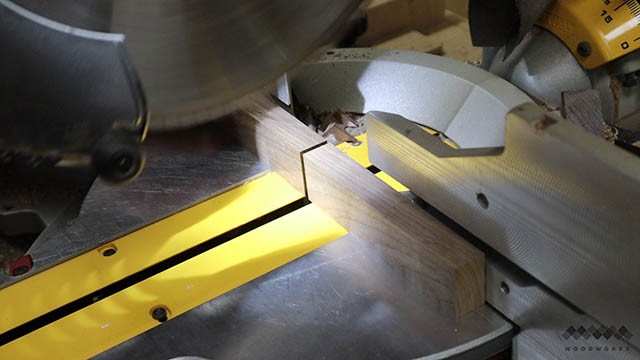
Once I had my trim pieces rabbeted, I cut one end at 45 degrees and then cut the other end at 45 degrees once I lined it up with the edge of my plywood and cut it to exact length.
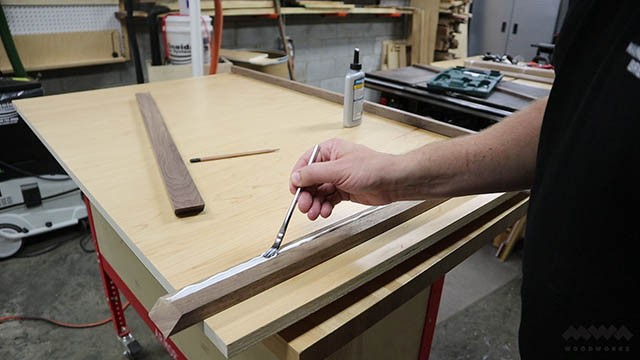
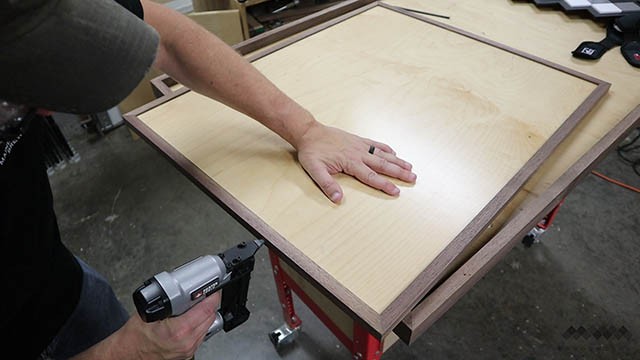
I always start with one side (doesn’t matter which one) and I get it perfect then I attach it to the panel with wood glue and brad nails.
I then fit each successive part to exact length as I work around the panel. This helps me get each miter perfect by cutting my parts to the exact length needed.
More Information
I have more cabinet building resources listed below. If you want to know how to build base cabinets or how to hang cabinets onto concrete walls, I have full build videos, walkthroughs and plans available for download.
✅️ HOW TO BUILD UPPER CABINETS
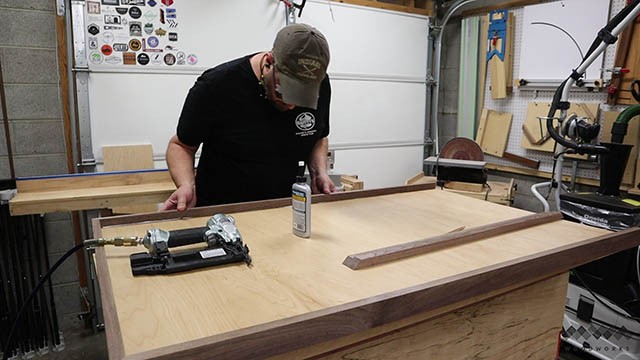
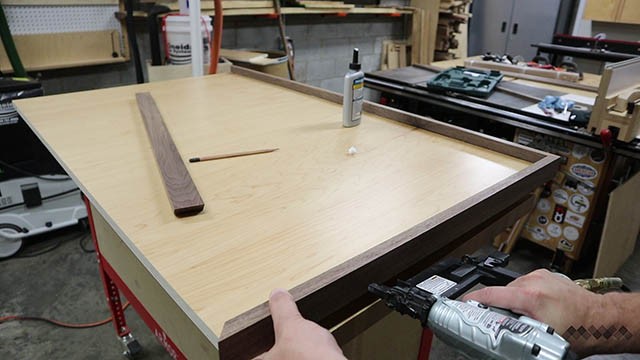
I repeat this process for each side. Measure, cut, attach, and clean squeeze out until I reach the end.
This method allows you to really pay attention to those miters so they end up clean and tight. You can also see that straight grain really well here. This is why I cut my blanks the way I did because I want that straight edge grain to be showing here.
The Whole Enchilada Plan Bundle
The Whole Enchilada Plan Bundle! You want it all? You Got it! Get every plan I offer in one bundle at a savings of over 65%!
This product is a DIGITAL DOWNLOAD. You can immediately download your product off the order receipt page after the purchase. You will also immediately receive an email titled “Your MWA Woodworks order is now complete” that contains the download link in the “Downloads” section of the email.
Creating the Trim for the Sliding Panel
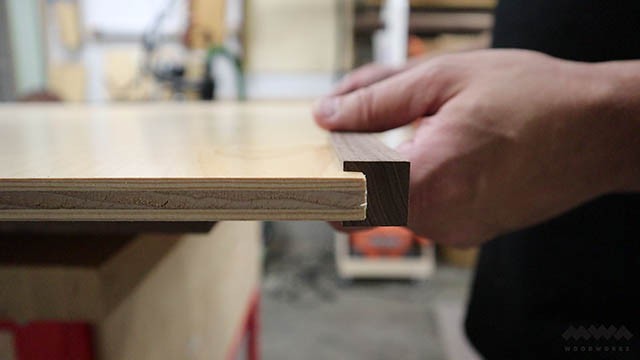
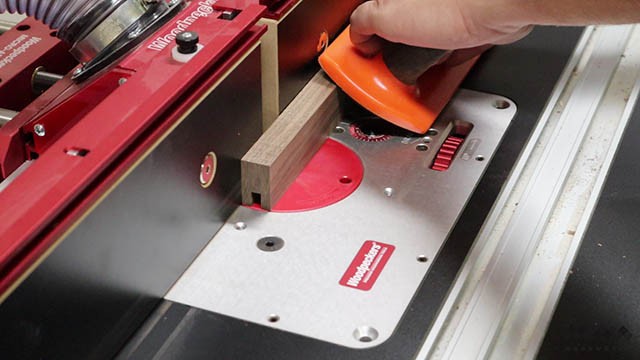
Now, for the smaller sliding panel I cut my trim like a “C” using a 1/2″ undersized plywood bit. I wanted trim to stick out 1/8″ on both sides so these trim pieces are cut from one of the 3/5″ trim blanks I cut. I just cut these to 3/4″ square and made a 1/4″ x 1/2″ dado down the middle using that plywood router bit. The reason for having the trim stick out on both sides is to protect the panel since it will be sliding back and forth over the main tool wall.
I attach this trim using the exact same method as I did on the main tool wall. One side at a time cut to length, attach, clean squeeze out, repeat.
Once the last trim piece is in place, let both the main panel and the sliding panel sit to dry for a least an hour before handling.
Making Tool Holders
Now that the panels are trimmed out, we can get to the fun part, making custom tool holders!!! This is the part that will vary greatly depending on what kind of tools you are hanging on your custom tool wall. I’m going to show you two basic ways that I used. One for “L” style squares and one for tools with space in the middle (like speed squares). For the “L” squares I took my 3/4″ offcuts from my trim blanks and ripped them to 1 1/4″.
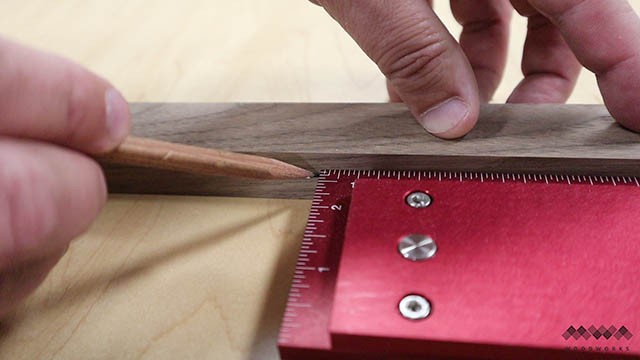
Next, I lined them up to my squares to figure out how long they needed to be.
After that, I cut them at the miter saw to length.
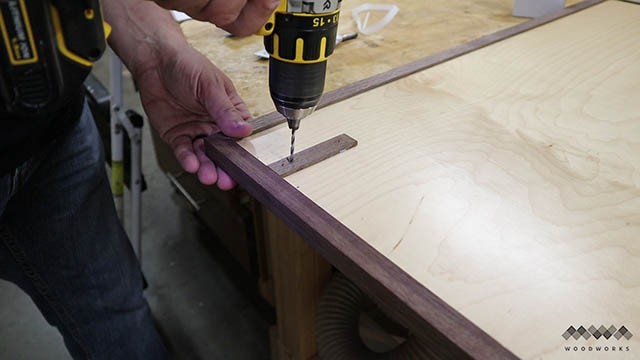
I then routed a 1/4″ by 1″4″ groove down one side using a 1/4″ spiral router bit. This is what the edge of the square will fit in to and hold it on the tool wall.
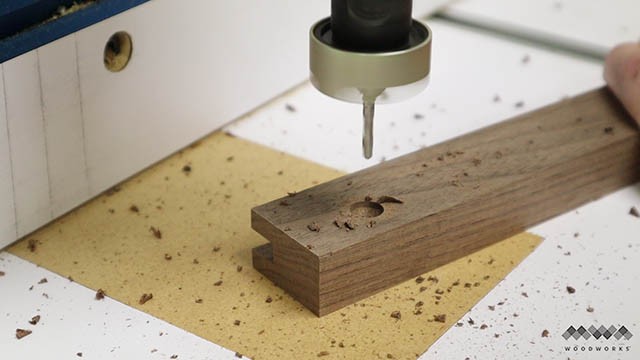
Then I drilled and countersunk two pilot holes on each end. Make sure to drill these BELOW the groove you just cut in the holder.
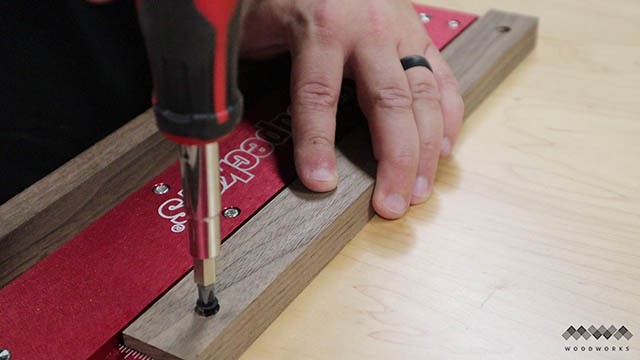
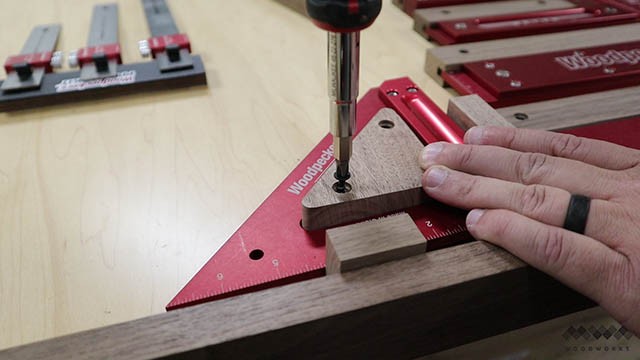
I then lined up my square where I wanted it and fit the tool holder to the square and screwed it into place on the wall making sure everything was, well, square, ha! How depressing would it be if your squares weren’t squared up on the tool wall!!

I then repeated this process for all my L style squares, using 3/4″ scraps for spacing everything evenly.
More Information
I have more cabinet building resources listed below. If you want to know how to build base cabinets or how to hang cabinets onto concrete walls, I have full build videos, walkthroughs and plans available for download.
✅️ HOW TO BUILD UPPER CABINETS
The Whole Enchilada Plan Bundle
The Whole Enchilada Plan Bundle! You want it all? You Got it! Get every plan I offer in one bundle at a savings of over 65%!
This product is a DIGITAL DOWNLOAD. You can immediately download your product off the order receipt page after the purchase. You will also immediately receive an email titled “Your MWA Woodworks order is now complete” that contains the download link in the “Downloads” section of the email.
“In the Middle” Tools
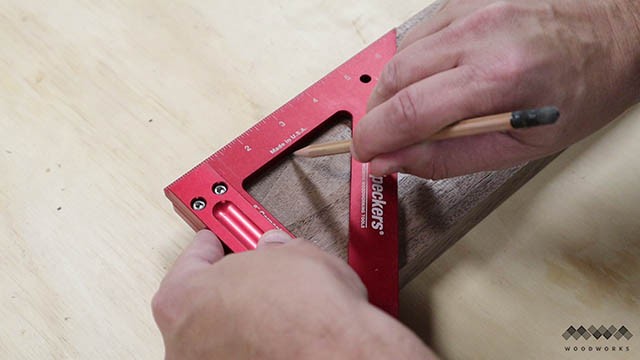
For my other squares, I traced the inside profile onto a piece of wood with a sharp pencil.
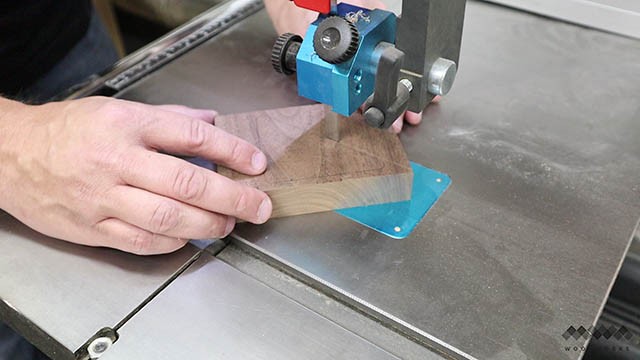
I then cut out the rough shape at the bandsaw.
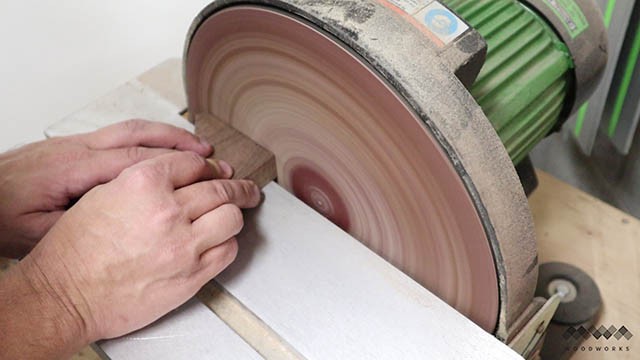
Once I have the rough shape cut out, I take it to the sander and sand down to my lines being very careful once I get close.
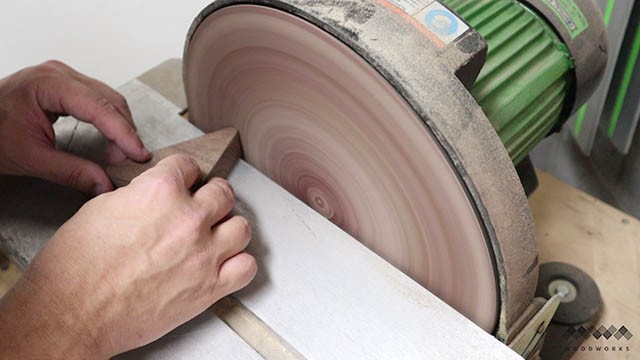
I carefully round the corners to the line and begin checking the fit with the tool that it will hold. I keep lightly sanding the areas that need it until I get a snug fit.
Once again, I use spacers to get the tool exactly where I want it and screw the holder into place on the custom tool wall.
Installing Your Custom Tool Wall

Once you get the holders all mounted to the tool wall, you can take the tools off and mount your new tool wall in its new home! I just countersink four holes and used cabinet screws to mount it to the studs. You can use regular construction screws too but add a washer to provide more holding power.
I LOVE this thing. It more than meets my stated requirements and it looks great too. Bonus! But we aren’t done. There’s another layer to this story….
Adding a Sliding Door Panel
Depending on what type of sliding door hardware you buy you’re installation may look different, but here’s a link to the SLIDING DOOR HARDWARE that I bought. First, I had to add small spacers here to compensate for the 1/8″ lip I made on my trim. I just glued those on. For this, I used super glue, but this is just to hold it temporarily before I screw the hardware to the door panel.

I then screwed the sliding door hardware in place per the installation guidelines that came with it.
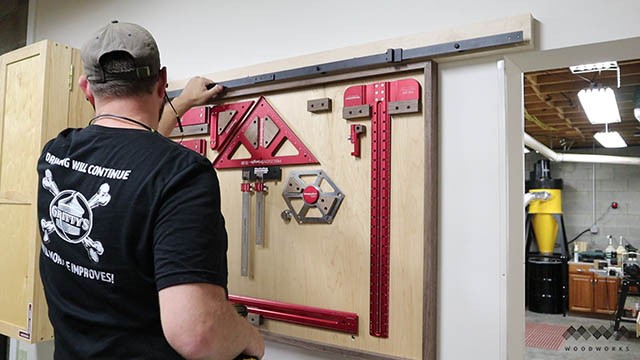
I mounted the track above the tool wall on a piece of maple (basically like a maple 2×4). This is to make up for the trim that I put around my custom tool wall.
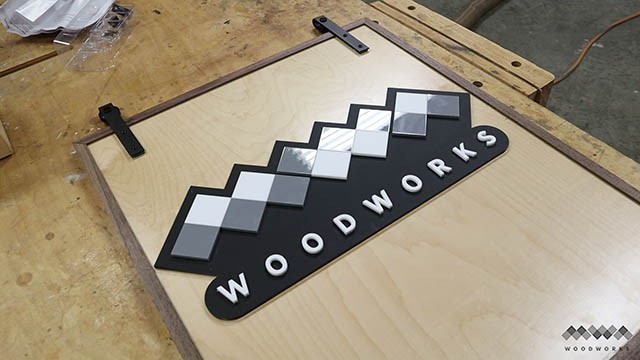
You certainly can put whatever you want on your panel (more tools?). I added a custom acrylic logo sign that was made for me. I just stuck it on there with 2 sided tape.
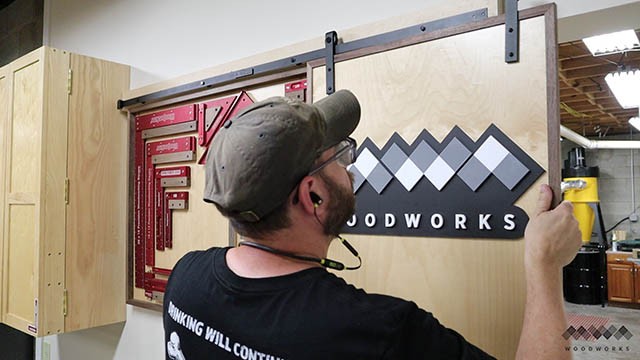
Then I could just slide the door onto the end of the track. It should sit no more than 1/8″ above the surface of the tool wall.
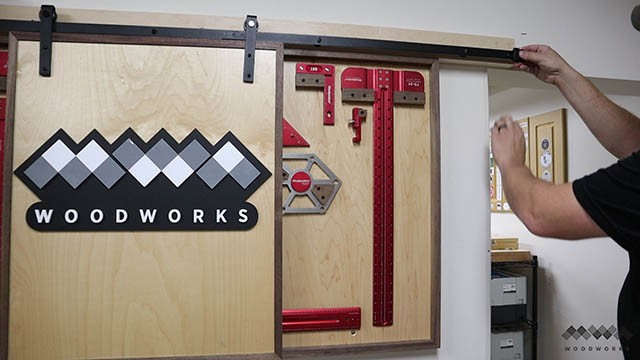
I added the bumper stop to the end of the track and that’s that. My new tool wall is complete!
Admire A Job Well Done!
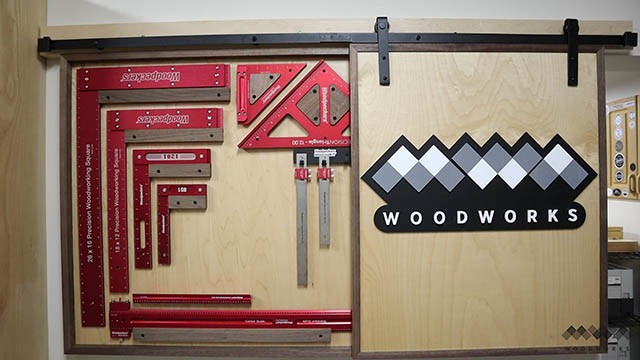
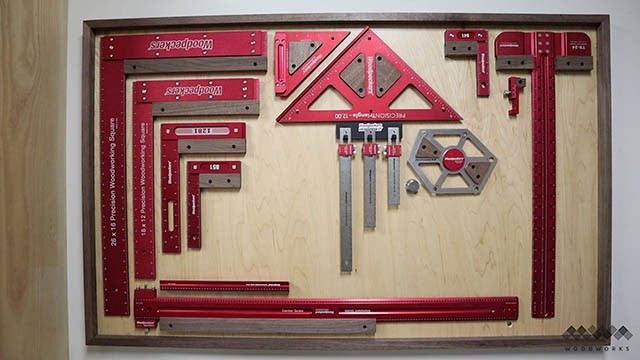
Organization is a beautiful thing and when it’s beautifully executed its that much better! Now all my tools are at arms reach and easy to grab but also secure in their places right next to my workbench! I plan to follow this same method for designing the rest of my shop storage and I fill out my shop and if you stick with those four basic design principles at the top of the article you can experience great tool organization too!
The Whole Enchilada Plan Bundle
The Whole Enchilada Plan Bundle! You want it all? You Got it! Get every plan I offer in one bundle at a savings of over 65%!
This product is a DIGITAL DOWNLOAD. You can immediately download your product off the order receipt page after the purchase. You will also immediately receive an email titled “Your MWA Woodworks order is now complete” that contains the download link in the “Downloads” section of the email.


I do not see the “custom tool wall Plans” in any of your offered design downloads. How do I get plans for this design?
no plans for this project.