
If you’re like me, you pretty much keep any usable scrap of hardwood that you have for that mythical time when “you might need it.” Well, follow along to see how I actually did need it! Below I created this beautiful pencil box that I made out of a relatively small amount of scrap wood.

DID YOU KNOW: You can follow me on these social media platforms!
Instagram · YouTube · Facebook · Pinterest
| Materials & Supplies* | Tools* |
| Scraps of hardwood | Digital angle gauge |
| Wood glue | Magswitch featherboard |
| Pencils | Miter Gauge |
| Blue Painters Tape | Table Saw |
| Tried & True Wood Finish | Jointer & Planer |
| Random orbit sander | |
| Drum sander (for final thickness on figured woods) | |
| Bandsaw (for resawing material) | |
*I use affiliate links, please see details on my disclaimer.
The Whole Enchilada Plan Bundle
The Whole Enchilada Plan Bundle! You want it all? You Got it! Get every plan I offer in one bundle at a savings of over 65%!
This product is a DIGITAL DOWNLOAD. You can immediately download your product off the order receipt page after the purchase. You will also immediately receive an email titled “Your MWA Woodworks order is now complete” that contains the download link in the “Downloads” section of the email.
Scrap Wood Gifts
Being able to take beautiful scraps of otherwise unusable woods and make something special from them is so rewarding. This pencil box was very much appreciated by its new owner. Score one for the woodworker!
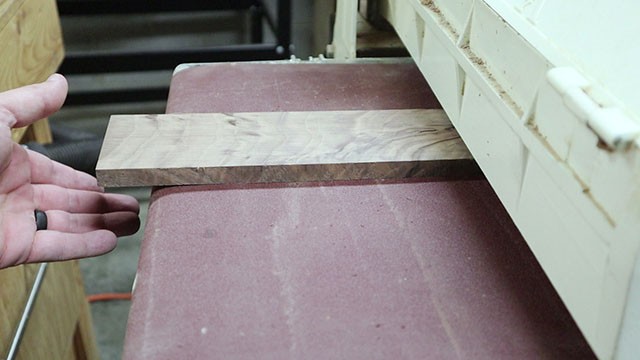
Identify your raw materials from your scrap collection. If you’ve got highly figured woods those work well for these typed of projects, but are not necessary.
Making the Pencil Box
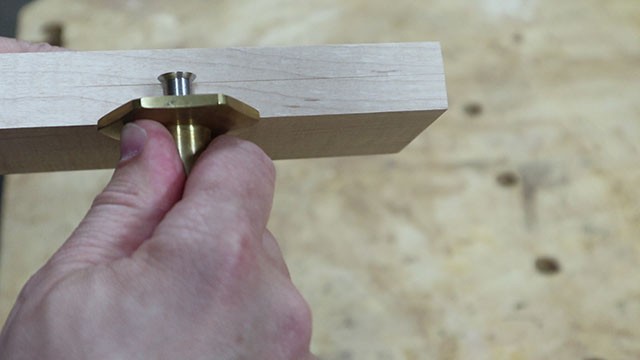
I began here by taking my curly maple scrap and marking a line with my marking gauge to cut the piece in half.
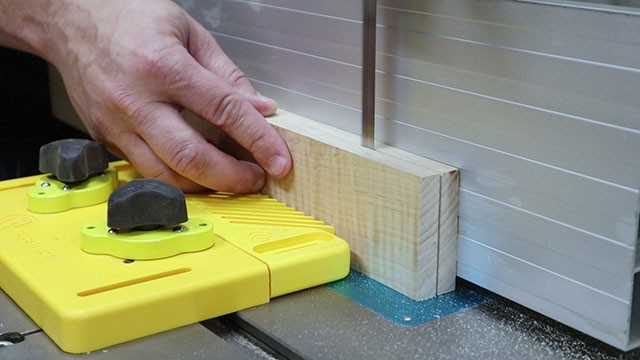
Over at the band saw, I set my fence the proper distance over and made sure my magnetic feather board was tight to the work piece. I then resawed the work piece in half.
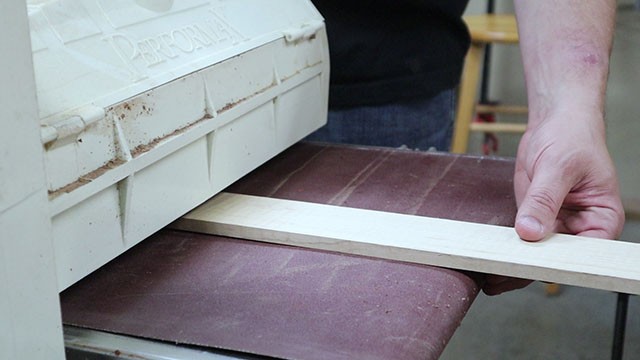
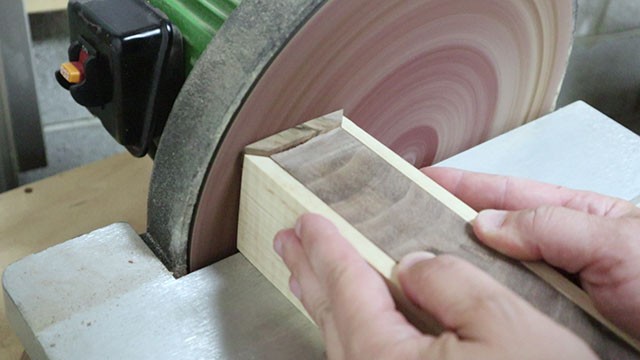
Next, I took it to the drum sander to clean up any bandsaw marks and to get it to its final thickness.
Then, I went for a thickness of 3/8″ for this pencil box
Cutting the Joinery for the Pencil Box
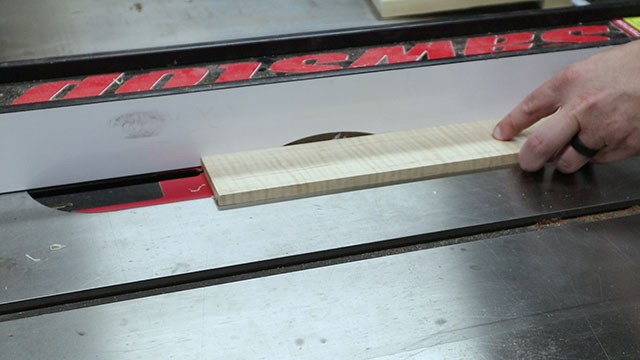
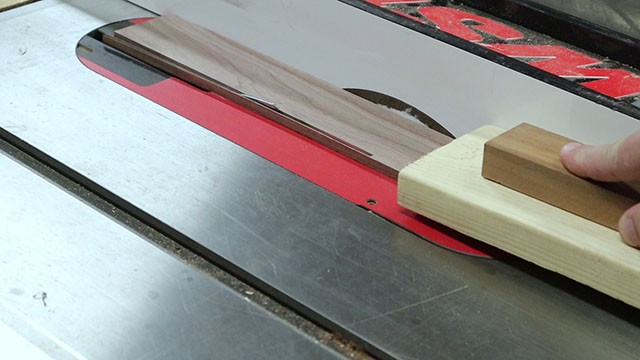
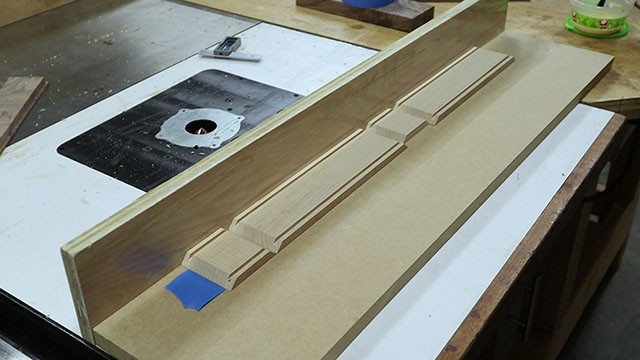
Next I set my table saw blade 3/16″ high and 1/4″ from the fence. The blade is a standard 1/8″ kerf blade. I cut the grooves in the top and bottom of the sides.
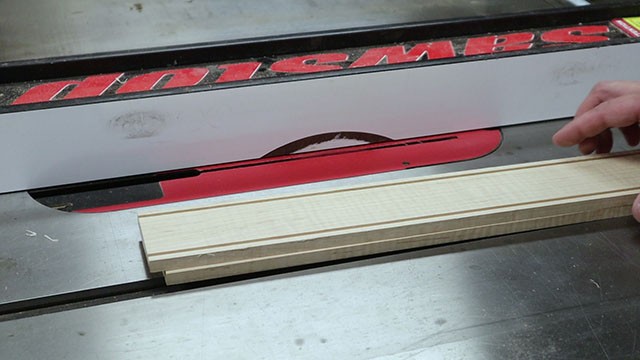
You can see the final result here.
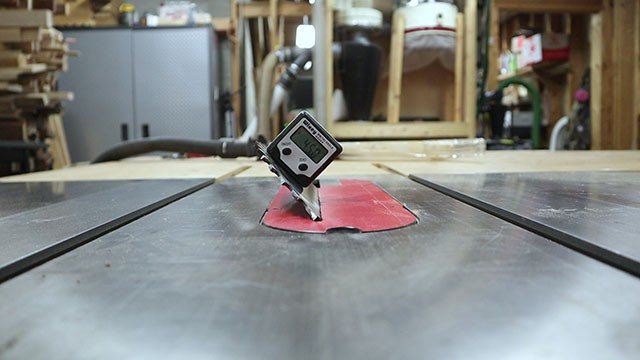
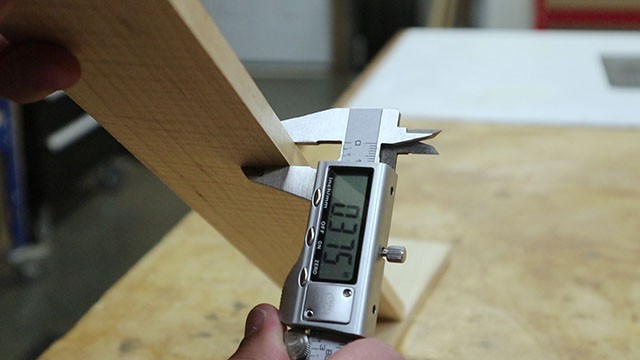
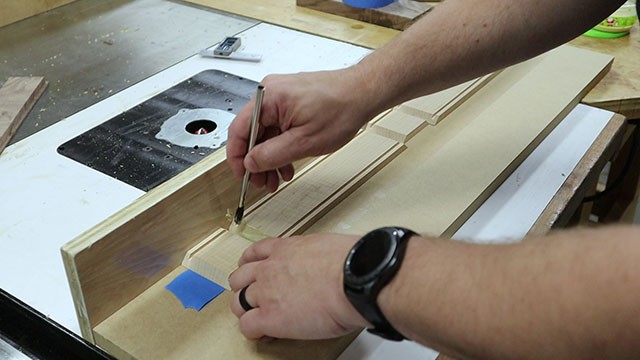
I then set my table saw blade to 90 degrees using this digital angle gauge .
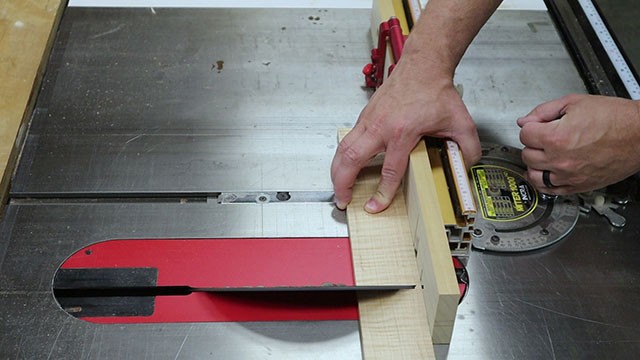
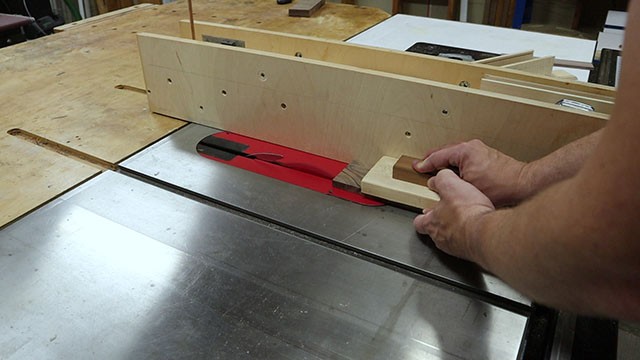
using my miter fence, I began cutting the miters for the box sides.
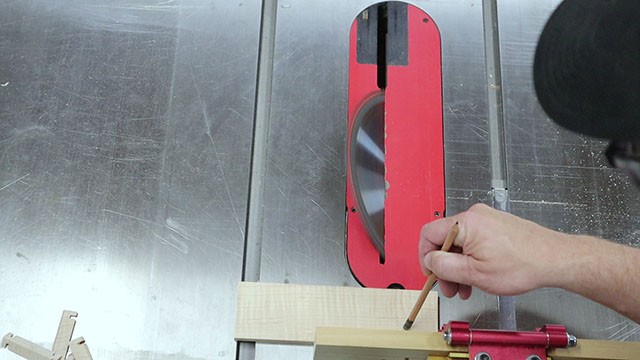
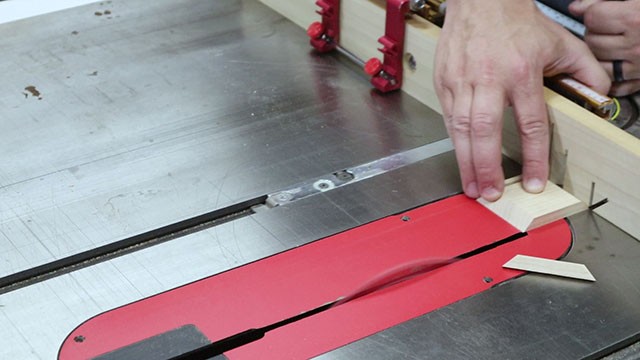
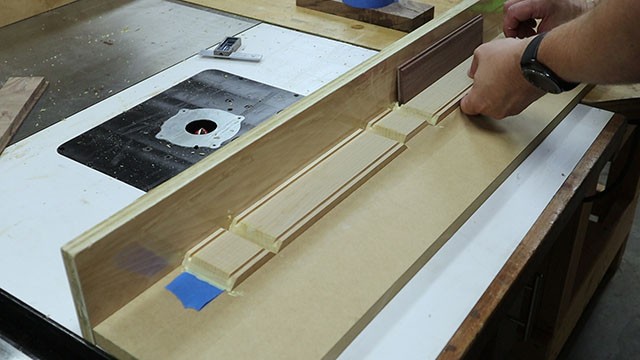
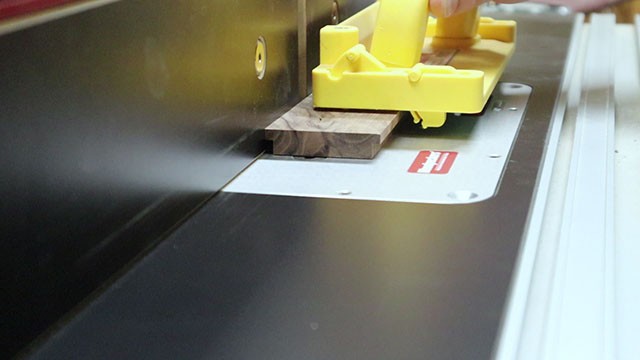
When I cut the short end pieces, I used a pencil to hold my work to keep my hands away from the blade.
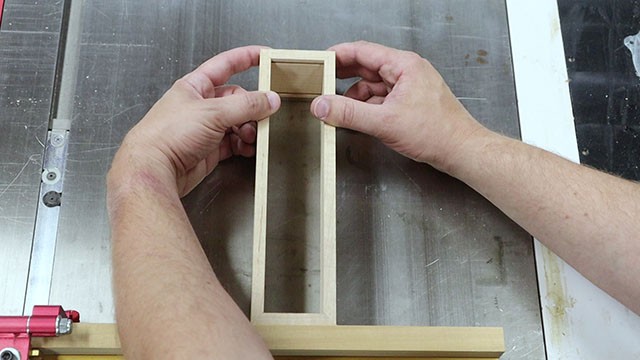
A quick dry fit showed me that the miters I cut were good. No gaps!
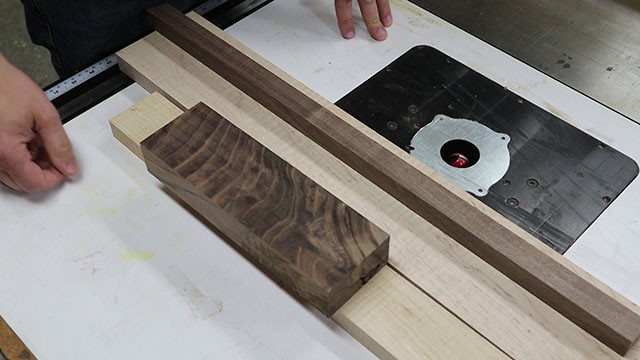
For the bottom of the pencil box I used walnut. I first cut it to width based on the inside dimensions of the box and grooves.
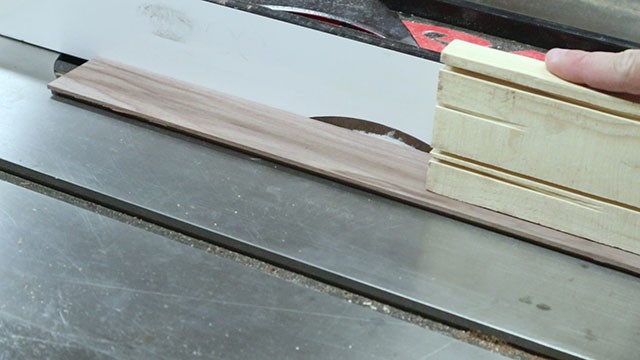
I then cut a shallow rabbet around all four sides. These rabbets will fit into the groove at the bottom of the pencil box.
Finally, I cut the short end of the box off to allow the spot for the lid to slide in the groove at the end of the process.
The Whole Enchilada Plan Bundle
The Whole Enchilada Plan Bundle! You want it all? You Got it! Get every plan I offer in one bundle at a savings of over 65%!
This product is a DIGITAL DOWNLOAD. You can immediately download your product off the order receipt page after the purchase. You will also immediately receive an email titled “Your MWA Woodworks order is now complete” that contains the download link in the “Downloads” section of the email.
How to Check for Issues in Your Miters
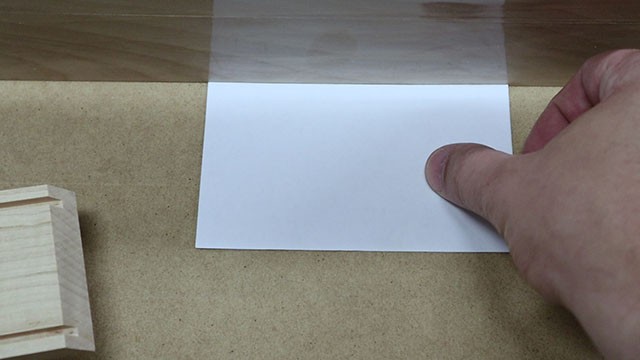
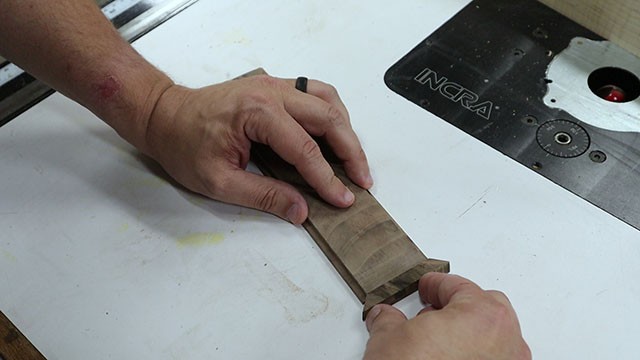
OK, if you want to know how to check your miters, do this…. Place something bright white along a straight edge (a makeshift fence in this case) and then place two adjoining miters together and up against the fence.
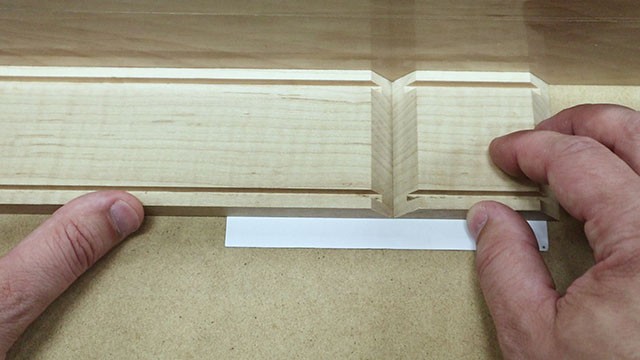
If you see any white showing in the miters, you need to finesse the joint until they fit together with no gaps.
Assembling the Pencil Box
I lined up my parts on top of some blue tape.
I then applied some glue to the joints.
Finally I added the bottom to the bottom groove and began rolling it up.
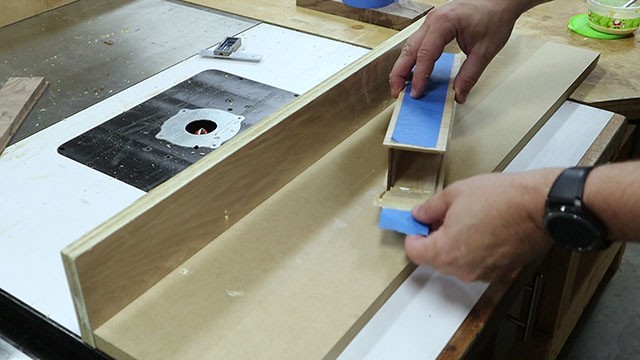
I rolled it up with ease. The jig I made helps make sure everything is lined up as it should.
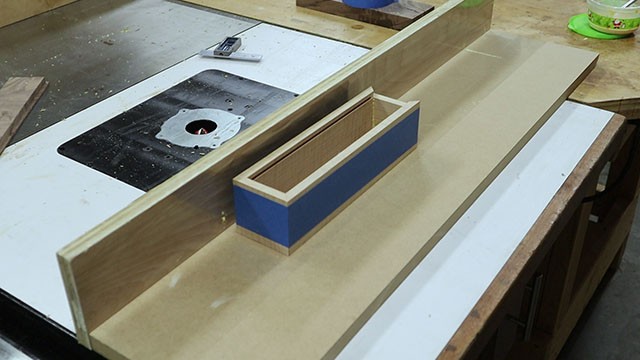
Now I checked to make sure the joints were all tight and I set it aside to dry.
Making the Lid of the Pencil Box
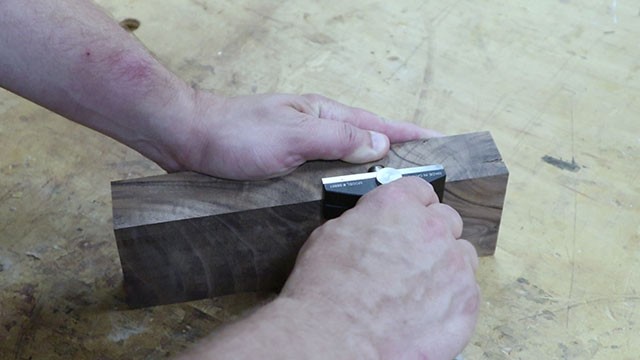
For the lid of the box I used a piece of figured walnut. Next, I scribed a line in order to resaw it.
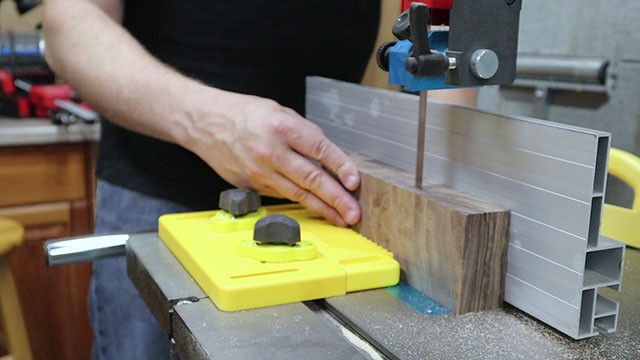
Over at the band saw, I set my fence the proper distance over and made sure my magnetic feather board was tight to the work piece. I then resawed the work piece in two.
After that, I took it to the drum sander to clean up any bandsaw marks and to get it to its final thickness.
And then took it to the table saw to cut it to final width.
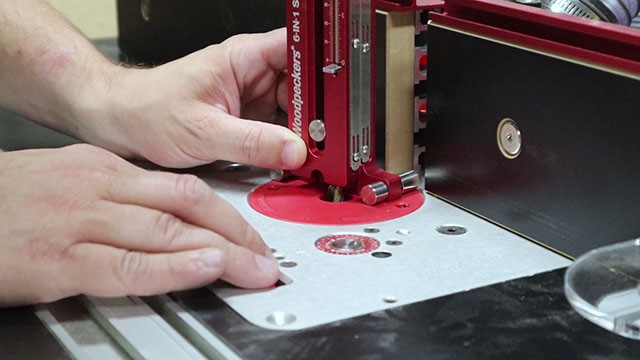
I set my router table up to cut the rabbets for the top. I set my bit height to the point where it would leave 1/8″ of material (finessed to fit in the groove in the top of the box).
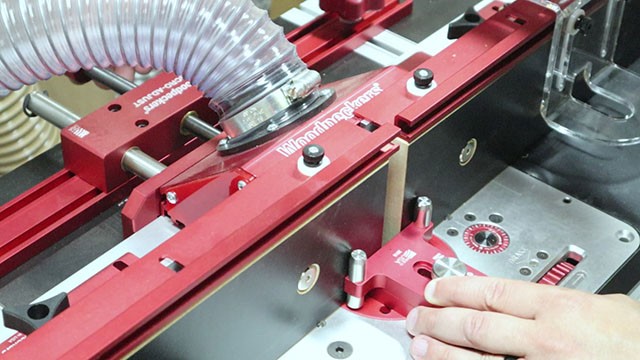
And I set my fence to 3/16″ from the front edge of the bit. This would cut away just enough so the box slides nicely in between the two sides of the box.
I ran my top across the bit to create the rabbets for the lid of the pencil box.
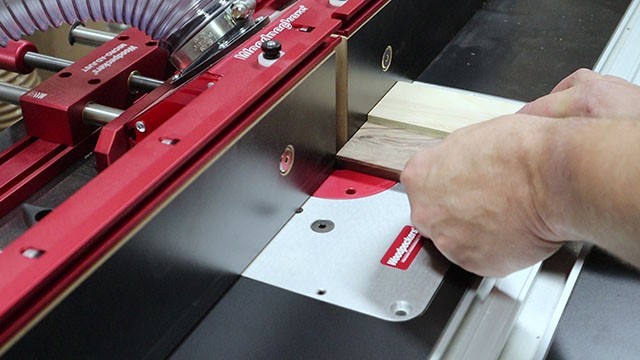
To prevent tearout, I used a backer board for the end grain cuts.
I then glued on a mitered key with CA glue. This would fill the void where the lid will slide into the open end of the box and lock it in position.
Once I slid the lid into the grooves I sanded the key flush with the side of the box.
The Whole Enchilada Plan Bundle
The Whole Enchilada Plan Bundle! You want it all? You Got it! Get every plan I offer in one bundle at a savings of over 65%!
This product is a DIGITAL DOWNLOAD. You can immediately download your product off the order receipt page after the purchase. You will also immediately receive an email titled “Your MWA Woodworks order is now complete” that contains the download link in the “Downloads” section of the email.
Finishing the Pencil Box

After I sanded using 120,180 and 220 grit paper, I applied an oil/wax finish called Tried & True. I love the raw wood feel it gives and the silky smoothness of the wax is great to the touch.
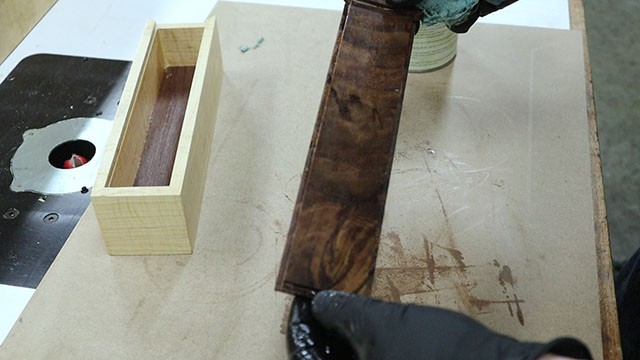
Once I finished the inside and outside of the box I made sure to get the lid too.
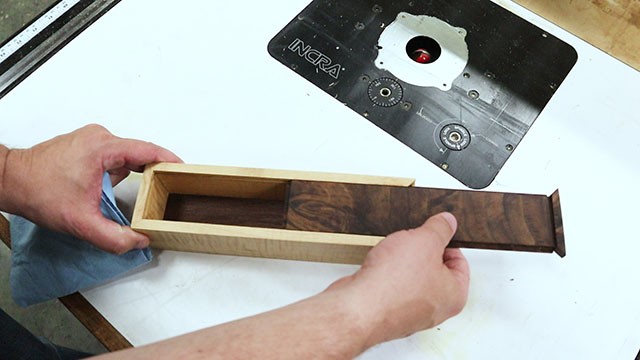
And here’s the lid sliding home into the top of the box.
Filling the Pencil Box
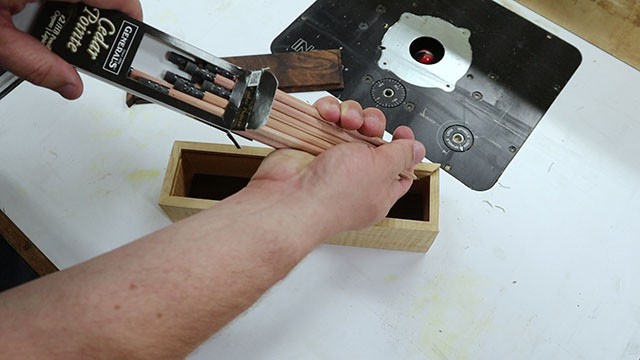
I just filled this box with my favorite writing pencils. There’s plenty of room for erasers and sharpeners too!
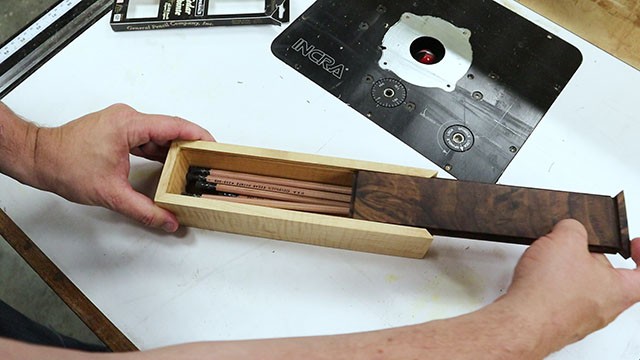
Well that closes the lid on this pencil box project! A great use of scrap wood if I say so myself.
The Whole Enchilada Plan Bundle
The Whole Enchilada Plan Bundle! You want it all? You Got it! Get every plan I offer in one bundle at a savings of over 65%!
This product is a DIGITAL DOWNLOAD. You can immediately download your product off the order receipt page after the purchase. You will also immediately receive an email titled “Your MWA Woodworks order is now complete” that contains the download link in the “Downloads” section of the email.


