
Follow along as I build a new cross cut sled step-by-step. My old cross cut sled was worn out. It was no longer staying square and the kerf was no longer zero clearance. My new sled has some nice features like t-track for stop blocks, a hardwood top and aluminum runners for the miter slots!

DID YOU KNOW: You can follow me on these social media platforms!
Instagram · YouTube · Facebook · Pinterest
| Materials & Supplies* | Tools* |
| (1) 3/4″ Baltic Birch Plywood (scraps) | Straight Edgew |
| (1) 1/2″ Baltic Birch Plywood (scraps) | Screw Driver |
| (1) Aluminum T-Track | 12″ Square |
| (2) Aluminum Miter Bars | |
| (6) 3/4″ Flat Head Machine Screws 1/4 20 | |
| (1) Hardwood Scrap (for fence top) | |
| (7) 3 ” Screws |
*I use affiliate links, please see details on my disclaimer.

Crosscut Sled Plans
The #1 jig every woodworker should have. Get safe, accurate and repeatable cross cuts on your table saw by making this crosscut sled.
This product is a DIGITAL DOWNLOAD. You can immediately download your product off the order receipt page after the purchase. You will also immediately receive an email titled “Your MWA Woodworks order is now complete” that contains the download link in the “Downloads” section of the email.

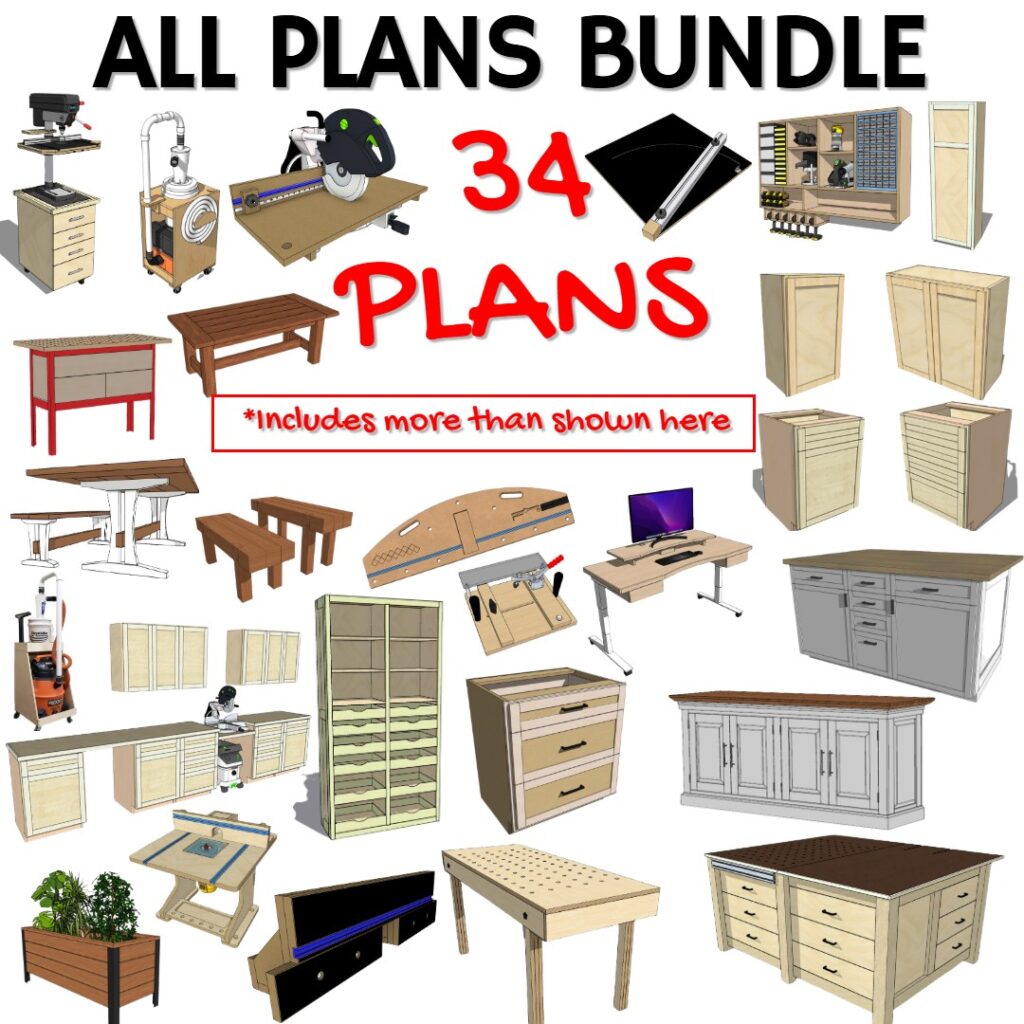
The Whole Enchilada Plan Bundle
The Whole Enchilada Plan Bundle! You want it all? You Got it! Get every plan I offer in one bundle at a savings of over 65%!
This product is a DIGITAL DOWNLOAD. You can immediately download your product off the order receipt page after the purchase. You will also immediately receive an email titled “Your MWA Woodworks order is now complete” that contains the download link in the “Downloads” section of the email.
Making The Cross Cut Sled
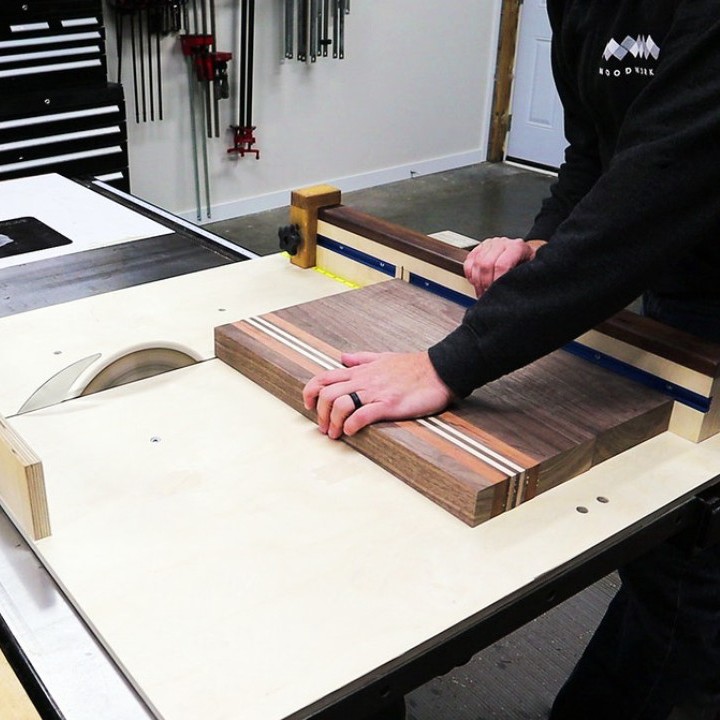
There really isn’t much plywood material needed for this project. I made mine using scraps I already had. You need enough material to make the front fence (nearest you) the back fence and the sled base. You can make your cross cut sled as wide and deep as you wish to accommodate your needs.
My sled is 34″ wide and 30″ deep. I wanted enough depth to cut a 24″ panel on. I also positioned the runners so that the edge of the sled came to the edge of the saw table on the left side of the blade. The base of the sled is 1/2″ baltic birch ply and the fence parts are all 3/4″ baltic birch. You really don’t need much material here and I made mine with scraps and off-cuts from previous projects.
Cutting the Cross Cut Sled Parts
The first thing I did was cut my base to size. As I mentioned I went with 34×30″ but you can make whatever size works for you and your saw.
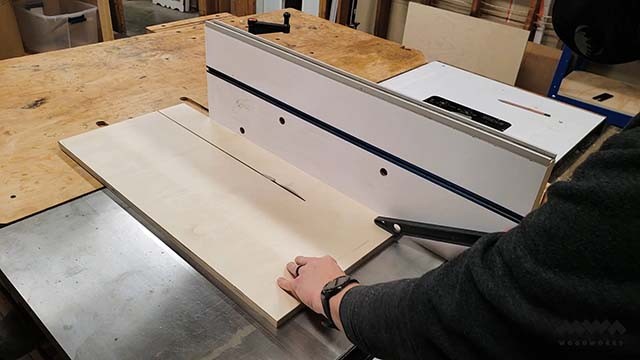
I then cut three pieces of 3/4″ ply to laminate together to create the front (closest to the operator) fence.
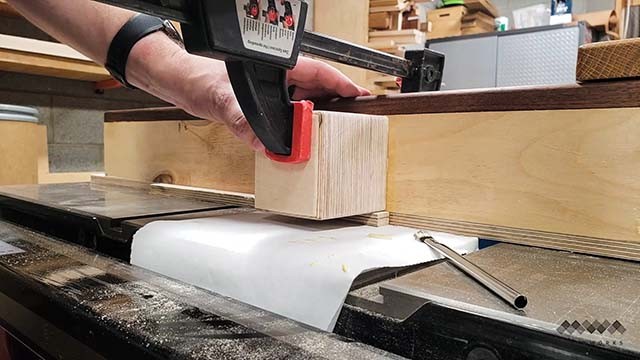
Making the Cross Cut Sled Fence
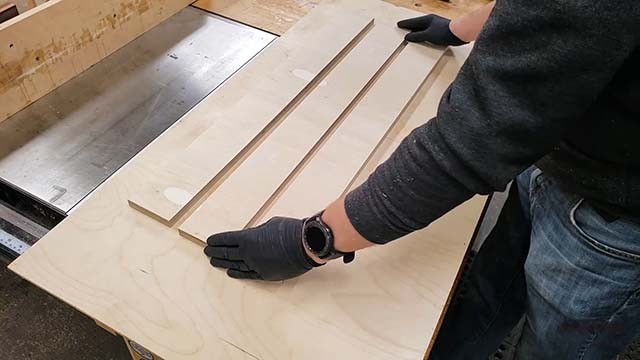
I chose 3 ply because it creates a beefy fence and gives me room later to cut a dado to add t-track which we will get to later.
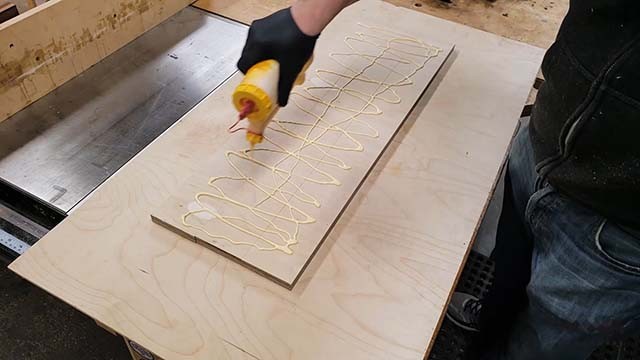
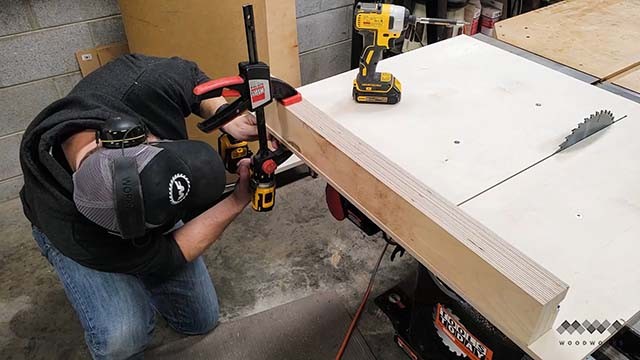
A good amount if glue will hold all this together.
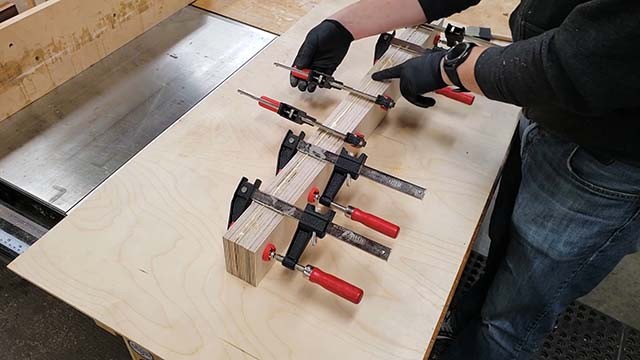
Be careful when clamping all these together. The main issue to try and avoid is the fence warping. This is an easy problem to deal with if it happens since we are using baltic birch ply. This kind of plywood is made entirely from hardwood so each ply it like a little sheet of fresh wood. This makes running the ply across the jointer possible. So if the fence does end up with a slight bow in it, don’t worry the project isn’t ruined. You can also help avoid bowing by alternating your clamps like I have here. This distributes the tension evenly as you clamp down. OK, while we wait on that to dry, lets tackle the runners.
Attaching the Runners to the Cross Cut Sled
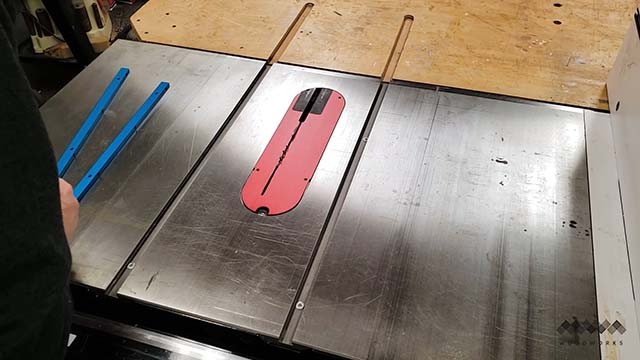
To get started on the runners, place (4)four washers into the miter slots of your saw, two in each slot. This will make it so your runners stand just proud of the saw’s surface.
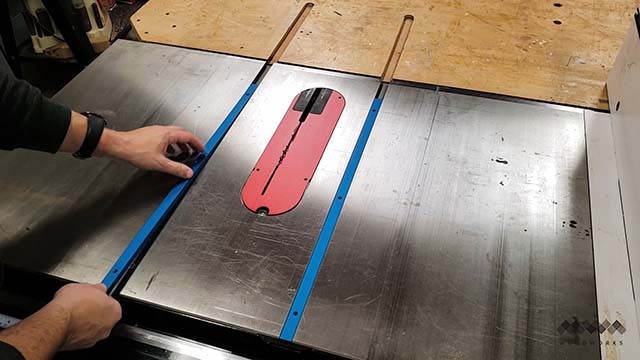
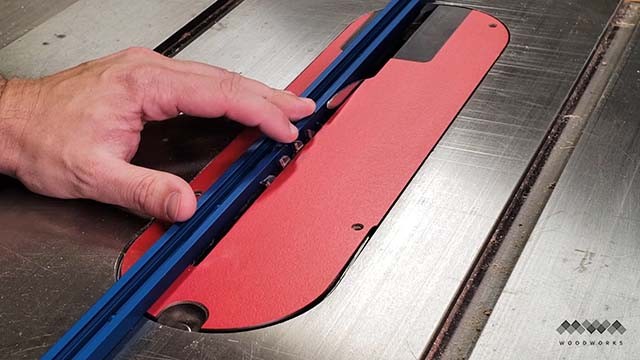
Insert the runners over the washers. I’m using aluminum runners here. I have used these in the past and love them. They don’t wear out like wooden runners and they also don’t swell and pinch in the miter slots when it is humid. They also have tiny set screws along the length that allow you to adjust them so that there is no slop at all when the runner is in the miter slot.

Now, place a strip of double sided tape on each runner. This will help keep the runners attached to the sled base once you position it.
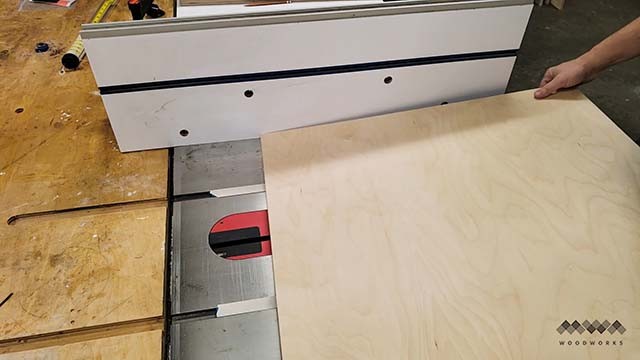
Now, setting the table saw fence to a distance that puts the edge of the base at the edge of the table on the left side of the blade, set the sled base onto the runners (up against the fence to ensure it’s square).
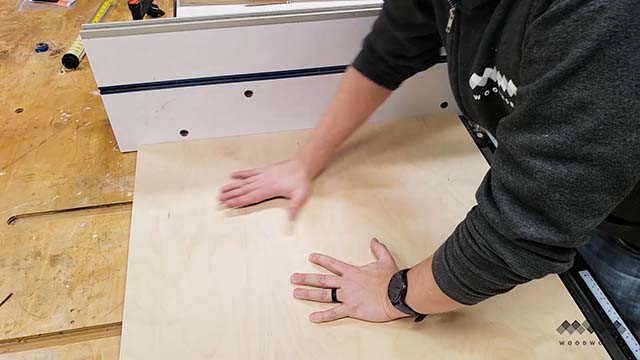
Press firmly to activate the pressure sensitive tape.
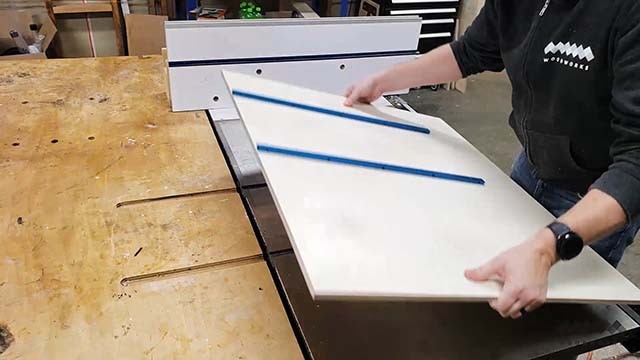
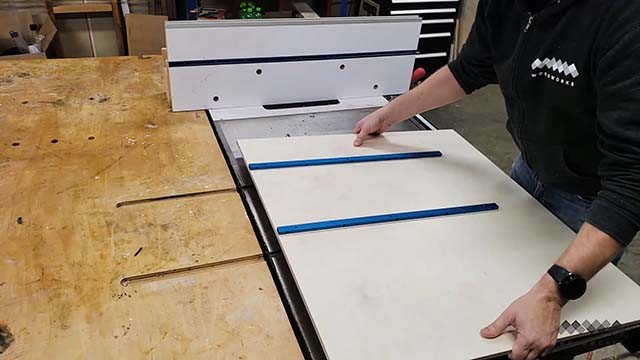
Now flip the base over and your runners should be stuck to the base precisely where they need to be. Magic!
Now we need a way to locate the screw holes. Normally with wooden runners this step in not needed. You just screw down from the top of the sled into the runner and because it’s wood the location of the screw doesn’t matter much, but with aluminum runners the screw hole placement must be precise.
The Whole Enchilada Plan Bundle
The Whole Enchilada Plan Bundle! You want it all? You Got it! Get every plan I offer in one bundle at a savings of over 65%!
This product is a DIGITAL DOWNLOAD. You can immediately download your product off the order receipt page after the purchase. You will also immediately receive an email titled “Your MWA Woodworks order is now complete” that contains the download link in the “Downloads” section of the email.
Locating the Holes in the Runners
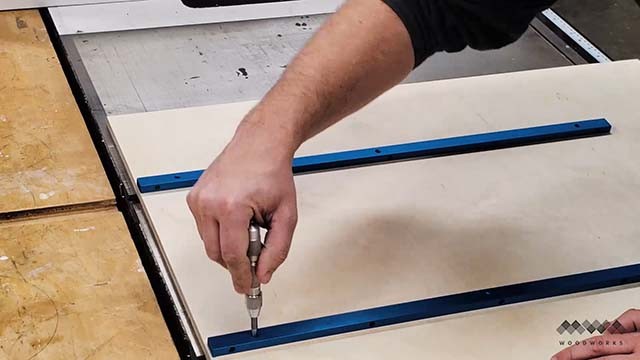
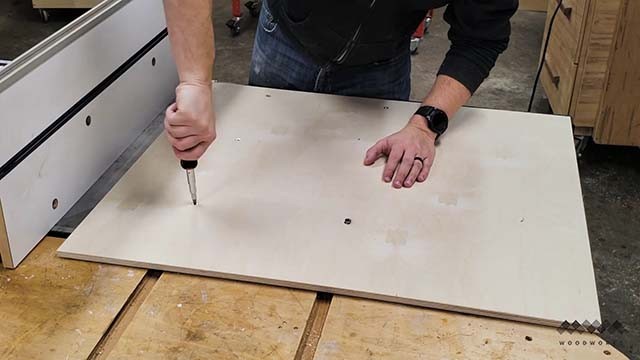
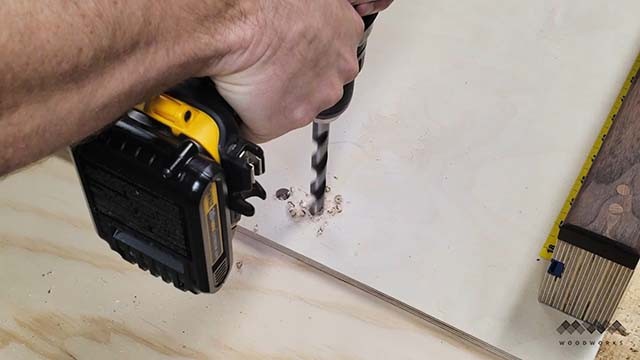
I used a center punch to mark the location of each hole. There are (6)six total holes to be drilled.
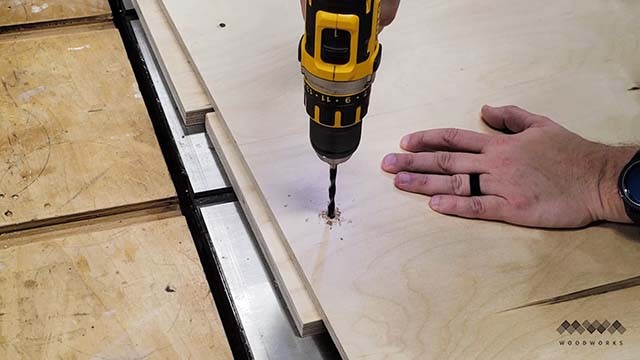
I then removed the runners from the sled base and drilled out the six holes using a 1/4″ brad point bit. Go slowly and put some scrap wood under your work so the holes are clean. Remember the side facing down is the TOP of the sled so you dont want a lot of nasty blowout showing.
Once my holes were drilled, I flipped the base over and countersink the holes. The screws need to sit flush or slightly below the surface so they don’t interfere with or mark up your work pieces.
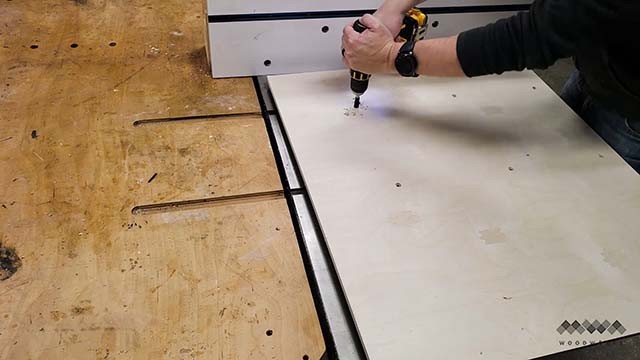
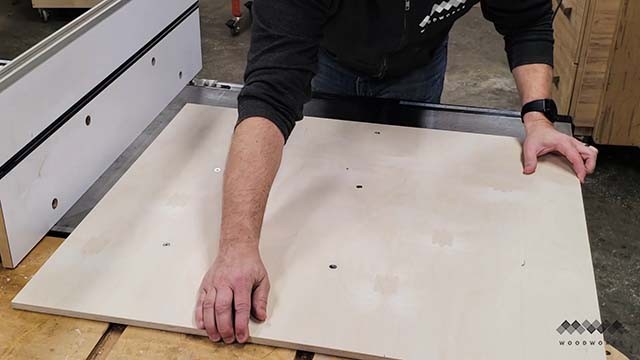
Now, if you’re smart(unlike I was) you DIDN’T move your table saw fence from when you placed the base on the runners. So now just place the runners back in the slots and drop the base back down onto them and line up the holes in the base with the holes in the runners.
Using 3/4″ long 1/4-20 machine screws with flat heads, I attached the base to the runners. Use a screw driver for this, you want firm attachment but you don’t want to strip out the soft aluminum by using your impact driver.
Now I tried moving the sled back and forth in the slots to make sure there wasn’t any binding. If you experience binding you can adjust the set screws in the runners to compensate for it. You want to end up with nice smooth travel through the miter slots with no wiggle in the sled.
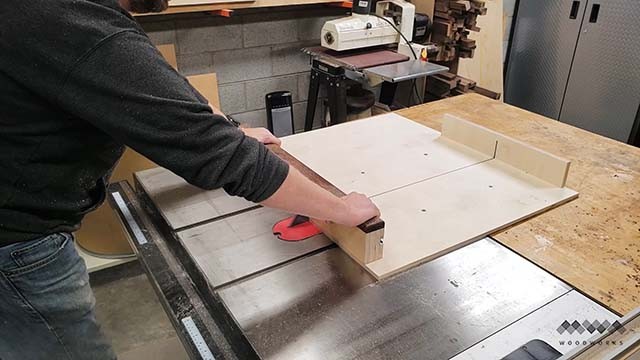
Cutting the Kerf on the Cross Cut Sled
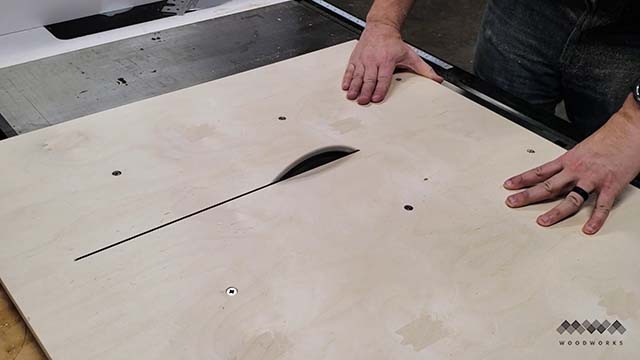
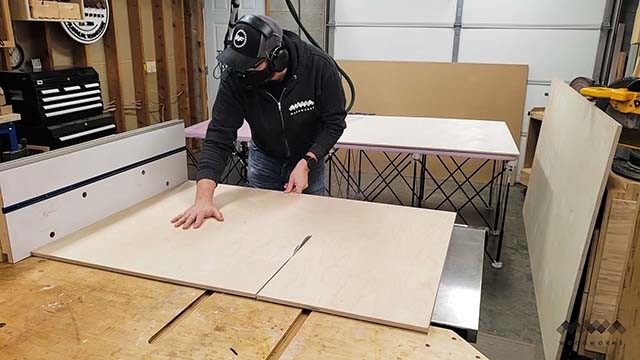
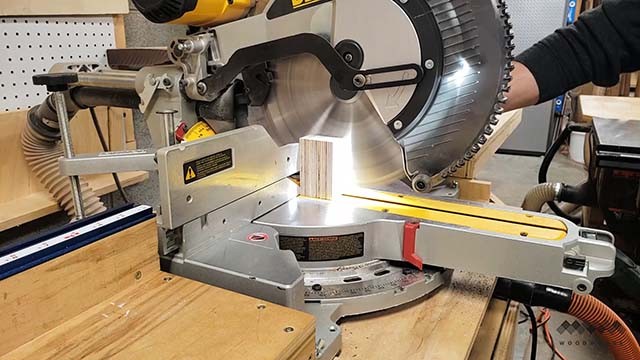
OK, now for fun part! With the sled on the table, I turned on the saw and slowly raised the blade through the sled creating the kerf. I then moved the sled forward and backward until the kerf was about 3 inches for the front and back of the sled. You don’t want to cut completely through the sled just yet!
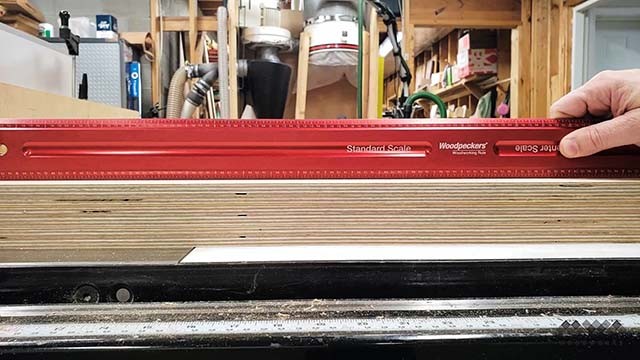
With the base of the sled completed, I turned my attention to the second important part of the sled build, the fence. I took the fence out of the clamps and I laid a straight edge across it to see if it remained flat. Luckily my fence had not warped! But if this happens to you just remember that Baltic birch ply is essentially layers of hardwood glued together and so if you want to, you can re-flatten it on the jointer.
Cleaning up the Fence
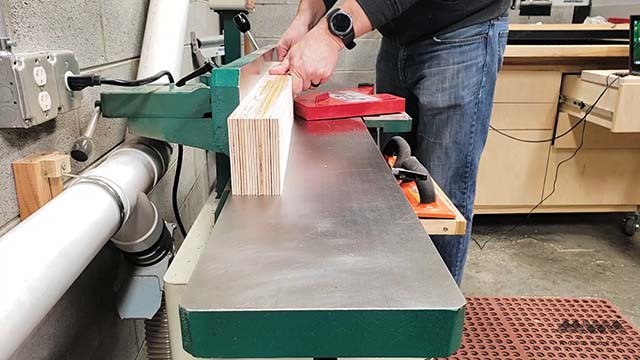
The only side that is critical to be flat is the side that faces in toward the blade. The back side doesn’t matter. In my case all I needed to do was square up the fence by running it across the jointer on edge.
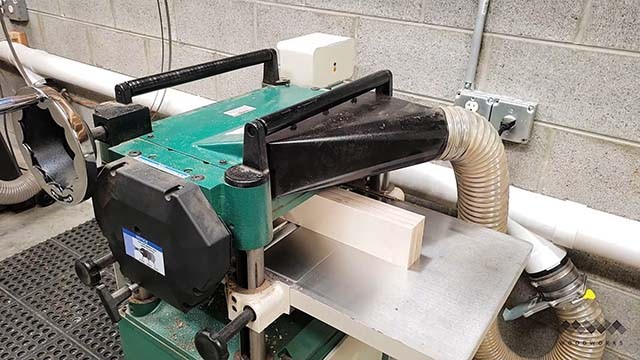
I then ran the fence through the planer to flatten the top of the fence and make it coplanar with the bottom.
Finally, I trimmed each end of the fence to create a square, coplanar fence that was cleaned of any dried glue!
The Whole Enchilada Plan Bundle
The Whole Enchilada Plan Bundle! You want it all? You Got it! Get every plan I offer in one bundle at a savings of over 65%!
This product is a DIGITAL DOWNLOAD. You can immediately download your product off the order receipt page after the purchase. You will also immediately receive an email titled “Your MWA Woodworks order is now complete” that contains the download link in the “Downloads” section of the email.
Adding T-Track to the Fence
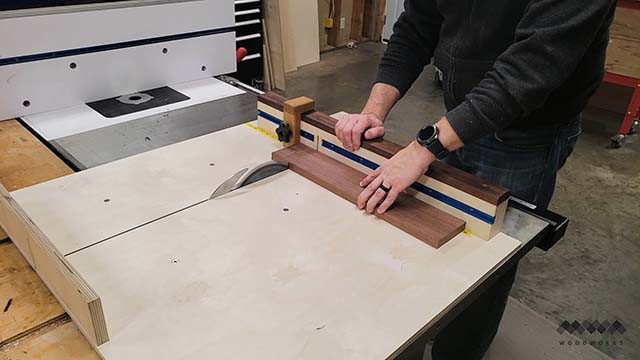
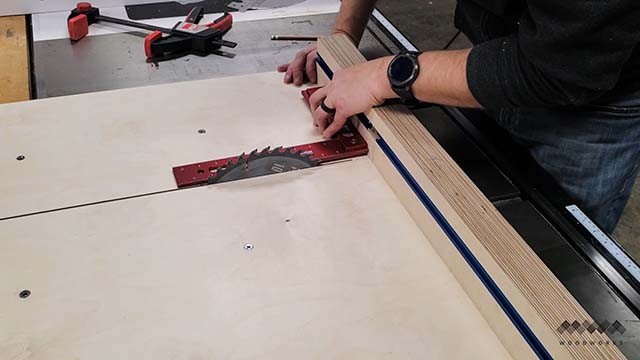
Before I attached the fence to the base of the sled, I wanted to add t-track to it so that I could add things like stop blocks to the sled. To do this, I set the height of the blade to the thickness of the t-track.
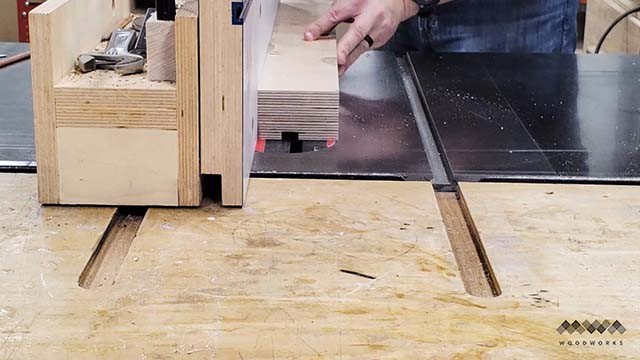
I then positioned the fence so that the cuts would begin right where I wanted the track to go. I repeated this process of cutting, moving the fence out just a bit and recutting until my track fit nicely into the dado.

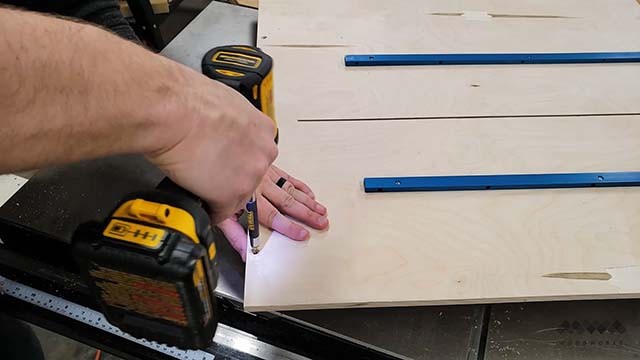
Once the track fit perfectly into the dado, I needed to create a gap where the blade would go because I have a SawStop table saw which can’t come in contact with the aluminum.
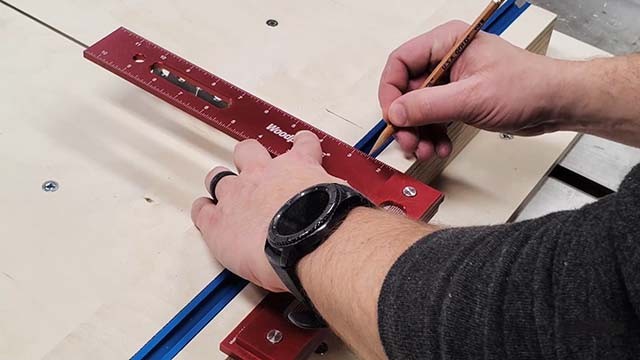
To do this, I marked out where the gap needed to be on the t-track. My gap was 1/2″ on either side of the blade.
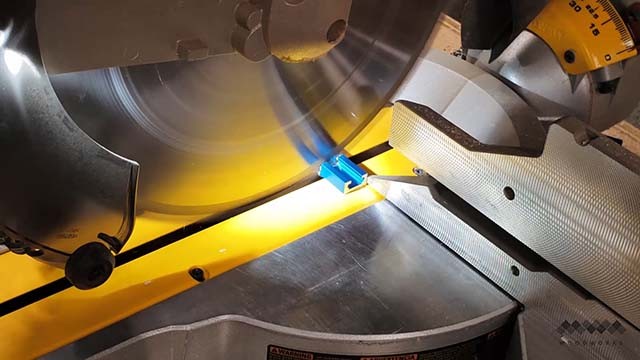
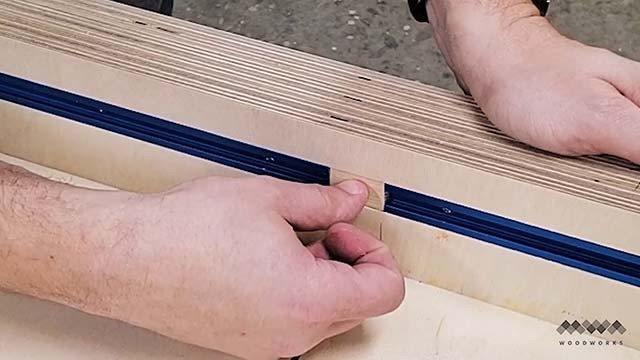
I then cut the t-track at my marks, creating two track pieces with the “gap” cut out in the middle.
I put the track back into the dado in the fence leaving the gap where the kerf cut would be. Next, I drilled 1/8″ holes through the track and into the fence and screwed the track to the fence.
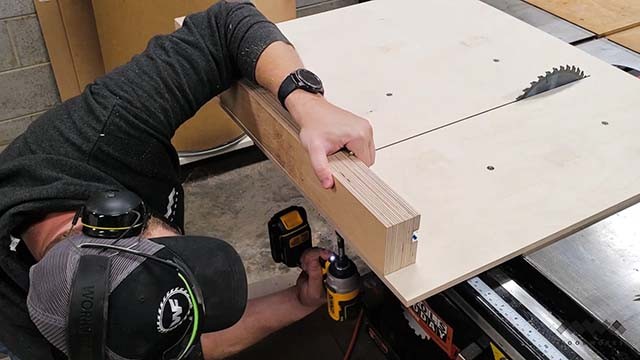
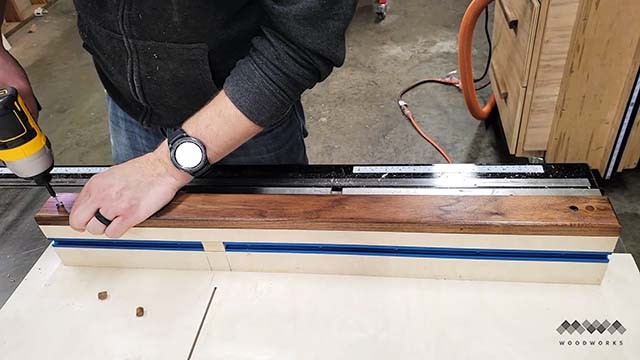
Attaching the Fence
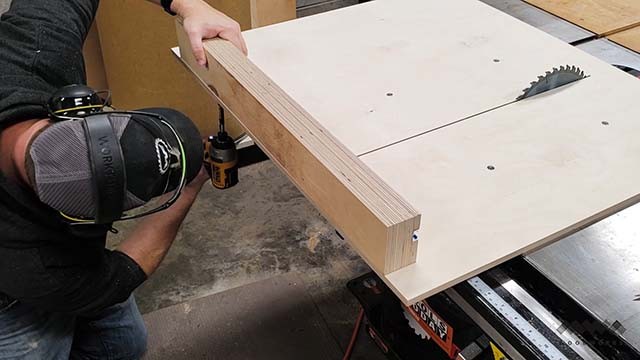
To attach the fence to the crosscut sled, I first positioned the fence along the back side of the sled where the center of the gap in the t-track was right where the kerf cut would be made. I then clamped the left side of the fence down, pre-drilled and inserted one 3″ screw in that side. Now the fence can “pivot” on that screw.
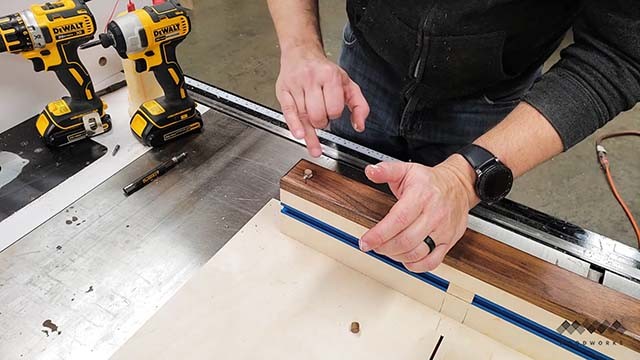
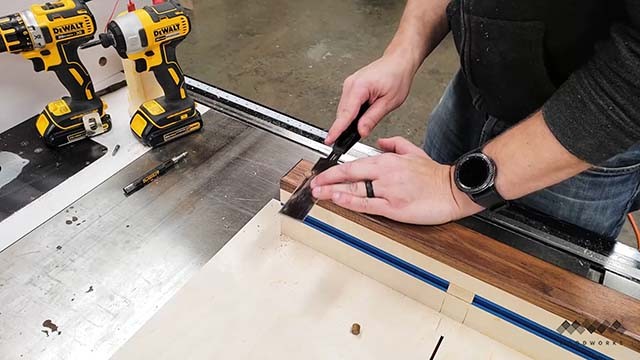
I removed the clamp and went to the right side of the fence. I set my 12″ square against the fence and pivoted the fence until it was visually square to the blade. Keep in mind that this is only the initial squaring of the fence and not the fine-tuning that will come later. You want to get it as close to square as possible, but don’t expect it to be dead-on without a lot of luck.
I then pre-drilled and inserted another 3″ screw, more or less locking the fence in place.
DID YOU KNOW: I used the 5-cut method to do the final squaring of my fence to the blade.You can see that tutorial HERE.
Once I had fine tuned the squareness of the fence, I pre-drilled and inserted (5) five more 3″ screws, locking the fence solidly in its position.
Attaching the Smaller Fence
I then screwed the back fence of the sled into place with four screws. The back fence doesnt need to be square, it just needs to be fastened over the kerf in the sled, as its primary function is helping to hold the sled together once you complete the kerf cut.

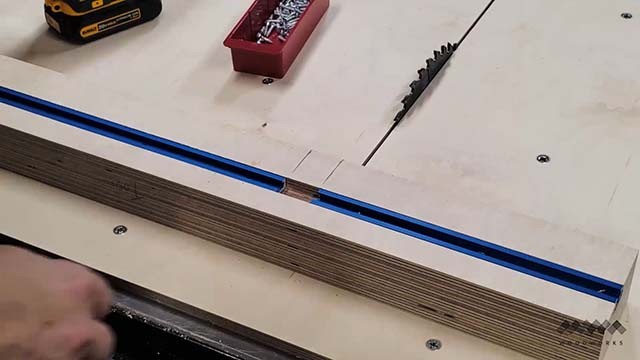
Another little detail was adding a small piece of hard wood into the gap left in the t-track.
I used a small but of ash for this and just glued it into place and let it dry.
The Whole Enchilada Plan Bundle
The Whole Enchilada Plan Bundle! You want it all? You Got it! Get every plan I offer in one bundle at a savings of over 65%!
This product is a DIGITAL DOWNLOAD. You can immediately download your product off the order receipt page after the purchase. You will also immediately receive an email titled “Your MWA Woodworks order is now complete” that contains the download link in the “Downloads” section of the email.
Adding A Cap to the Fence
I utilized a scrap of walnut flooring to make a top for the fence. Not only does it look great but it feels much better on your hands when you pull the sled back and forth.
I attached the fence by gluing it to the top and then countersinking a hole in each side, driving a screw in and plugging the holes with walnut dowel plugs made from the same scrap piece.
Then I flushed up the dowel with a saw and then sanded it smooth.
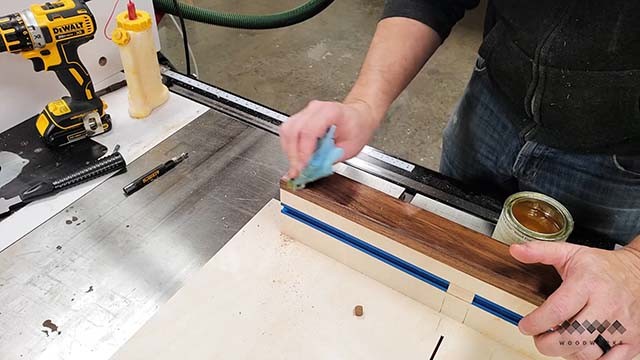
Finally I reapplied finish (I used Tried & True finish) to the affected area.
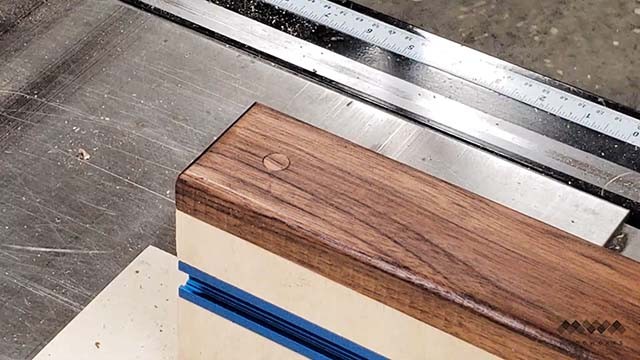
You can see the finished result here.
With the cross cut sled essentially completed, I then completed the kerf cut all the way through the sled. If you stopped here, you’d have a perfectly functional crosscut sled.
Adding Extra Features to the Cross Cut Sled
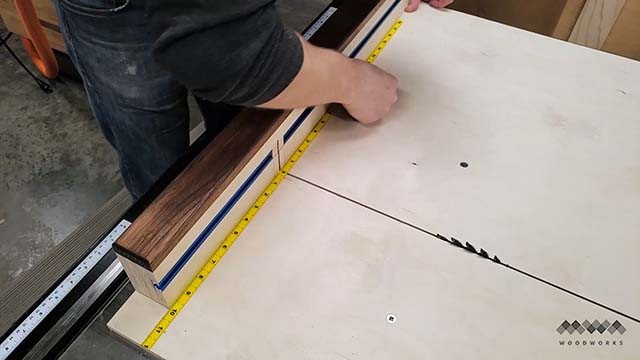
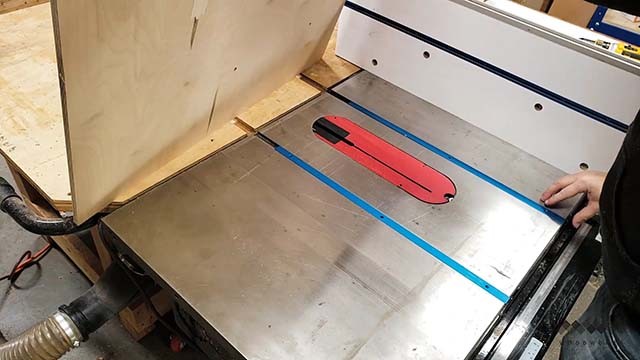
I wanted to add a couple more accessories to my sled. The first was to add vinyl adhesive measuring tape to the sled to use with my t-track and stop blocks. This adds repeatability and accuracy to the operation of the sled.
I also wanted to add a blade guard to the back of the cross cut sled. To do this I fashioned a solid block about 3.5″ cubed out of scrap plywood. Then I glued that over the kerf in the back of the fence. NOTE: Make sure to attach the blade guard to the fence ONLY and not to the bottom of the sled. If you do that, the guard will interfere with your ability to adjust the fence in the future.
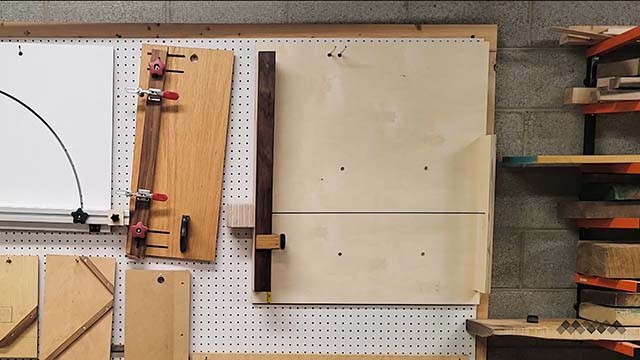
And lastly, I drilled two half inch holes in the side of the cross cut sled. This was to give me the ability to hang my sled on my jig wall.
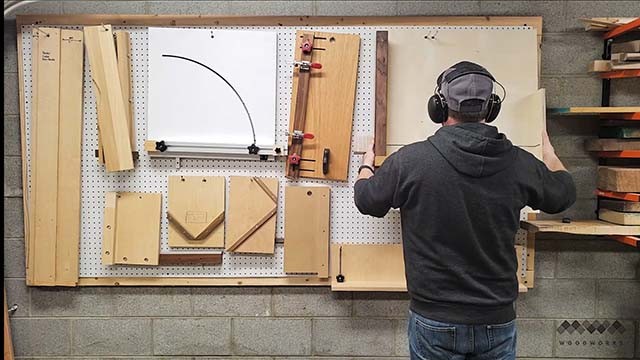
My new cross cut sled now hangs right where the old one did on the jig wall.


Can you tell us about the rip fence that appears in your crosscut sled video. Thanks.
I have a whole blog post on it here: https://mwawoodworks.com/the-ultimate-table-saw-fence/
Very much liked video
Thanks Ed!
I’m a little confused as to what use this is? I’m a fairly new woodworker, but I don’t see what advantage this has over my miter saw?
Hi Clyde! Miter Saws are a great alternative but there are some limitations when it comes to how wide your stock can be. Most miter saws can handle 8-12 inch crosscuts. My cross cut sled can handle 20 inch panels. Also, miter saws are notoriously inaccurate when it comes to setting and maintaining square cuts. A well made cross cut sled will be accurate for its use life. And finally some folks might not have a chop saw but only a table saw. Hope that explanation helps!
Great ideas. Well done! I plan on making one of theses.
Awesome!
Great job.
Want to make one but can’t find aluminum runners. Where do you get them?
Thanks
At the top of the blog post I have a link to the miter bars!