")
Clean parallel clamps are important! In this shop project, I create a clamp cleaning jig in order to remove dried glue from my parallel clamps. I used a single 10′ 2×4 and several lengths of 1.5″ diameter PVC pipe. The number and size of pipes you use should be based on the number and length of clamps you have and also how big you want the jig to be (storing the jig after use is a consideration).

DID YOU KNOW: You can follow me on these social media platforms!
Instagram · YouTube · Facebook · Pinterest

| Materials & Supplies* | Tools* |
| (1) 10′ 2×4 | 1.5″ Forstner bit |
| (4) 1.5″ PVC Pipe (may vary) | 2.25″ Forstner bit |
| 3″ Screws | 2 |
| Cleaning Vinegar (min. 3 gals.) |
*I use affiliate links, please see details on my disclaimer.

The Whole Enchilada Plan Bundle
The Whole Enchilada Plan Bundle! You want it all? You Got it! Get every plan I offer in one bundle at a savings of over 65%!
This product is a DIGITAL DOWNLOAD. You can immediately download your product off the order receipt page after the purchase. You will also immediately receive an email titled “Your MWA Woodworks order is now complete” that contains the download link in the “Downloads” section of the email.
How to Clean Parallel Clamps
This is a super simple project from start to finish. All you need to clean parallel clamps is a single 10′ 2×4 and a few lengths of 1.5″ PVC pipe. The amount of pipe needed will vary depending on how long you make each cleaning tube. This will depend on the number and size parallel clamps you own. For myself, I made (4) 40″ and (4) 60″ cleaning tubes.


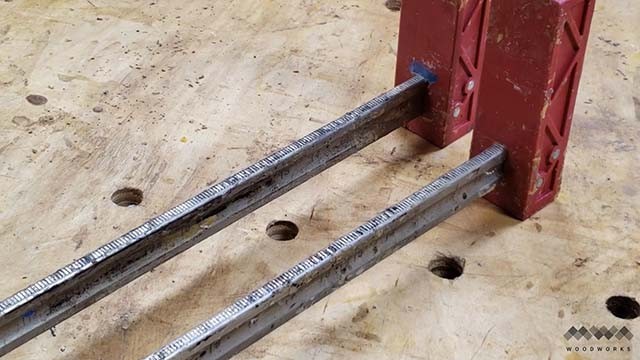
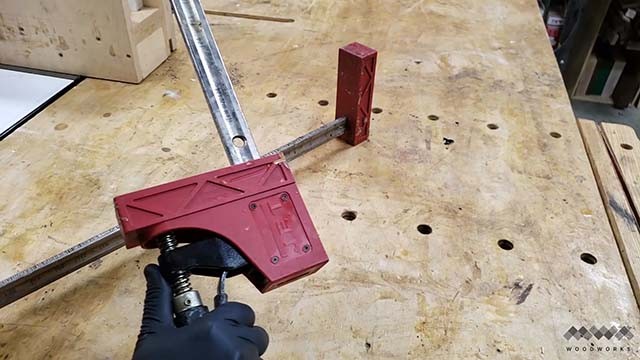
I’m sure you have clamps that look like this. After months (ok, years, haha) of use your clamps are going to have built up glue to the point that it becomes hard to slide the lower jaw and also get flat registration for your work pieces that you are clamping.
Cutting Your Parts
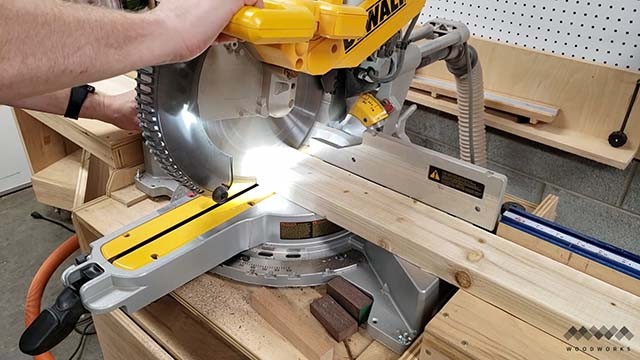
So, take your 2×4 and cut it into the following: (2) 24″ sides,(2) 22.5″ top and bottom,(2) 12″ feet. That’s it, congratulations you have all the parts to make the rack. Now, on to the cleaning tubes!
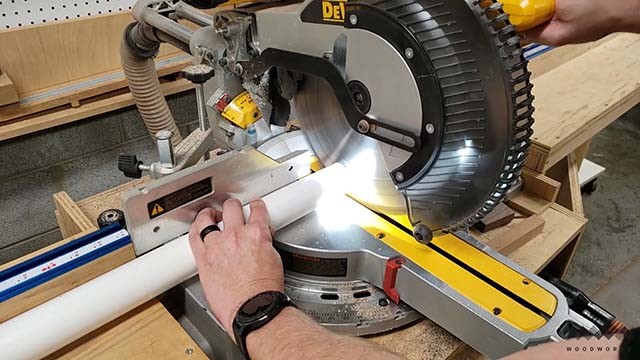
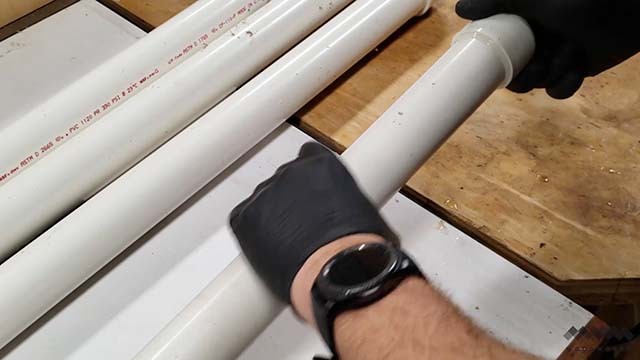
Making the tubes is nothing more than cutting lengths of 1.5″ diameter PVC. When doing this step, consider carefully the number and size of clamps that you own. Make at least two different sizes to accommodate your smaller and your larger clamps. I chose 40″ and 60″ tubes and my clamp rack holds 8 total tubes. If you want more tube capacity, just make your top and bottom pieces wider to suit.
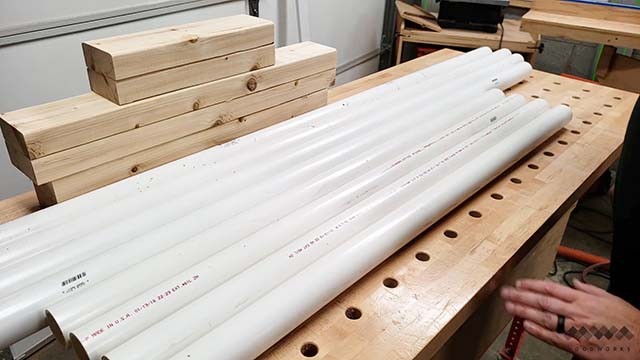
Here you can see all the parts for this cleaning rig.
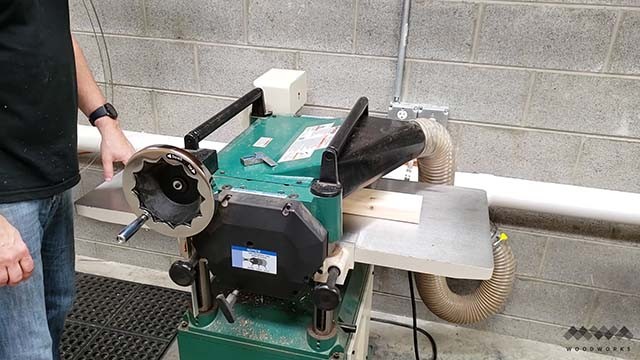
Now, here’s where you may deviate from my plan of attack. I am planing my top and bottom down to 1.25″ to match the CNC program I wrote to cut the holes in these pieces. YOU DON’T NEED A CNC FOR THIS JOB!!!
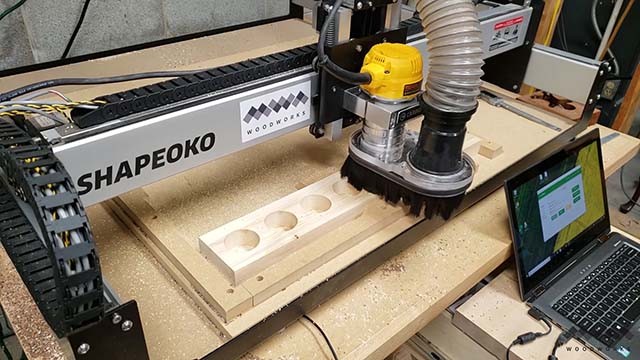
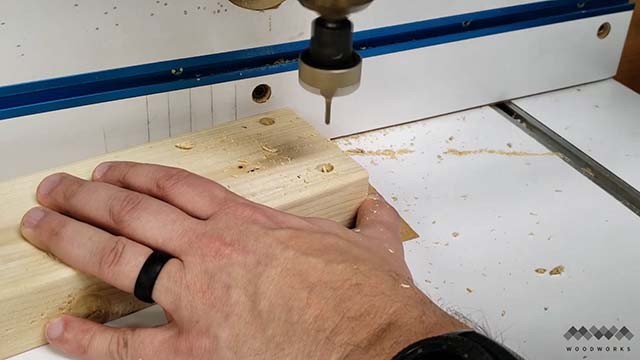
I cut out 8 evenly spaced 1 15/16″ holes all the way through the material of the top of the rack. My FREE PLANS will show you the spacing I used. If you dont have a CNC or just dont want to use it for this task, you can use a drill with a forstner bit to make these holes.
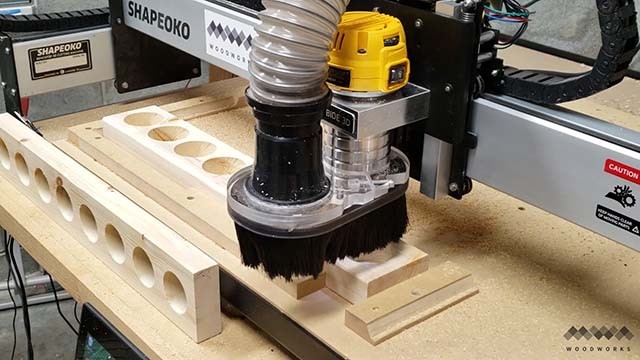
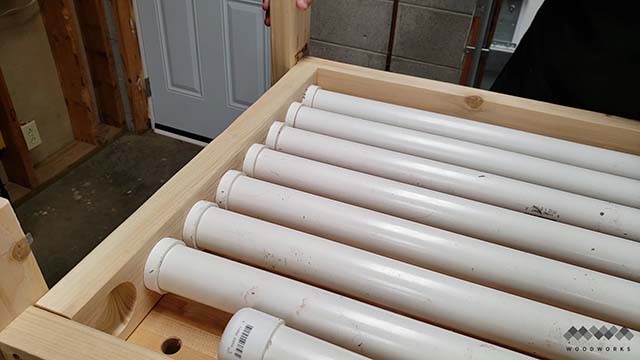
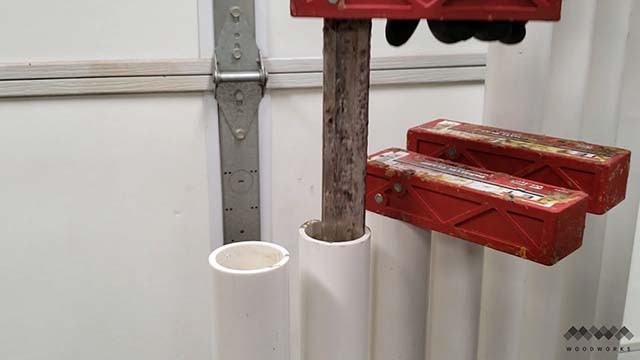
I then cut 8 evenly spaced 2 1/4″ holes about 1″ deep, making sure to leave material at the bottom. These larger holes are needed to fit the end caps that go on the bottom of each cleaning tube.
Here you can see the finished cuts.Now lets move on to the assembly.
Assembling the Clamp Cleaning Rack
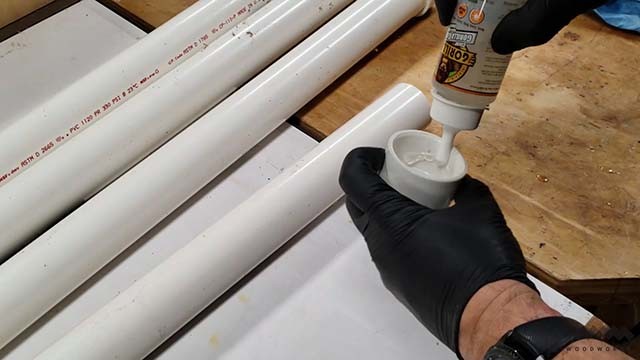
NOTE: It is very wise to seal the bottom of each tube. If you dont, your cleaning solution WILL LEAK out of the tubes and onto the floor.
Using your choice of silicone, epoxy, polyurethane glue or PVC glue seal the PVC end caps. I chose polyurethane glue because that is what I had on hand. Let this cure completely per the instructions on the adhesive you chose.
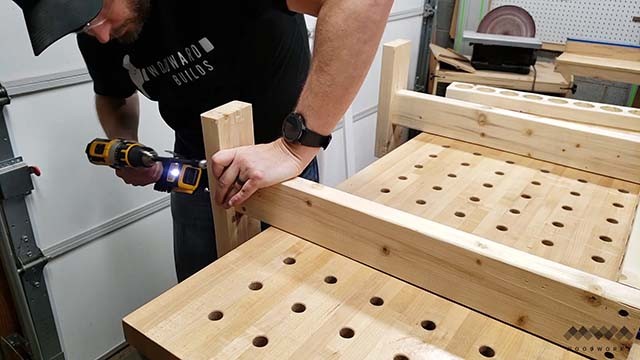
Here, I’m pre-drilling and countersinking holes in the two side pieces. Make two holes in the top and two in the bottom of each side. I cant emphasize enough how important pre-drilling is here. Its so easy to split this soft pine.
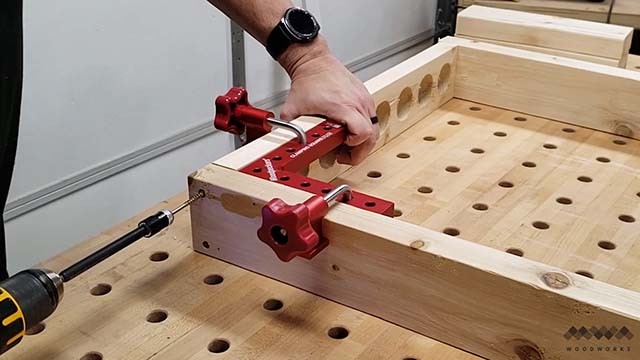
Making sure my parts were square to one another, I screwed the two sides to the top of the rack (make sure to start with the top and not the bottom as it will make future steps easier). I am using 3″ screws to do this assembly.
After you attach the two sides to the top, go ahead and fasten the two feet to the bottom of each side using two 3″ screws on each side. Just center them by eye, its not super critical unless your O.C.D. is kicking in.
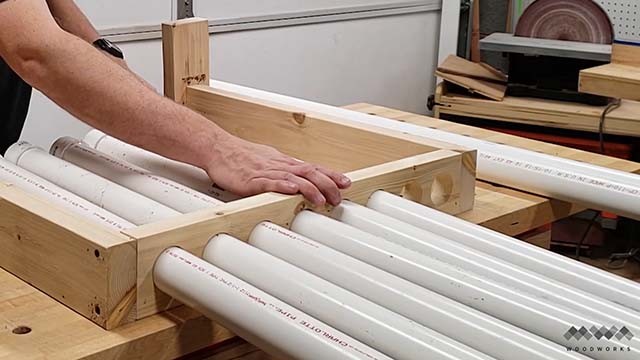
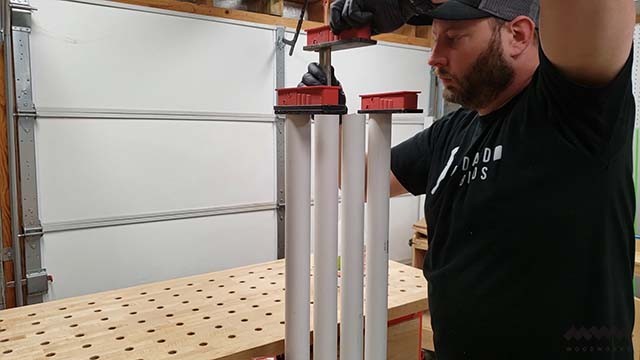
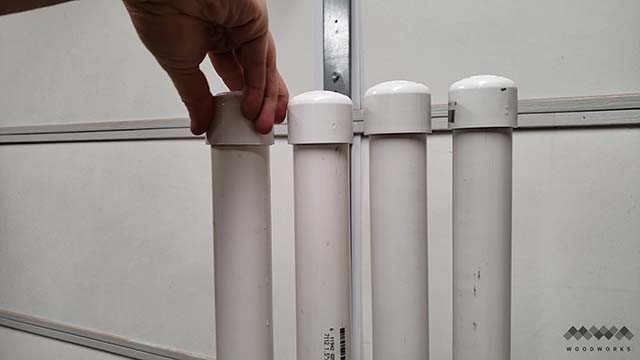
Now insert each of your pipes into the holes in the top of the rack. Insert them from the bottom and make sure to insert them to the point that the ends of the tubes are past the feet.
Now using the feet as a registration point, attach the bottom to the two sided using two 3″ screws on each side.
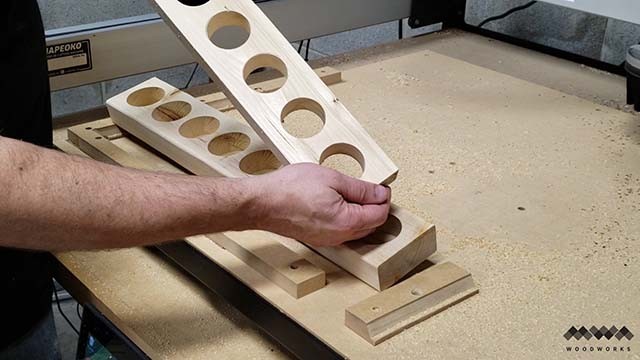
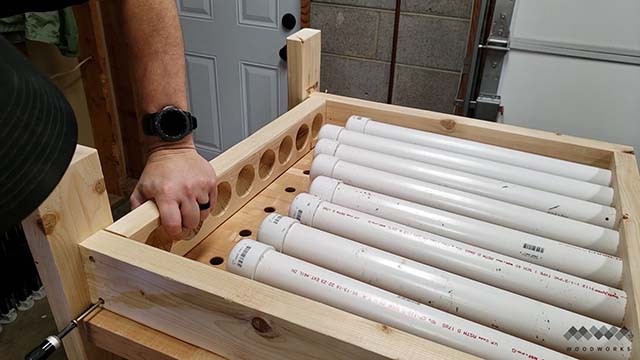
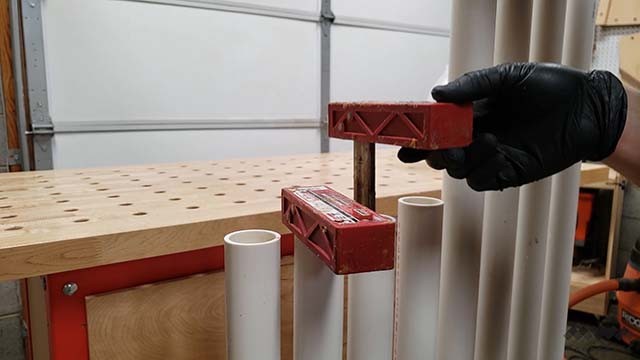
Finally, slide the end caps of the tubes into the pockets on the bottom of the rack. They should fit perfectly with no slop.
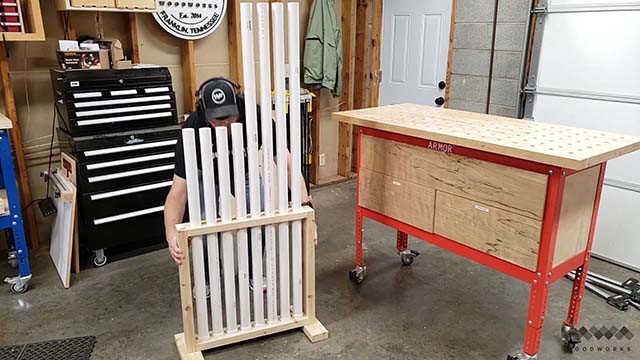
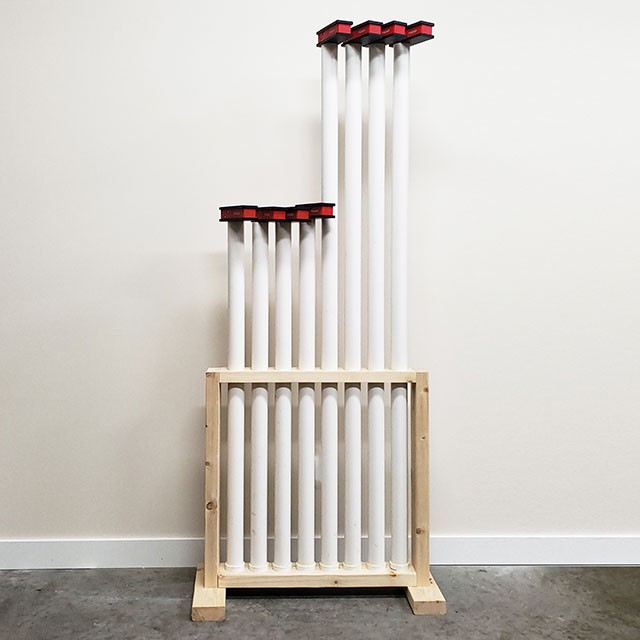
And there you have it! One clamp cleaning rack ready to go.
The Whole Enchilada Plan Bundle
The Whole Enchilada Plan Bundle! You want it all? You Got it! Get every plan I offer in one bundle at a savings of over 65%!
This product is a DIGITAL DOWNLOAD. You can immediately download your product off the order receipt page after the purchase. You will also immediately receive an email titled “Your MWA Woodworks order is now complete” that contains the download link in the “Downloads” section of the email.
Lets Clean Parallel Clamps!
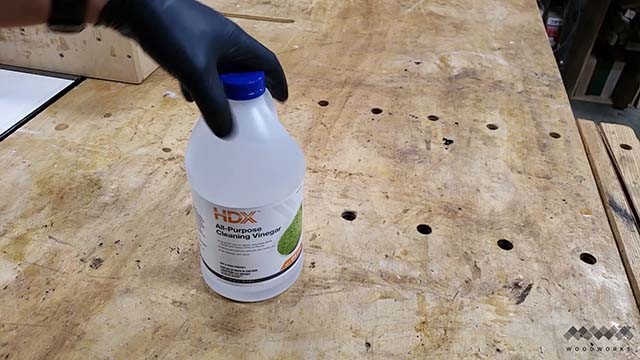
OK, now comes the messy (I mean fun) part. If your ready for your shop to smell like a pickle factory, grab some white vinegar (also called cleaning or all-purpose vinegar). You don’t need anything more concentrated than a 5% dilution. I used 3-4 gallons but your needs may vary depending on how long you made your tubes.
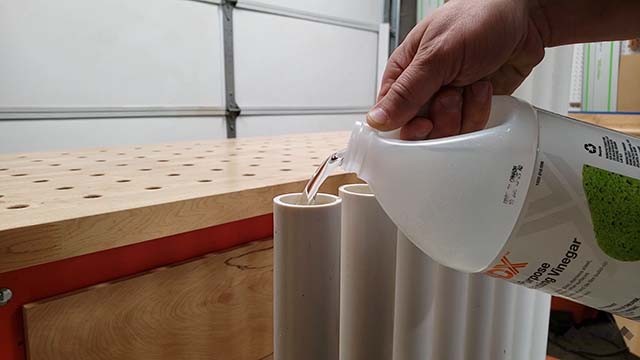
Pour the vinegar into each tube carefully and leave enough head room to account for the displacement of the clamp. This requires some (messy) trial and error because you want to end up with enough vinegar in the tube so that when you fully insert the clamp the vinegar rises right to the top. Just keep some shop towels handy for easy cleanup.
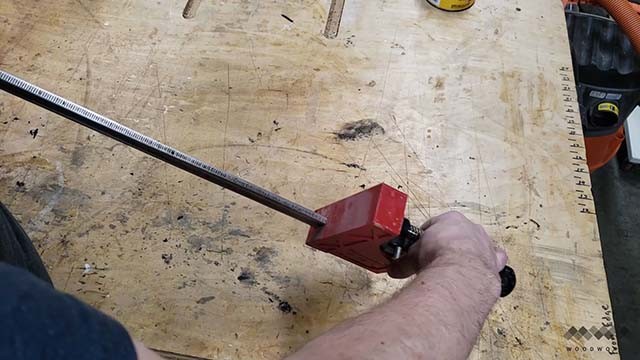
Now, take each clamp to be cleaned and remove the lower sliding jaw. Also remove and plastic feet or stops that might be on the clamp. You just want the metal bars to get cleaned.
Carefully slip the clamps into the tubes of vinegar. Again, its a good idea to keep your shop towels near by.
Remember you want the vinegar to go right to the top of the tube with the clamp fully submerged.
Let the clamps soak in the vinegar for at least and hour. They should look something like this (see the softened gunk?) Go ahead and remove the clamps and get ready for the magic to happen.
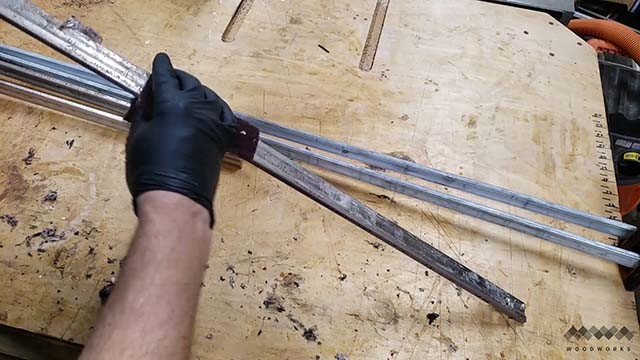
With a scotch bright pad, gently wipe away all the debris from the clamps. If you let the clamps soak long enough this should take no more effort than cleaning your dinner plate before you stick it in the dish washer. The gunk should just wipe right off leaving a clean clamp behind!
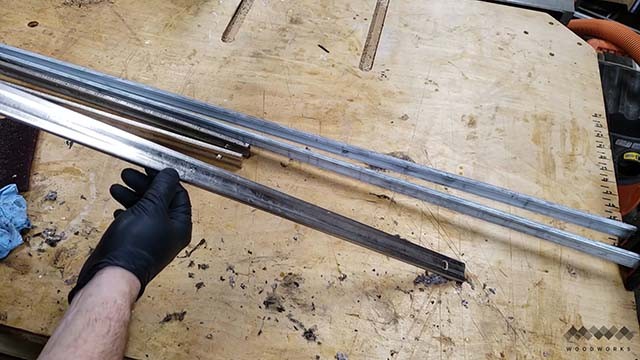
Depending on the clamps you own and the amount of time you let them soak, you may notice the vinegar give the clamp a dark petina such as this. This doesnt affect the performance of the clamp at all. The longer you let them soak past the two hour mark, the more likely this is to happen. I’ve had great luck avoiding this if I let them go between 1 and 1.5 hours. But again, if this happens, your clamps aren’t ruined, they still function the same.
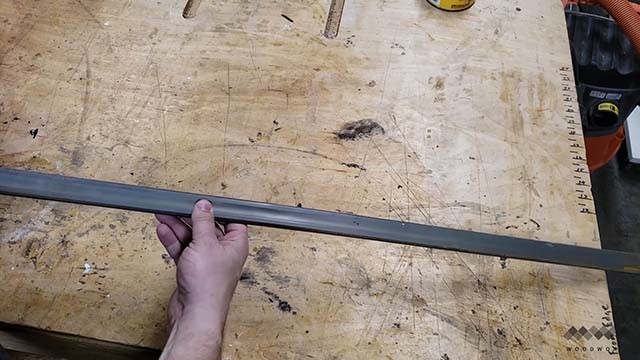
Here’s what one of my clamps looks like after the cleaning. You can often still have some glue staining left on the clamps, but there shouldn’t be any actual glue left. Keep in mind we aren’t restoring these to “like new” condition. We are just making them functional again, so don’t worry if you notice this happen.
Here is another clamp that I just cleaned. There’s nothing physical left on the clamp and it should work perfectly again now that all that nasty dried glue is gone!
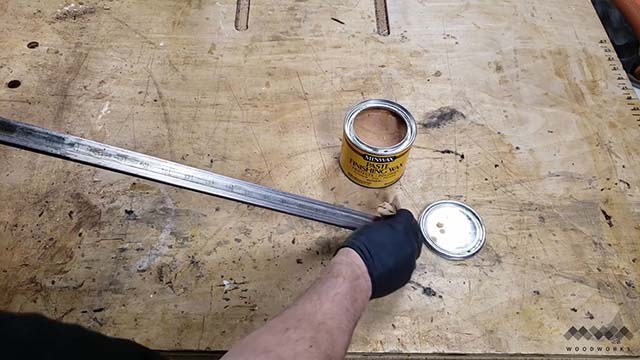
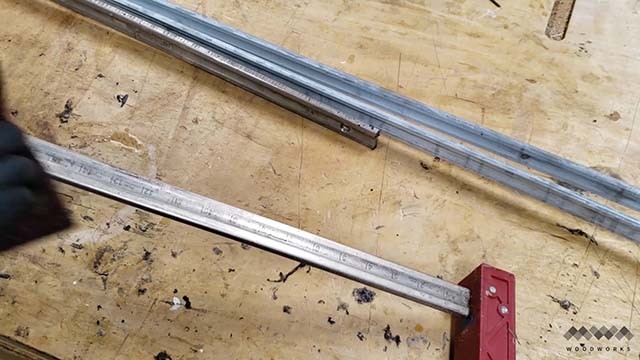
The final step that I recommend to clean parallel clamps is adding some paste wax to the clamp bars. This does two things 1) is helps the lower jaw slide easily up and down the bar and 2) it prevents future glue from sticking to the clamp, which in my experience means you can go a full year of constant use before you have worn the wax off and glue begins to build up to the point that its time to go through the cleaning process again.
The Whole Enchilada Plan Bundle
The Whole Enchilada Plan Bundle! You want it all? You Got it! Get every plan I offer in one bundle at a savings of over 65%!
This product is a DIGITAL DOWNLOAD. You can immediately download your product off the order receipt page after the purchase. You will also immediately receive an email titled “Your MWA Woodworks order is now complete” that contains the download link in the “Downloads” section of the email.
Put the Clamps Back Together
Slide the lower jaw back on and give it a test run. It should now operate smoothly and without obstruction because there is no obstruction left! You’re good to go!

This is one of the most handy cleaning tricks I have learned in all the years I have woodworking. Having dirty clamps is such a pain, especially when you get to the point that the lower jaw gets stuck on dried glue and you have to bang it with a mallet to get it unstuck.
Oh, one other thing…. Since you used common white vinegar, its perfectly OK to dispose of the liquid in the tubes by normal means, however if you want to preserve the cleaning solution for next time, just put a cap on the end of each tube and store it. It should be perfectly fine and ready to go again the next time you are ready to clean parallel clamps!
The Whole Enchilada Plan Bundle
The Whole Enchilada Plan Bundle! You want it all? You Got it! Get every plan I offer in one bundle at a savings of over 65%!
This product is a DIGITAL DOWNLOAD. You can immediately download your product off the order receipt page after the purchase. You will also immediately receive an email titled “Your MWA Woodworks order is now complete” that contains the download link in the “Downloads” section of the email.


