
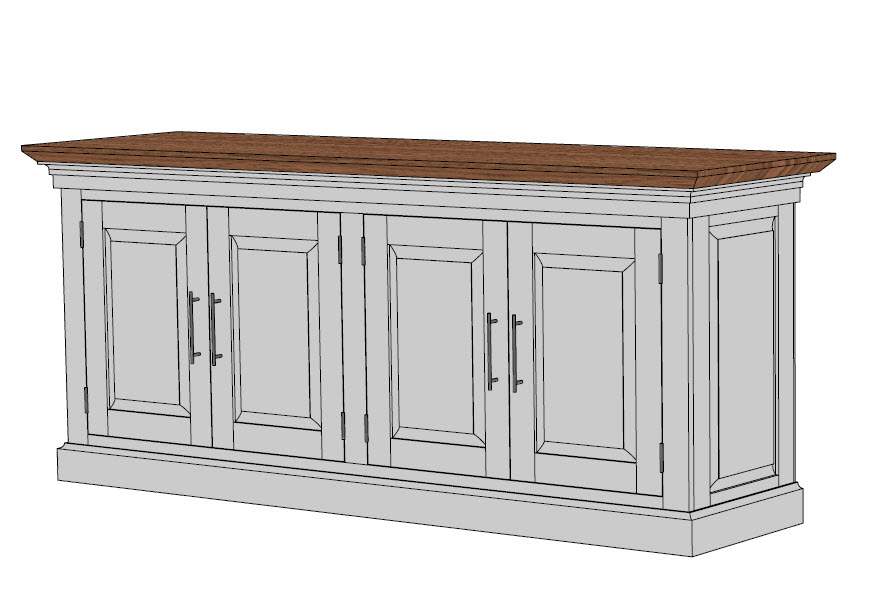
This media console project was brought about by our desire to get the living room TV down from above the entrance to the kitchen after 3 years of straining our necks watching it. Why was the TV up there to begin with, you ask? Good question. Who the heck knows. It was there when we bought the house HA! I used the opportunity to really create a piece of furniture that would be around our home for a long time (long after the TV currently sitting on it). All in all this was a great project for practicing my cabinet making and furniture skills. Keep reading and I’ll walk you step by step through the process!

DID YOU KNOW: You can follow me on these social media platforms!
Instagram · YouTube · Facebook · Pinterest
| Materials & Supplies* | Tools* |
| (1) 3/4″ 4×8 Prefinished Maple Plywood | TS55 Tracksaw |
| (1) 1/4″ 4×8 Prefinished Maple Plywood | QUAD TRIMMER WITH CARBON STEEL BLADES |
| 6/4 Walnut approx 23 bdft | SPEED ROLLER PRO |
| 4/4 Hard Maple approx 30 bdft | FLUSH CUT PLIERS |
| Magnetic Catches | FASTBREAK DUAL EDGE SANDER |
| Rare Earth Magnets | PARALLEL CLAMPS |
| Door Pulls | PIPE CLAMPS |
| Butt Hinges | KREG SHELF PIN JIG |
| DOUBLE SIDED TAPE | RAISED PANEL BIT |
| PRE-FINISHED MAPLE EDGE BANDING | FESTOOL DOMINO 500 |
| QUICK & THICK WOOD GLUE | FESTOOL RANDOM ORBIT SANDER |
| TITEBOND II WOOD GLUE | FESTOOL ROTEX SANDER |
| RUBIO MONOCOAT PURE | DADO BLADES |
| MICROJIG PUSH BLOCK | |
*I use affiliate links, please see details on my disclaimer.


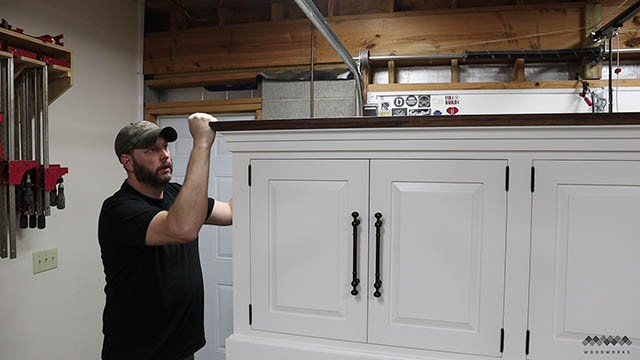
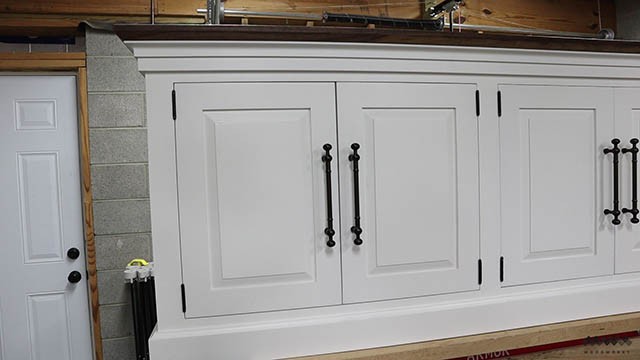
Media Console – After the Build
Here is the media console in my living room. The Base is painted with Sherwin Williams KemAqua Plus and the color was White Flour. I sprayed three coats of this after first priming with a shellac based sealer. The door hardware came from House of Antique Hardware (online retailer of fine hardware)
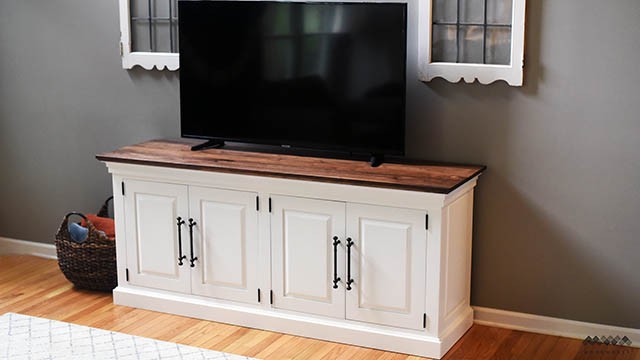
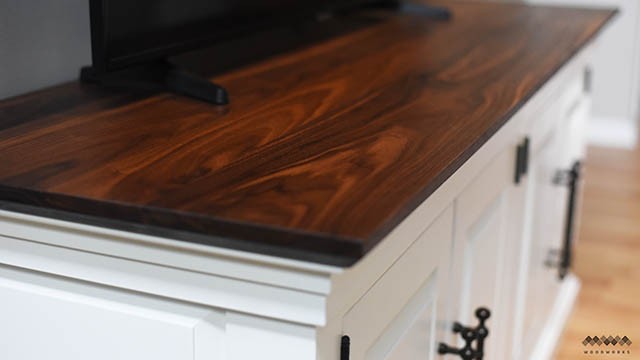
The top of the console was finished with Rubio Monocoat Pure which really makes this walnut come to life!
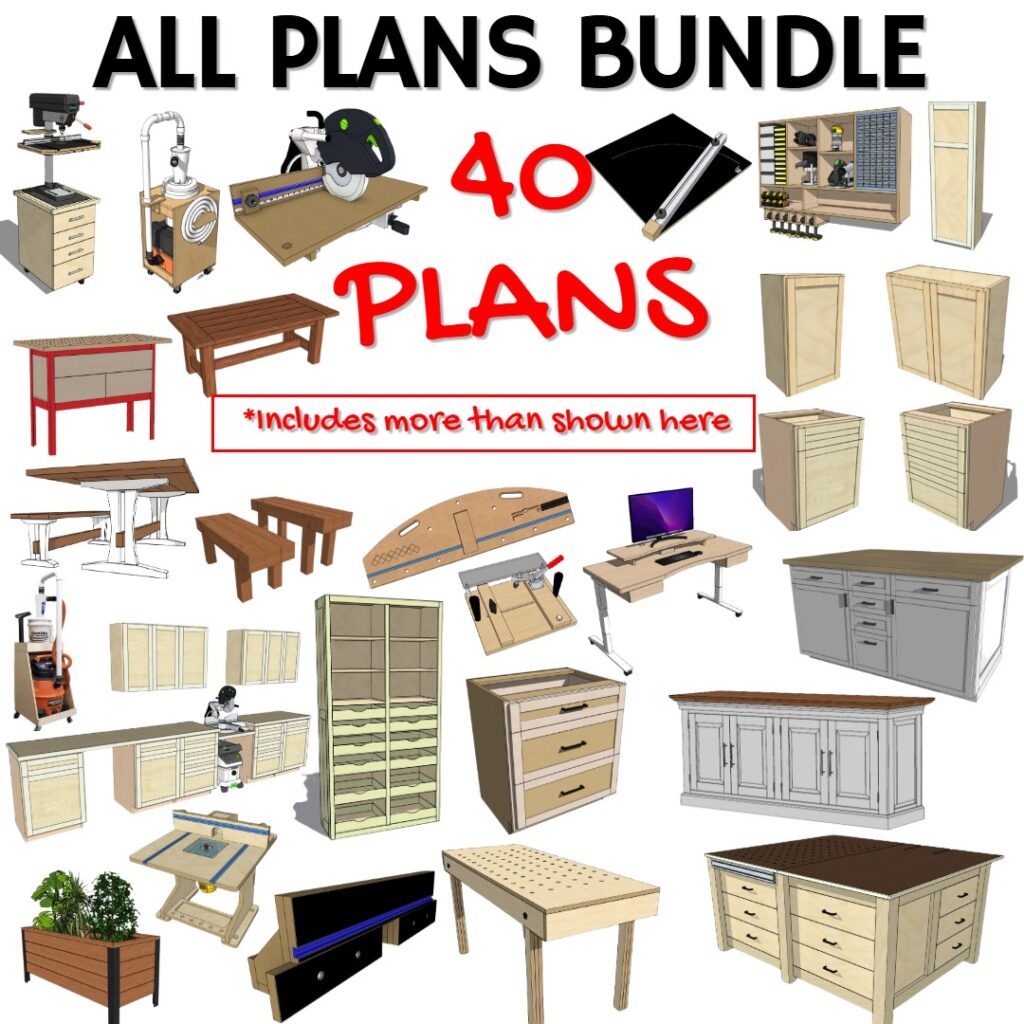
The Whole Enchilada Plan Bundle
The Whole Enchilada Plan Bundle! You want it all? You Got it! Get every plan I offer in one bundle at a savings of over 65%!
This product is a DIGITAL DOWNLOAD. You can immediately download your product off the order receipt page after the purchase. You will also immediately receive an email titled “Your MWA Woodworks order is now complete” that contains the download link in the “Downloads” section of the email.
Milling the Lumber for the Media Console
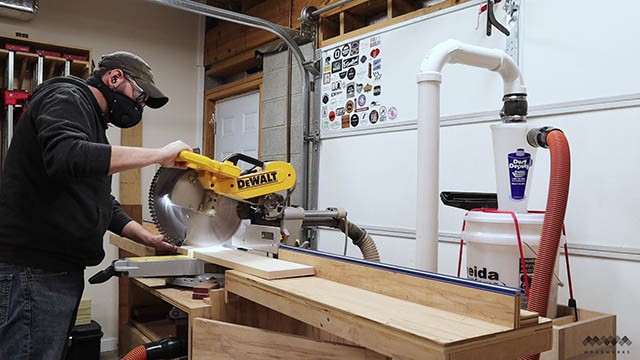
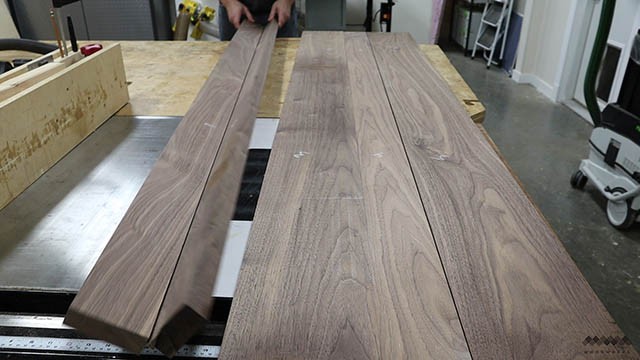
This project utilizes plywood and a bit of walnut for the top but the primary material is hard maple. I picked up about 30 board feet from my local hardwood dealer which should more than cover what I need. I begin by breaking down the lumber into rough blanks at the miter saw. From this material I will be able to get the parts to make four doors, two side panels and the face frame. I’ll have a bit let over for the trim molding later on in the project.
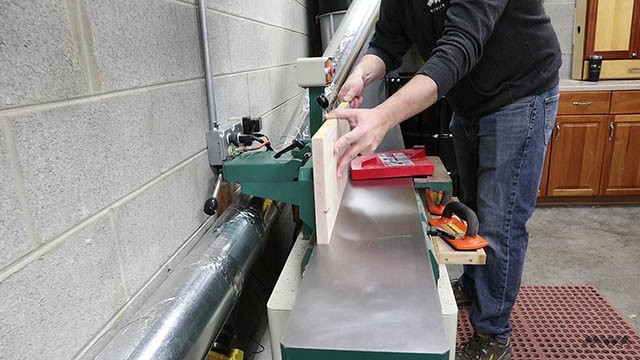
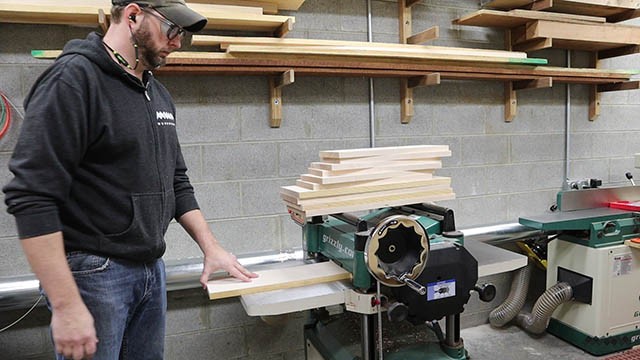
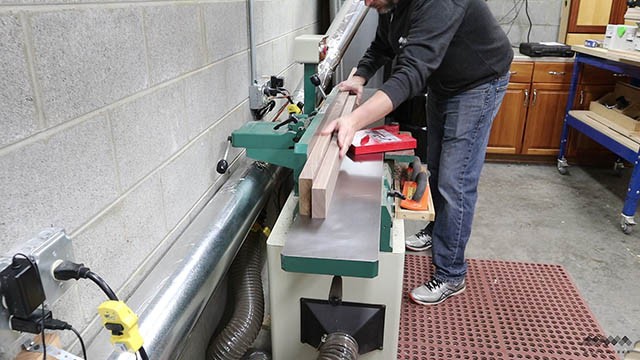
Once I have all my blanks cut for the media console I head off to do some milling. The lumber I bought was S2S which means it was surfaced on two sides already. Surfaced it may be, but flat it ain’t so I need to mill the pieces flat on one face at the jointer.
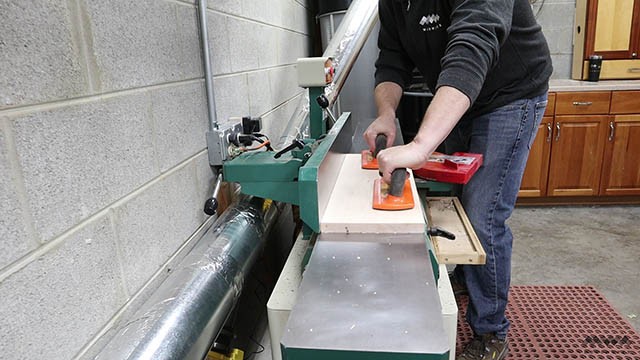
Then I run that flat face along the fence to square up one edge.
Next I take three steps to the left and run all my parts through the planer to get the opposite face flat and parallel to the face I jointed.
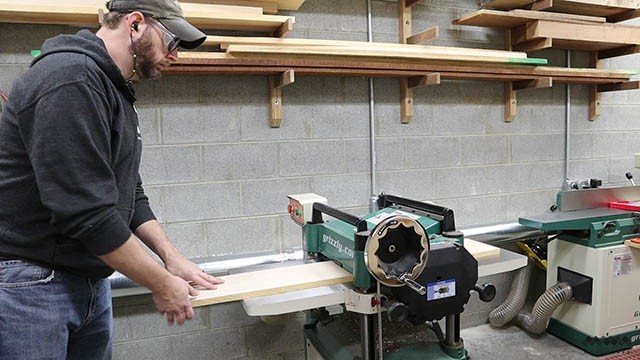
Once I’ve flattened that face I continue running the parts through the planer until I reach my target thickness of ¾”. Now each of my parts has two flat faces and one squared edge.
The Whole Enchilada Plan Bundle
The Whole Enchilada Plan Bundle! You want it all? You Got it! Get every plan I offer in one bundle at a savings of over 65%!
This product is a DIGITAL DOWNLOAD. You can immediately download your product off the order receipt page after the purchase. You will also immediately receive an email titled “Your MWA Woodworks order is now complete” that contains the download link in the “Downloads” section of the email.
Cutting the Media Console Parts Out
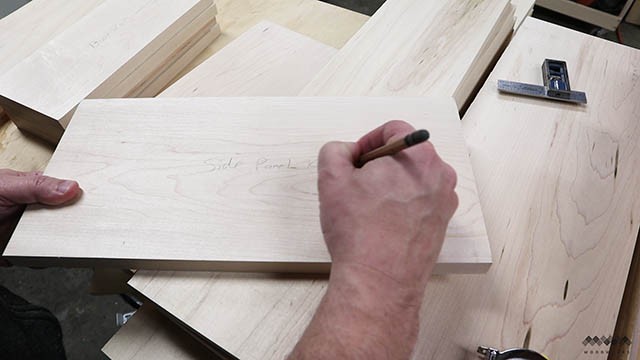
By the way, now that the parts are milled this is a great time to label everything so you know what needs to be cut out of each piece.
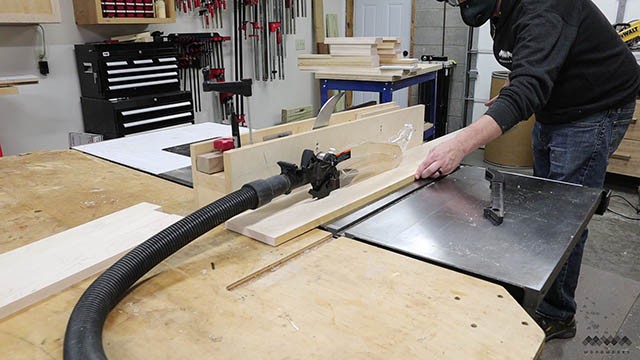
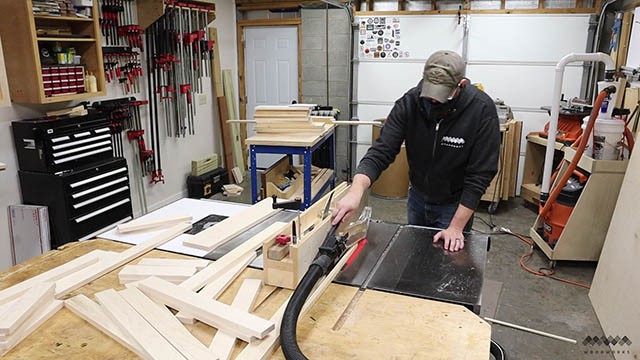
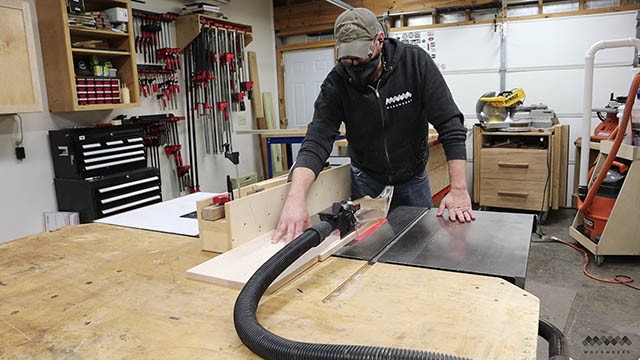
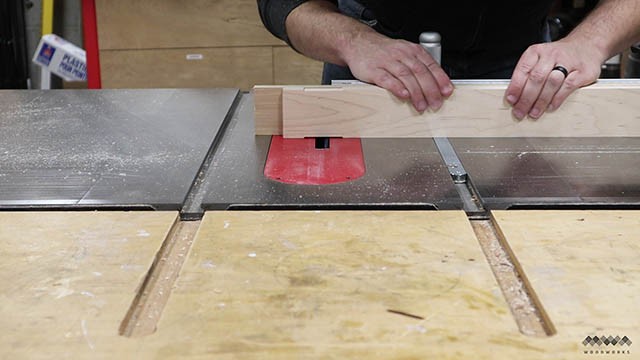
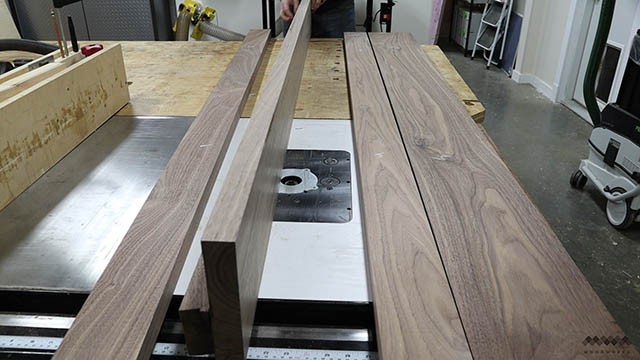
The next step is to trim all my rough blanks to final length. I’m using my miter gauge to cross cut these parts at the table saw. Doing this step now ensures that if I need to cut two identical parts from the same blank, I’m guaranteed that those two parts will be the same length.
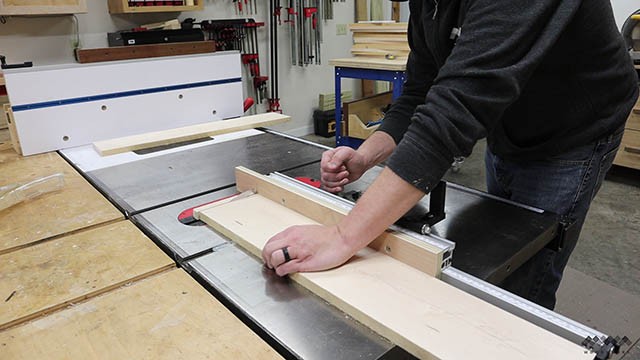
Finally its time to cut my parts from the blanks. I use that squared edge I made way back at the jointer to reference against the fence.
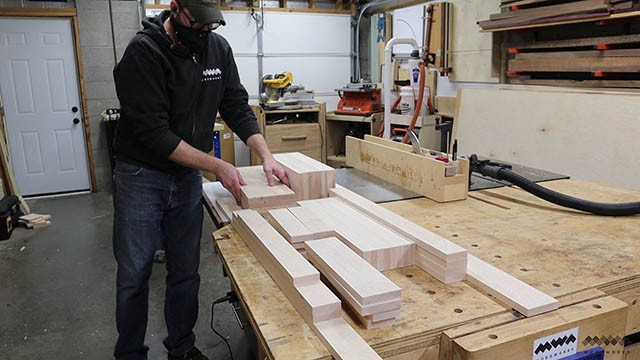
First I batch out the rails and stiles for each of the four doors and two side panels. Then the parts for the face frame and raised panels. This went quick fairly quick as I didn’t have to adjust the fence width many times but boy the parts started piling up quick.
After untangling this mess of parts its time to focus on joinery.
Tongue & Groove Joinery
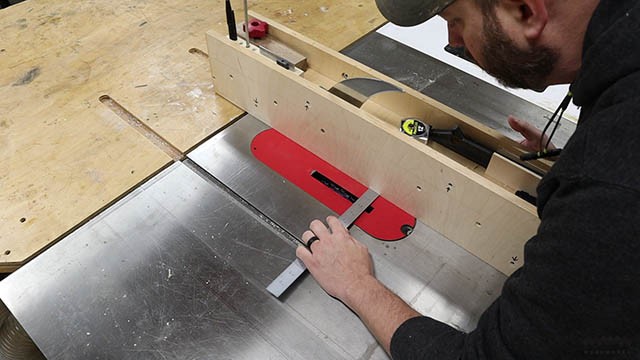
I install my dado stack in the table saw to cut nice ¼” flat bottom grooves. I’m cutting offset grooves so I measure my distance to the fence and get to cutting.
For my doors and side panels I am using traditional tongue and groove construction.
I like this method for two reasons. First, it doesn’t require any fasteners, its just one board glued into another board. And second the entire method of joinery can be done using just the table saw. No fasteners required and one tool needed to get the job done? Sign me up!
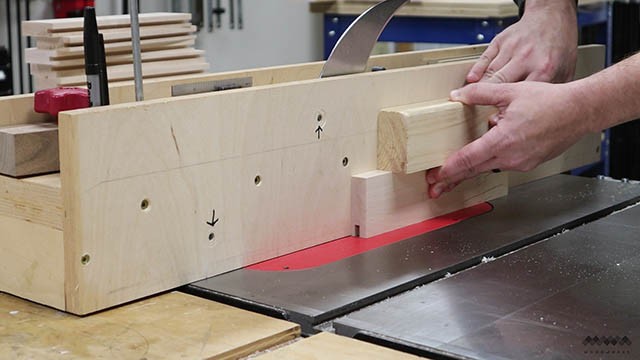
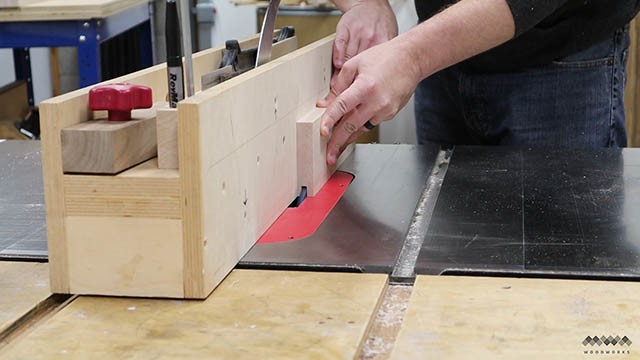
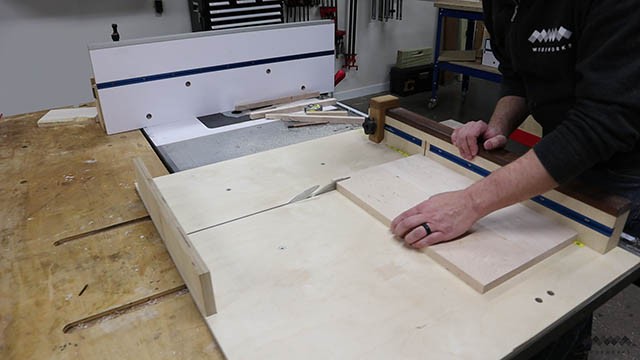
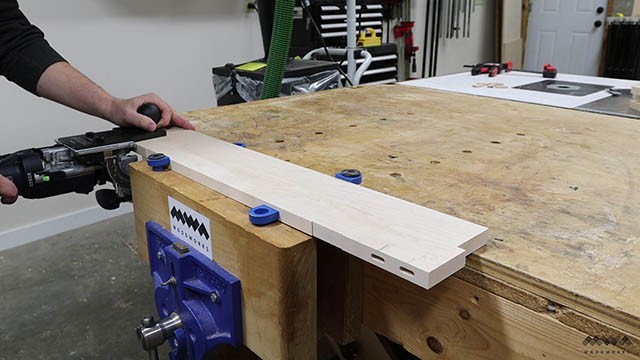
Once I have all the grooves cut I need to cut the tongues and I’m using my tenon jog for this job. You certainly CAN use your miter gauge and run the parts horizontally across the dado stack to hog the waste away but the tenon jig makes the process go faster and produces cleaner cuts. By the way if you want to make this fence and jig setup for your own saw, I have a video explaining how and a set of plans you can get.
The Whole Enchilada Plan Bundle
The Whole Enchilada Plan Bundle! You want it all? You Got it! Get every plan I offer in one bundle at a savings of over 65%!
This product is a DIGITAL DOWNLOAD. You can immediately download your product off the order receipt page after the purchase. You will also immediately receive an email titled “Your MWA Woodworks order is now complete” that contains the download link in the “Downloads” section of the email.
Creating the Door Panels
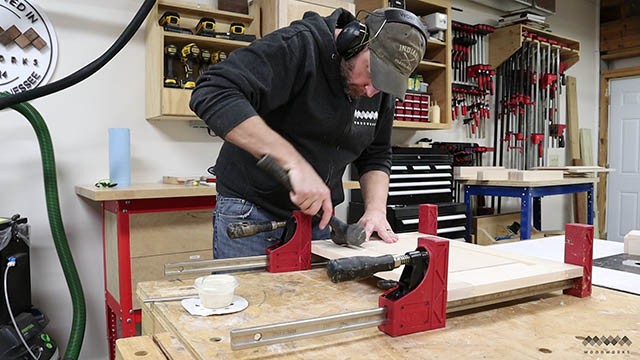
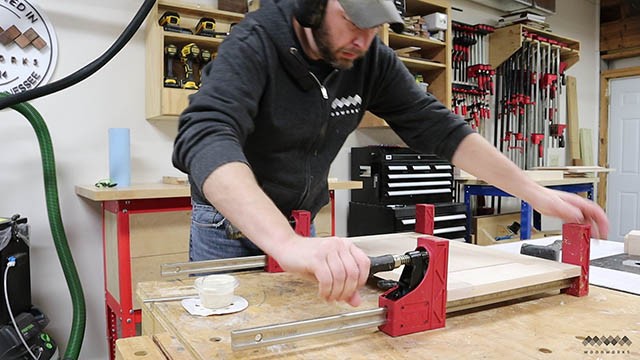
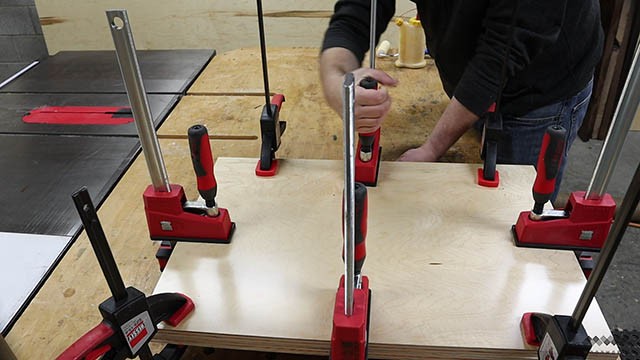
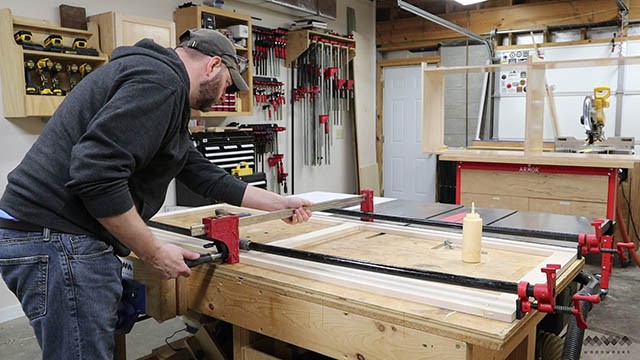
Finally I need to glue up my door panels which will be made up of two boards each because I couldn’t find material wide enough to make them with a single board, blah… an extra step.
But its simple enough and I ganged two panels together in the same clamps to make things more efficient.
Once the panels are out of the clamps I just need to trim them to final length using my cross cut sled. Oh, I have a video and plans for the sled too.
I need to get these panels sanded to 120 grit removing the glue lines and any runaway glue that might cause a high spot for the next step

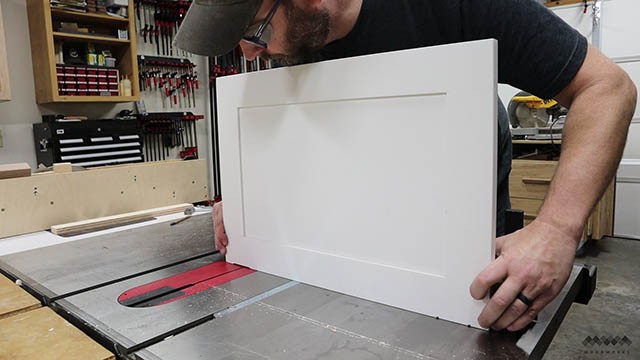
Next I rip each panel to final width and these guys are all ready to get raised.
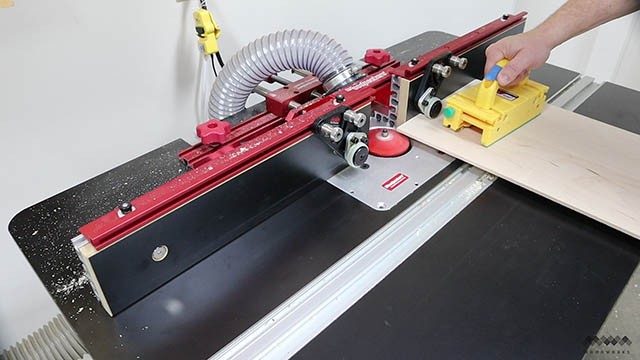
Creating a Raised Panel
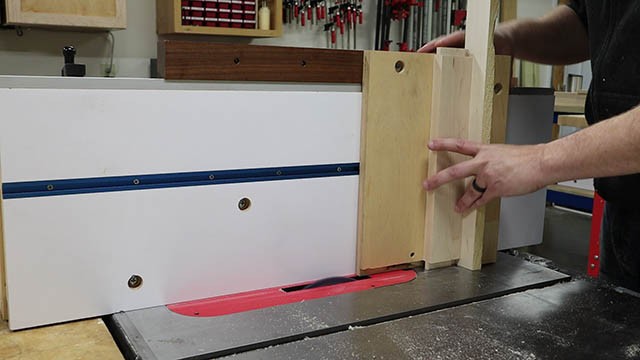
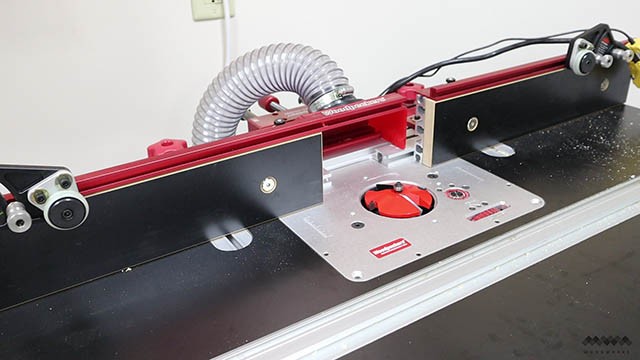
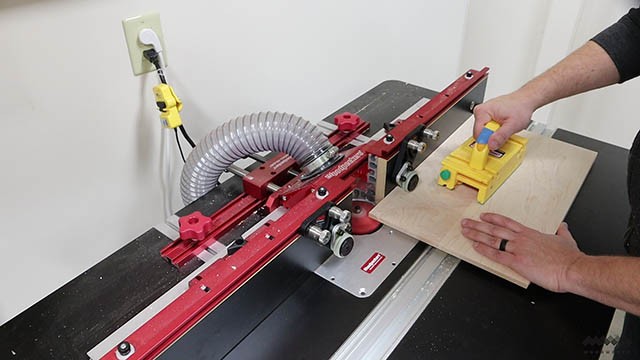
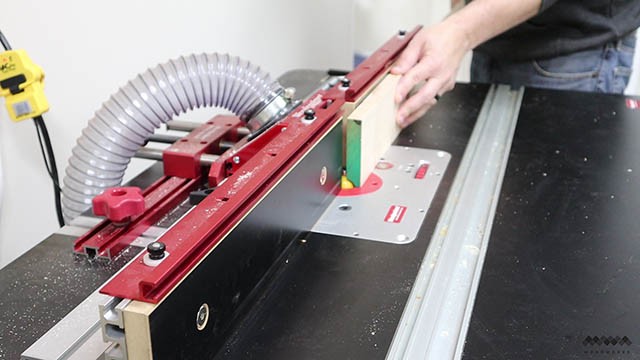
I’m using a panel raising bit on my router table.
Remember when using a bit this large to set your router to its lowest speed.
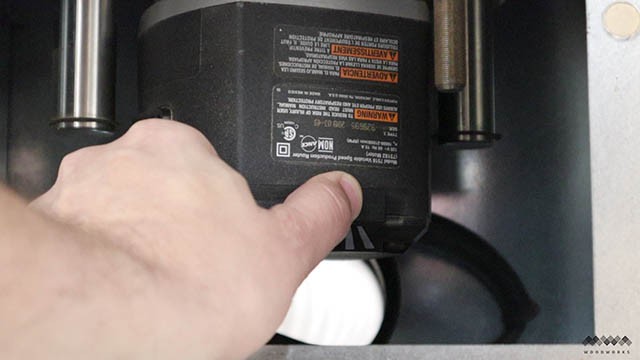
I begin by taking a shallow first pass to remove a good bit of the waste material. Remember, 3 and a half inch bit spinning at 10,000 RPMs. Take it slow.
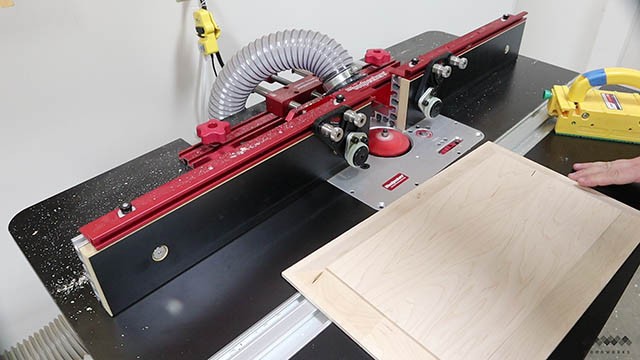
Next I move the fence back exposing the rest of the bit and cut the panel again.
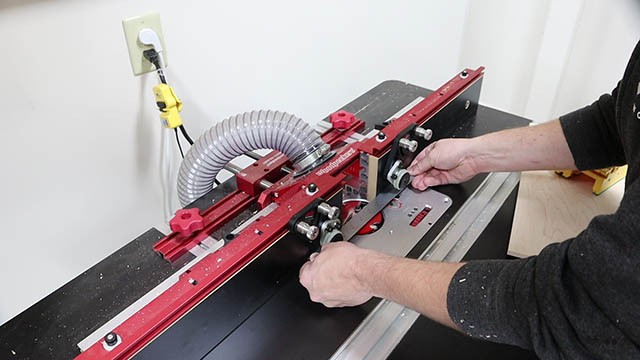
You’re still taking a big cut here. This video is sped up but I’m really moving at about 1 inch per second across the bit.
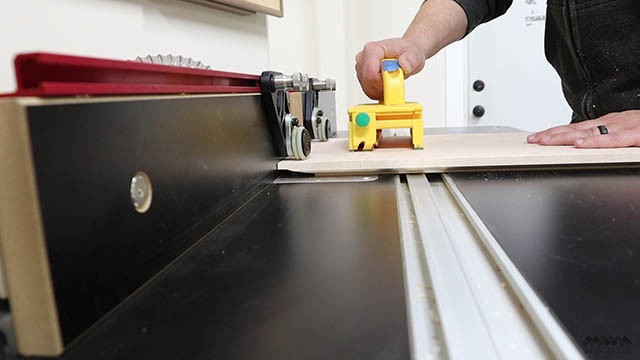
This first set of passes will probably leave some burn marks, so what I like to do is raise the bit just a hair and take one last cleanup pass.
You can move faster now because you’re really just cutting enough away to remove the burn marks. Super shallow cut.
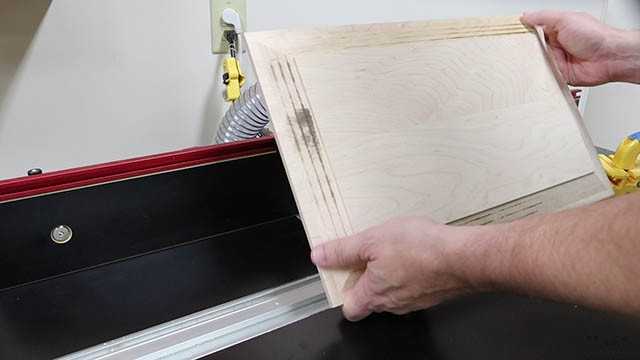
And here you can see how this produces a nice clean result.
I’m going to go ahead and sand these edges now before I glue up because its easier to do at this stage.

The Whole Enchilada Plan Bundle
The Whole Enchilada Plan Bundle! You want it all? You Got it! Get every plan I offer in one bundle at a savings of over 65%!
This product is a DIGITAL DOWNLOAD. You can immediately download your product off the order receipt page after the purchase. You will also immediately receive an email titled “Your MWA Woodworks order is now complete” that contains the download link in the “Downloads” section of the email.
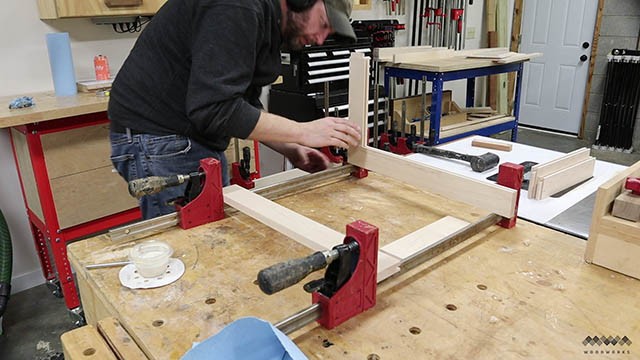
Frame & Panel Door Construction
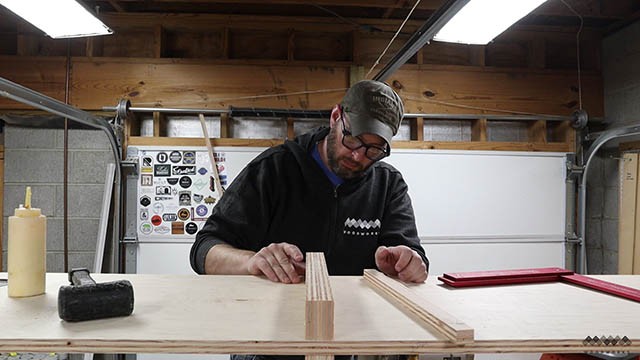
Now it’s time to glue up the doors and side panels. This really is pretty easy, just put some glue on the tongues and slide em in to the grooves.
Is there a mature way of describing that? Hmmmm……
Now just add the panel, it should fit easily with not much force needed.
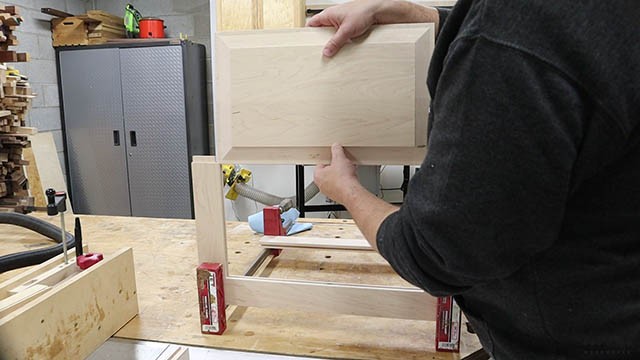
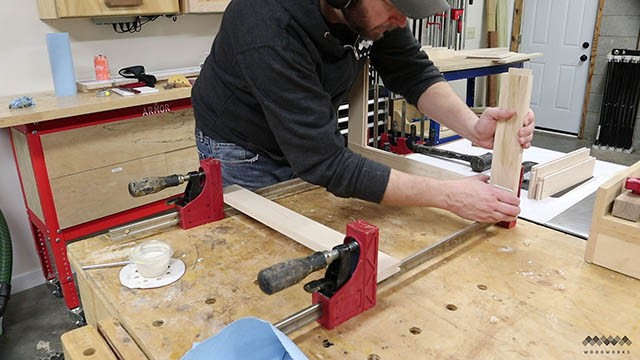
Finally add the other stile to complete the frame and panel door and clamp it up.
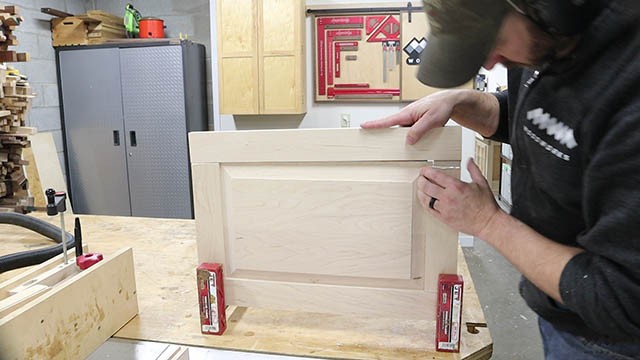
Slight adjustments may need to be made so use a rubber mallet or dead blow for this to reduce the chance of denting up the material.
Really if you cut your parts square you should end up with a square panel pretty easily. Just a couple taps here and there but that’s it.
Once those are out of the clamps I sand the frame and also the middle of the panel. Remember I already sanded the profile.
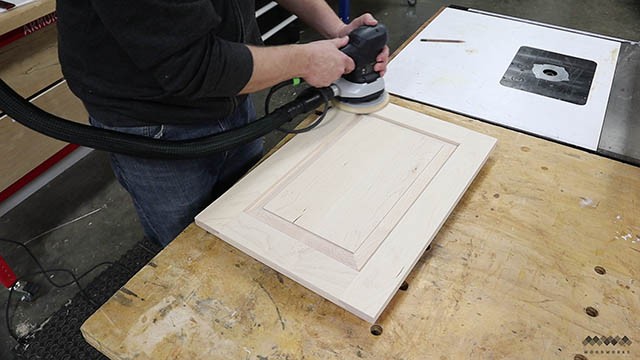
And that’s it. Four perfect little doors and two side panels all ready to become a cabinet.

The Whole Enchilada Plan Bundle
The Whole Enchilada Plan Bundle! You want it all? You Got it! Get every plan I offer in one bundle at a savings of over 65%!
This product is a DIGITAL DOWNLOAD. You can immediately download your product off the order receipt page after the purchase. You will also immediately receive an email titled “Your MWA Woodworks order is now complete” that contains the download link in the “Downloads” section of the email.
Cutting Parts for the Base of the Media Console
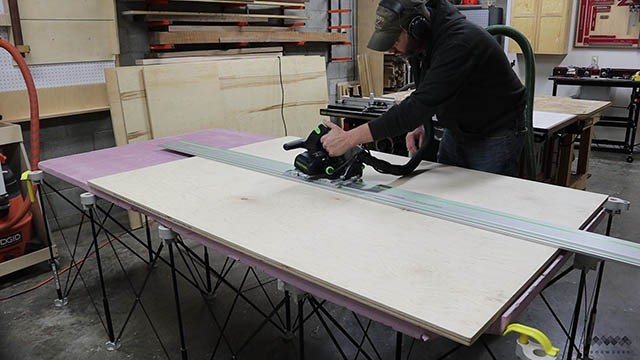
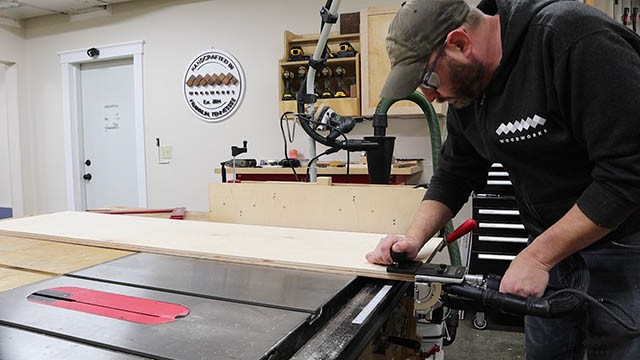
OK, I now need to cut my case parts out of this ¾” plywood. All the plywood parts come out of single sheet which is nice. The track saw makes quick work of this. I just love this setup for breaking down plywood.
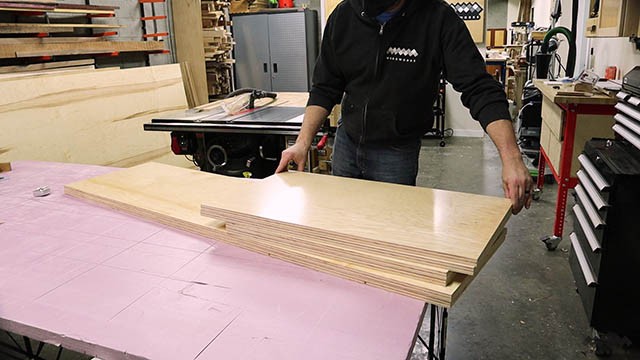
I then cut my dividers and shelves to width and that’s it. Six plywood parts in total.
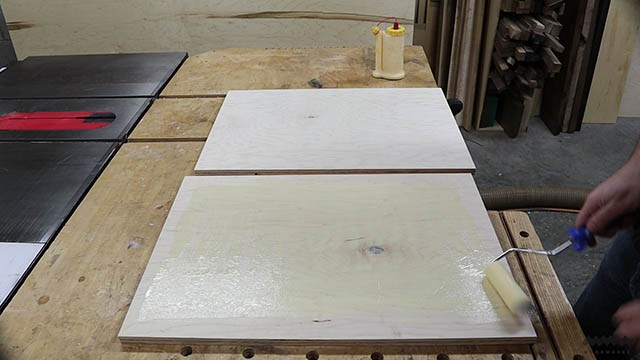
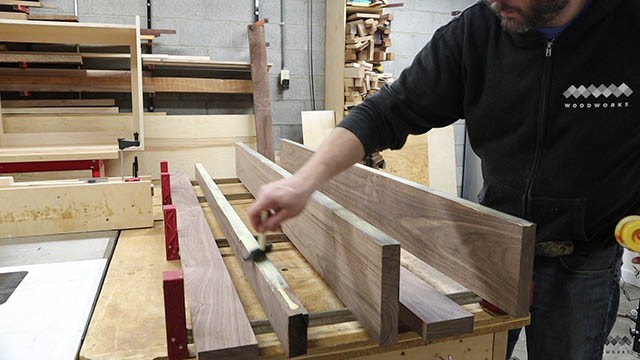
The center divider of the media console gets glued together so I spread an even layer of glue with a roller and go and find all the small clamps I have to get a good seamless glue-up.
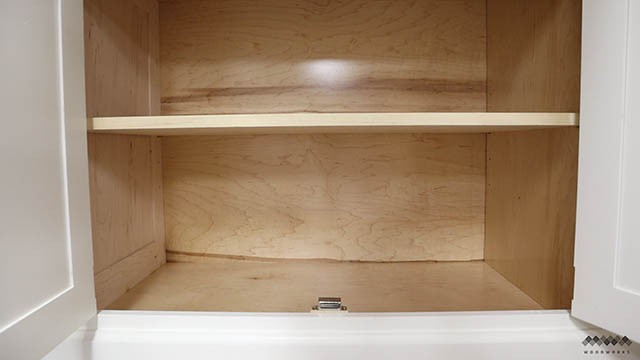
Adding Shelf Pin Holes to the Media Console
One detail that I think is easiest to address now are the shelf pin holes.
You can do this step once the case is built, but I find it easier and quicker to do before everything is assembled.
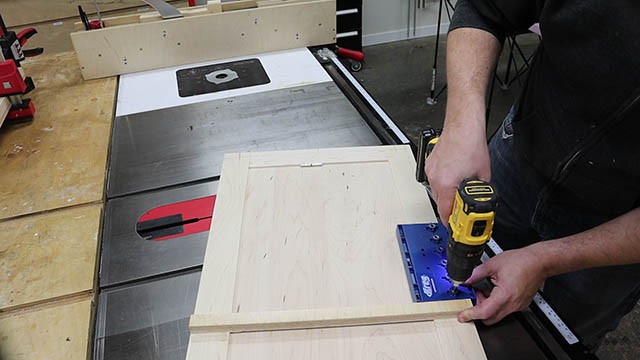
I use some double sided tape and a strip of plywood to make sure I place the shelf pins in line with one another on both sides and this shelf pin jig is pretty handy at helping me get evenly spaced holes.

Joinery for the Base
Next I begin working on the joinery for the cabinet.
I’m using dominoes to fasten the case together, however dowels or pocket screws can be substituted here without changing anything. This will be reflected in the plans for this build as well so no matter what joinery you use the plans will work for you.
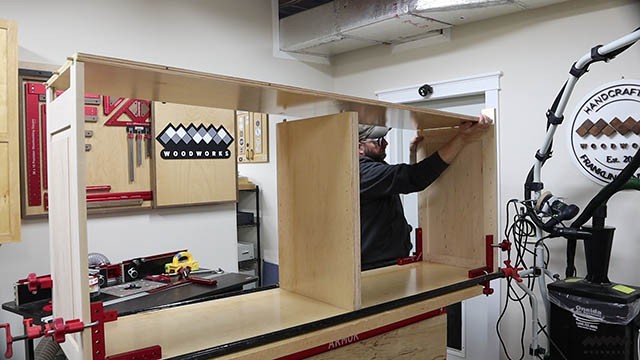
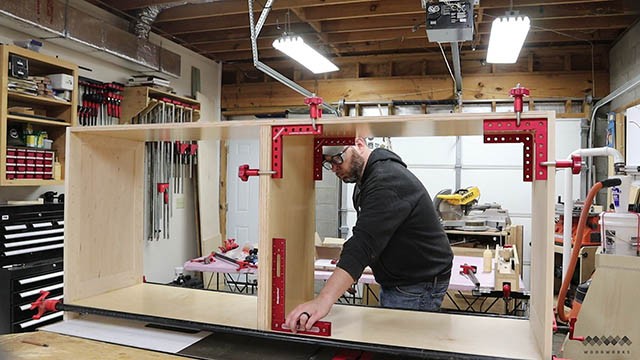
Assembling the Media Console
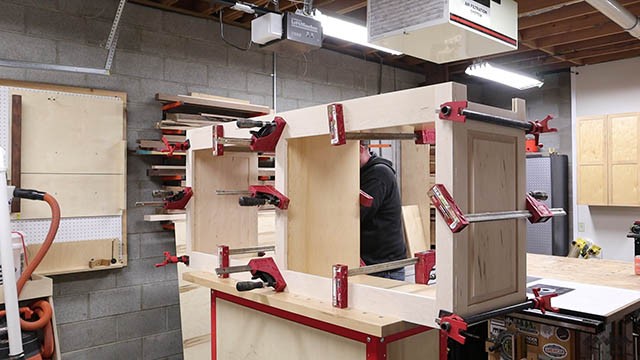
I’m using a total of 16 dominos to build this part of the media console so the joinery is cut in no time and it’s time to begin assembly. Each mortise gets some glue and a domino is tapped into place. I then add a little more glue to the domino and tap the side panel into place. Whenever I do cabinet construction with dominos I make the mortises a little long to allow for lateral adjustments to be made.
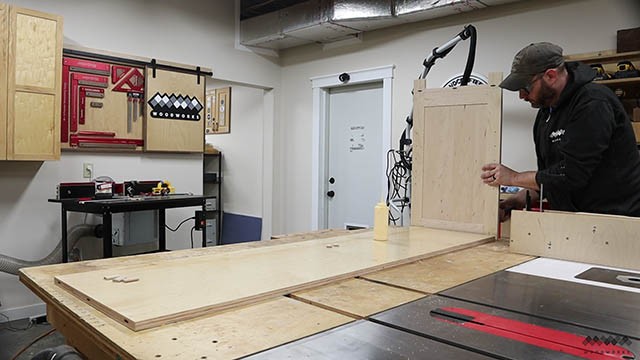
I then repeat the same procedure for the other side where you can get a better look at what I did.
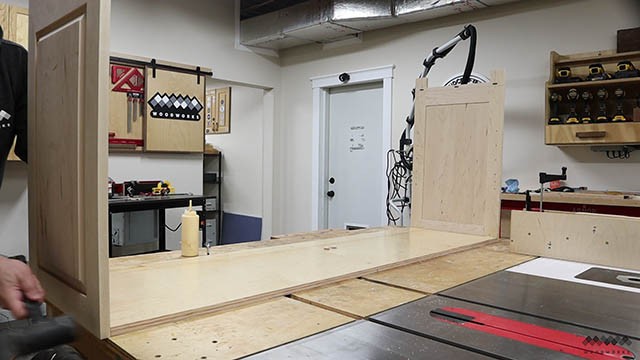
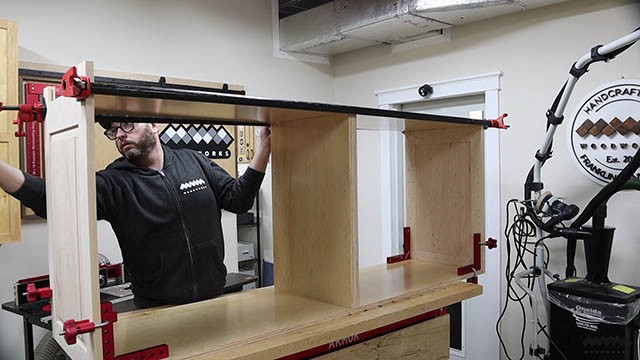
I then pull out my longest pipe clamps which are just barely long enough for this job and make sure everything is square. It was here that I realized that these were the only two clamps I had that would reach this far so I waited about an hour to let this dry before I continued.
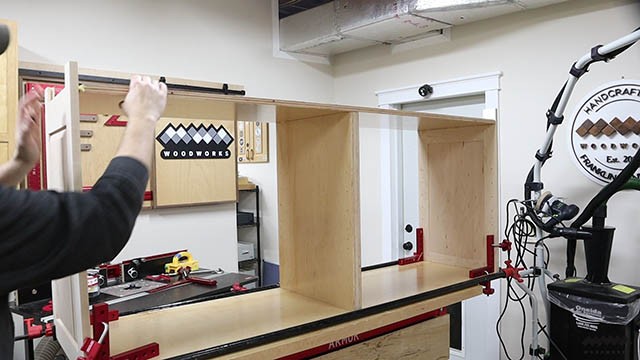
I then added the center divider which slipped on nice and easy.

Now comes the fun bit. In order to get the bottom of the media console on I have to line up dominoes in two different directions. I secured one side first and then work on getting the dominoes on the other side partially inserted by bending the ply slightly.
This allows me to go back and pop the center divider in place and finish off the side and the basic case construction is complete.

I just move my two clamps from the top of the cabinet to the bottom while leaving the clamping squares in place to make sure everything stays square.
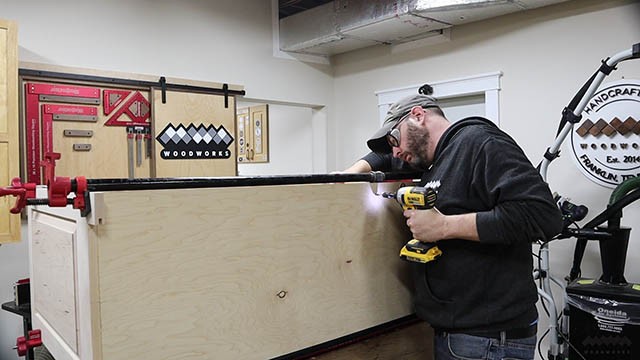
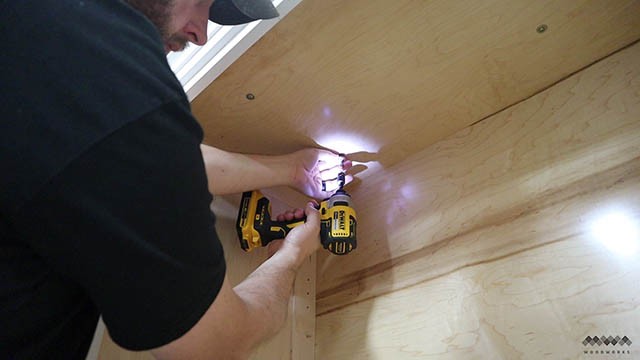
Securing the Center Divider
I also pre drilled and installed screws to act as clamps for the center divider. Once the glue is dried I removed these screws, but they will never be seen where they are so they can just be left where they are.
A quick double check for square and onward I go.
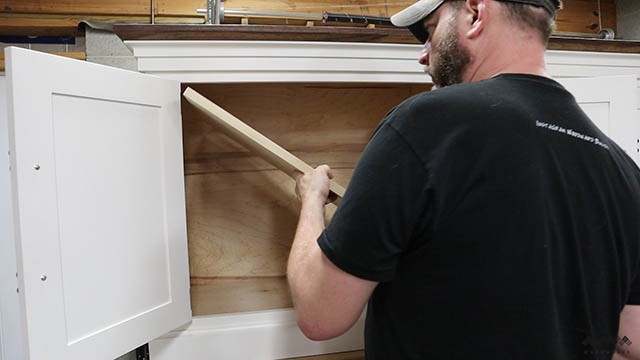
One final detail on the case is adding a center support to the bottom. This console is six feet long and this will prevent any kind of sagging in the middle over time.
The Whole Enchilada Plan Bundle
The Whole Enchilada Plan Bundle! You want it all? You Got it! Get every plan I offer in one bundle at a savings of over 65%!
This product is a DIGITAL DOWNLOAD. You can immediately download your product off the order receipt page after the purchase. You will also immediately receive an email titled “Your MWA Woodworks order is now complete” that contains the download link in the “Downloads” section of the email.
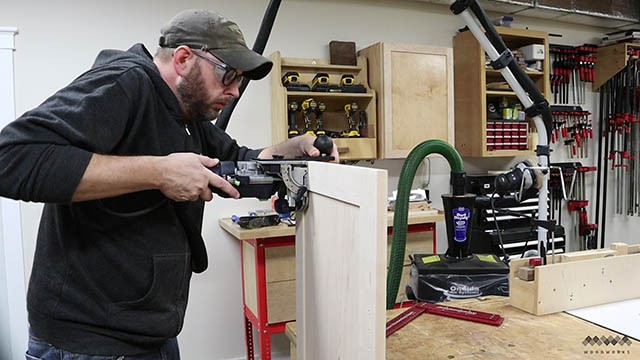
Making The Face Frame
While the cabinet finishes drying I focus next on the face frame. I start by cutting the hinge mortises in the sides of the frame. Depending on the hinges, you may need to adjust the depth of cut here or hinge mortises may not be needed at all.
I’m using dominos again for the face frame construction, so I plunge my mortises at my pencil marks and proceed to assembly.
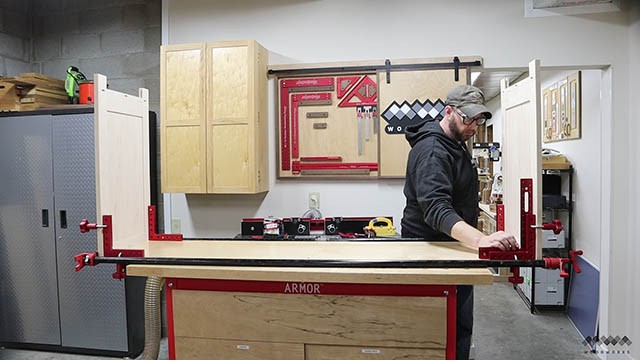
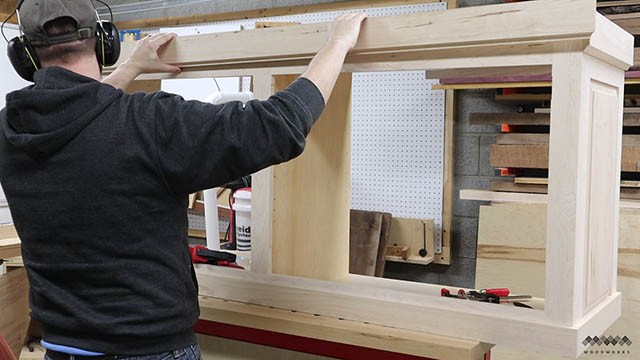
The face frame goes together in a matter of minutes and three clamps hold it all together.
I’m installing the face frame with glue and for this job I like to use a thick quick setting wood glue. It doesn’t run or drip and it dries a lot faster than regular wood glue.

I just slap the face frame on and get to clamping…. clamping…. And clamping…… and clamping.

This is what I get for not wanting to use a brad nailer…….
Making The Media Console Top
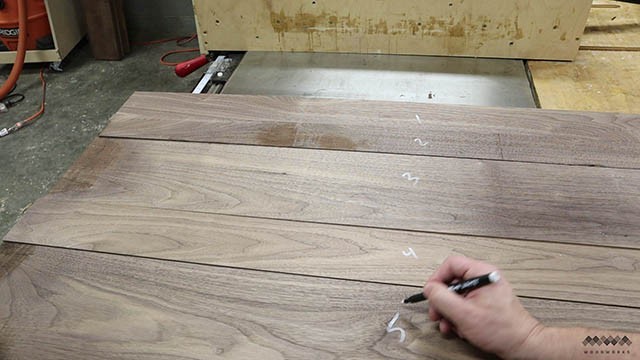
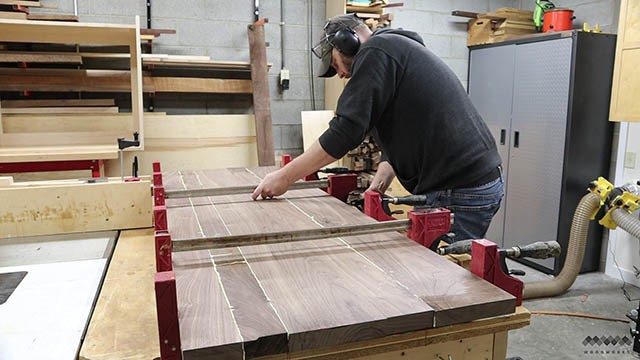
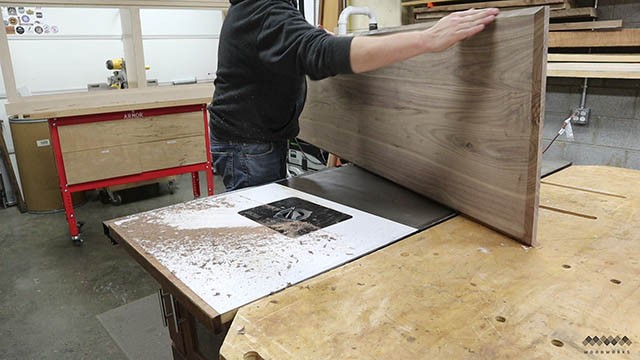
With the cabinet glued up its time to focus on making the top of the console. Since I’m painting the console white I thought it would be great to contrast that with a walnut top. So choice! To do that I first need to lay out how I want to glue the boards together. While I pay attention to grain direction, I focus on aesthetics more than anything. The top is going to be fastened to the console with screws so warping really isn’t an issue here and I’d rather the most beautiful looking top I can get from the wood.

At the table saw I rip clean lines as well as cut out any unwanted defects like big knots, cracks or wane.

I then order my boards in sequence so I know how they go together.
Next I grab each set of boards and run them across the jointer together. This ensures a nice tight joint line when gluing up.
First I grab 1 & 2 then I grab 2 &3, 3&4 and so on until I have jointed each pair being careful to place them back in the same orientation at the workbench.
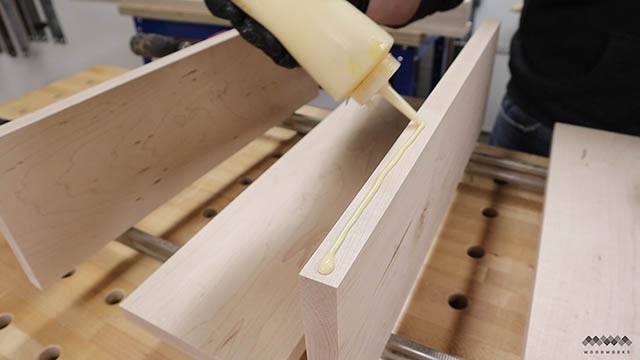
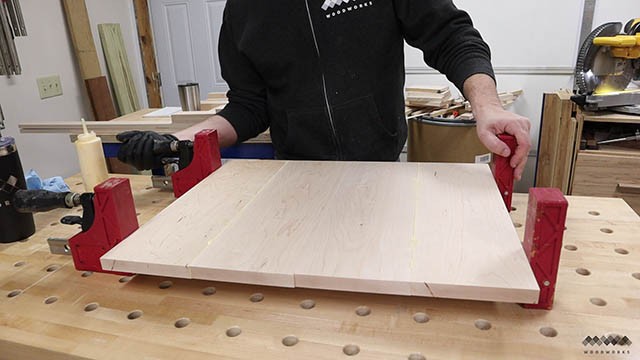
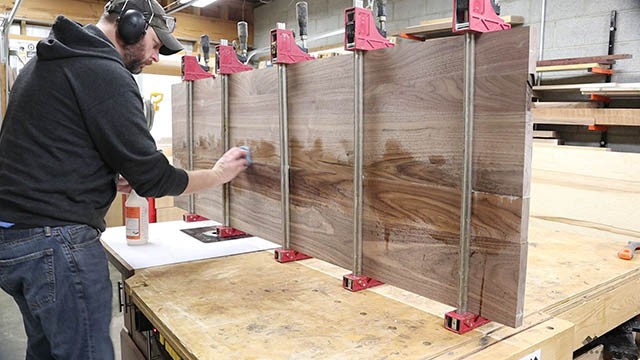
Now with a little glue and a little mindfulness I glue them up.
I’m not using dominos or biscuits for alignment. The top isn’t that big so I just am super careful that each joing it seamless and aligned to one another as I clamp. I glued the top up in two halves so I could run each half through the planer before finally gluing the two halves together. Again, being upper careful of getting an aligned glue joint because now I cant go back to the planer. The only way to fix it would be to sand it or use a hand plane.
Gluing Up The Top
I also wash the glue line with water this time so I don’t have a ton of sanding or scraping to do at the end.
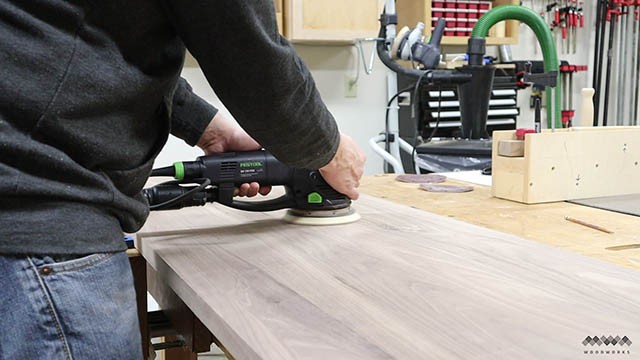
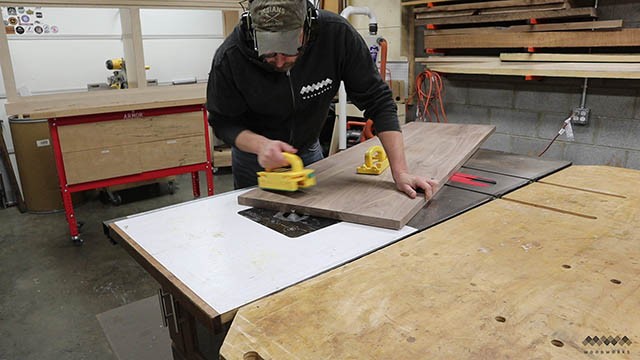
Once the top was out of the clamps I used my tracksaw to trim the ends to length.
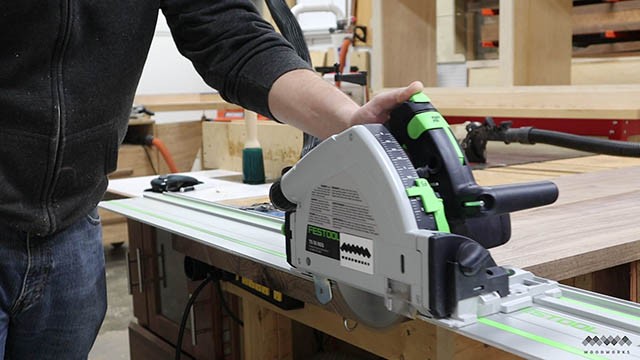
I then gave everything a thorough sanding starting with 80 grit and stopping at 150 because I am using Rubio Monocoat to finish the top I cant sand beyond that grit.
One other detail I wanted to add to the top was to chamfer the underside. I love this look as it will continue the angular transition between the molding and the top of the cabinet in a way that I think looks awesome. I just put a 45 degree chamfering bit in my router table and it did a great job on this task.
After finding the depth that looked best to me, I continued on to the other three sides.

The Whole Enchilada Plan Bundle
The Whole Enchilada Plan Bundle! You want it all? You Got it! Get every plan I offer in one bundle at a savings of over 65%!
This product is a DIGITAL DOWNLOAD. You can immediately download your product off the order receipt page after the purchase. You will also immediately receive an email titled “Your MWA Woodworks order is now complete” that contains the download link in the “Downloads” section of the email.
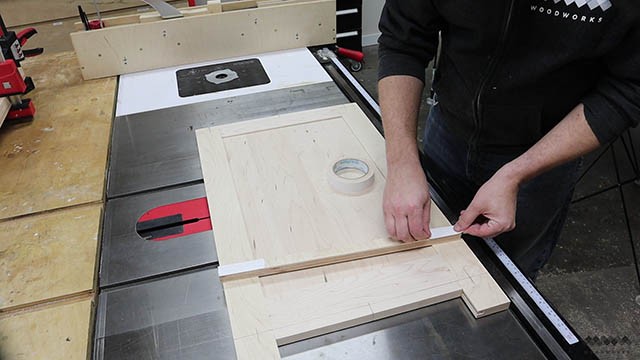
Make Your Own Case Molding
For the molding on this console I decided to make my own simple profiles using the basic bits I had. The big box stores just didn’t have anything I liked for this project and they pretty much sell pine or mdf molding which I didn’t want. I had plenty of hard maple left to cut my own and with the virus quarantine it was hard to get out and shop for other options so that’s what I did.
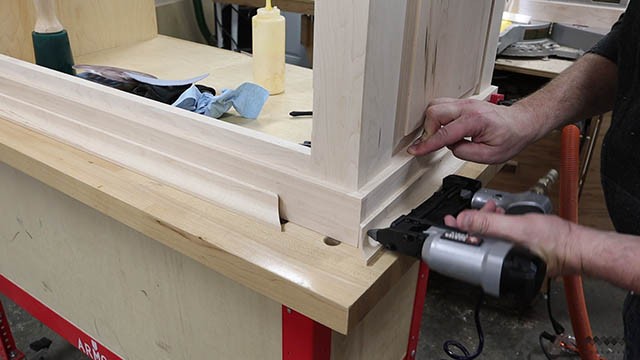
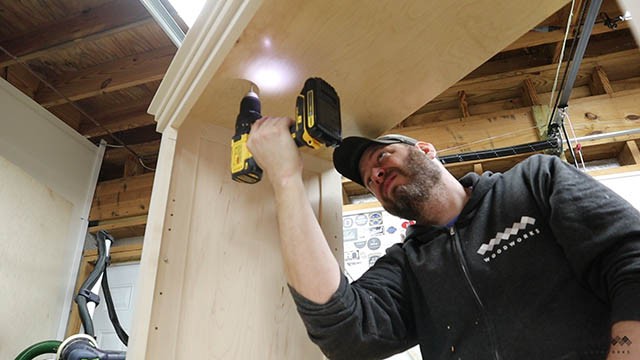
All the molding was glued on and clamped in place with mitered corners.
I attached the molding to the top the same as the base molding…
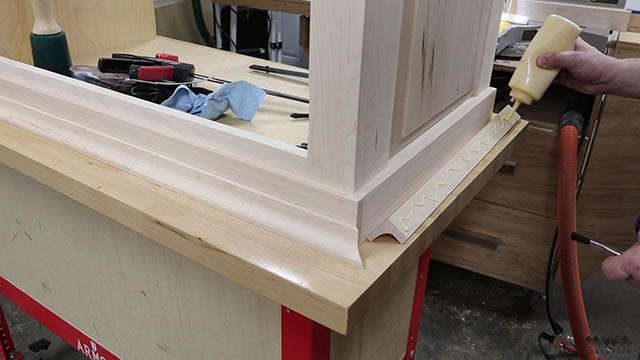
but the miters were being finicky so I broke down and used my pin nailer to help keep everything in place.
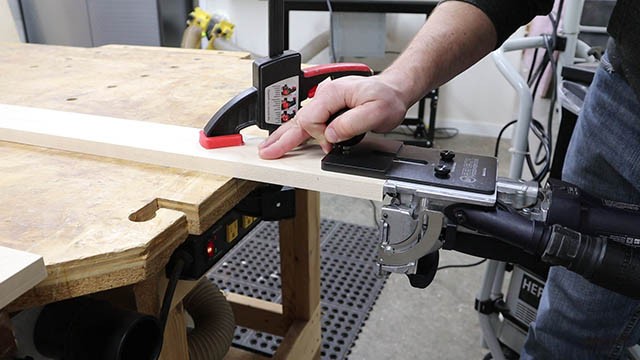
Adding Edge Banding
Another small detail I needed to tackle was edge banding the plywood shelves. I actually found pre-finished maple edge banding at my local plywood supplier. So clutch!
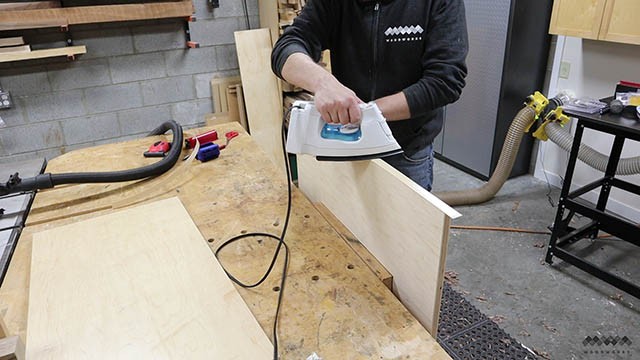
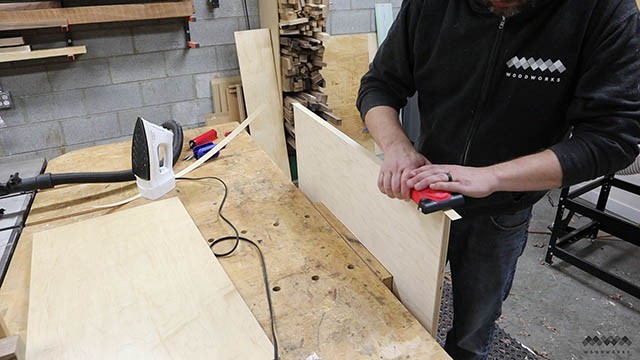
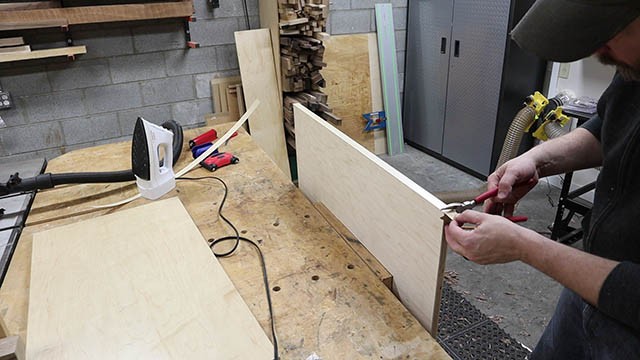
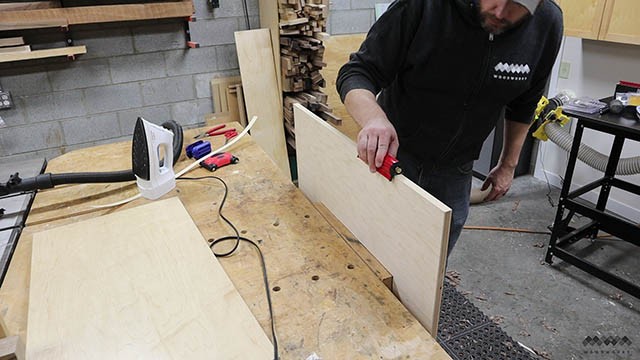
This is iron on banding and so I after applying a little heat to activate the glue I used this little roller to make sure everything was tight.
Next I trimmed the ends with a flush trimmer. You could also pare the ends with a chisel if you don’t have one of these tools.
After the glue is good and dry I used this sweet edge band cutter to remove the waste on both sides with a single pass!

And finally I used this edge breaker which is a great way to sand down the corners to prevent the edge banding from chipping down the road. I put edge banding on both ends of the ply so if one end got damaged from use over time I could flip the shelf around and have a fresh edge!
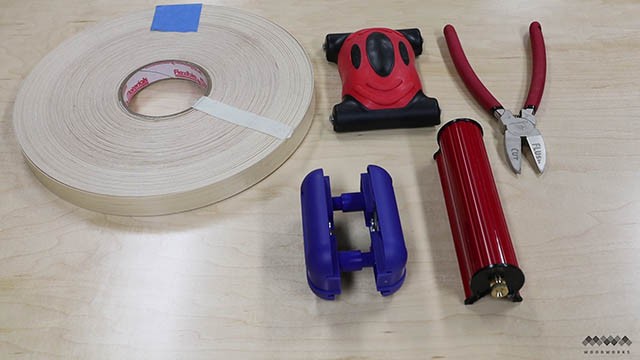
Here’s a look at all those tools I used for this edge banding. Links to all these are up top in the materials list!
The Whole Enchilada Plan Bundle
The Whole Enchilada Plan Bundle! You want it all? You Got it! Get every plan I offer in one bundle at a savings of over 65%!
This product is a DIGITAL DOWNLOAD. You can immediately download your product off the order receipt page after the purchase. You will also immediately receive an email titled “Your MWA Woodworks order is now complete” that contains the download link in the “Downloads” section of the email.
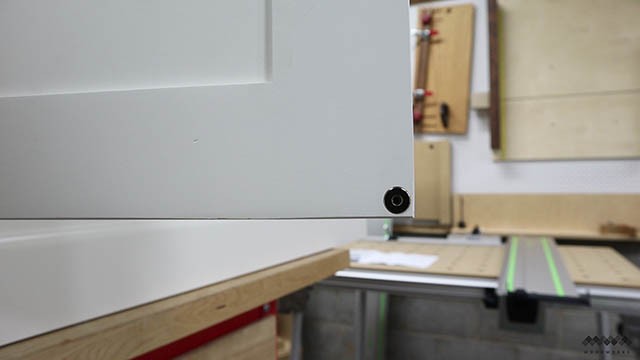
Final Details Before Finishing
The walnut top is going to be fastened to the console with screws. The front edge of the cabinet I drilled four holes with a 1/8” drill bit.
The back row of holes was done with a 3/8 drill bit that I wiggled front to back to make an elongated hole. This will allow the top to expand and contract as needed.
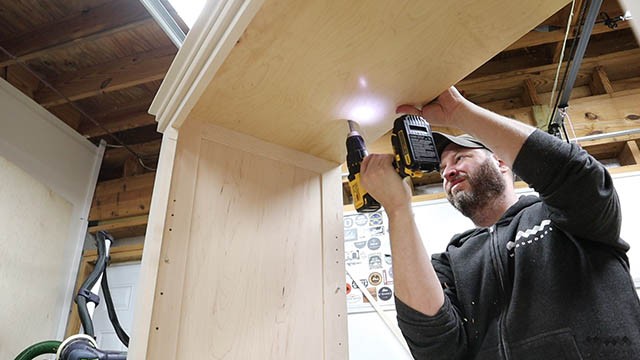
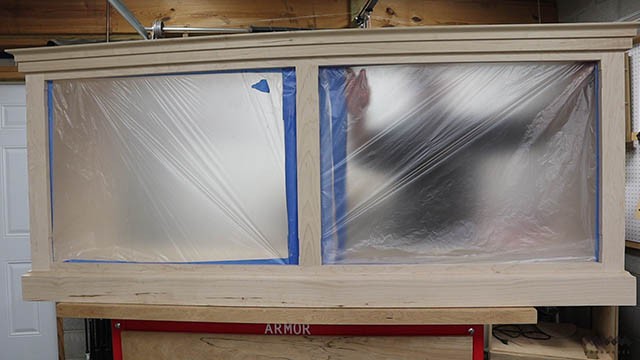
Next I prepped for finish by masking off the inside of the cabinet.
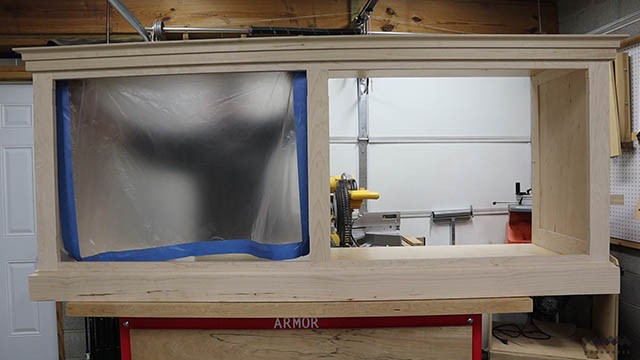
I am going to be spraying the cabinet and don’t want to get overspray on the inside.
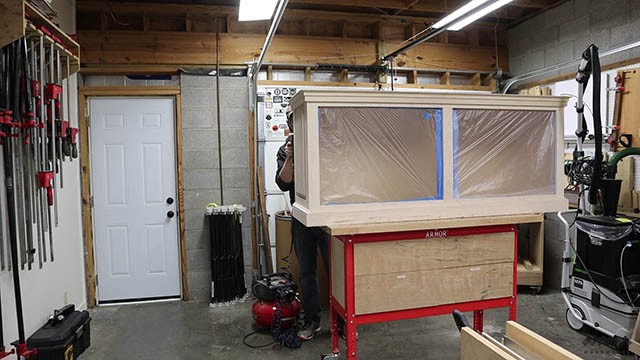
Finally I tacked on the back of the cabinet with my brad nailer and its off to spray some finish.

I didn’t film the finishing process because I didn’t want to harm my camera.
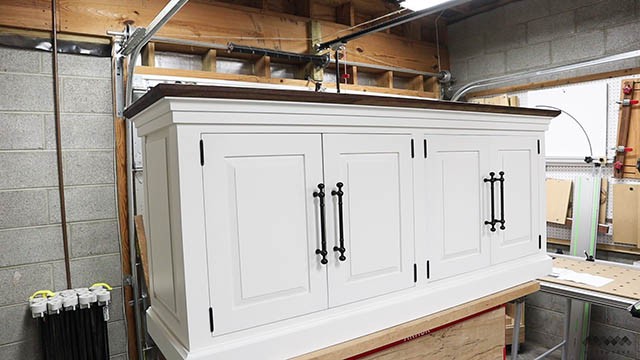
Bringing This Project Home
Once everything was finished I cut the hinge mortises in the doors. The depth and size of these depends on the exact hinges used so I save this step til the end when I’m installing the doors for a better fit.
I then slide the top onto the cabinet and make small adjustments until I’m happy with the placement.
Each screw will get a washer before I fasten the top down I like doing this because I find it helps add clamping pressure to keep the top in place and keep the screw from being driven too deep into the plywood.
All that’s left is to reinstall the shelves and add the doors.
I added magnetic catches by cluing a small block of plywood to the inside of the face frame and then added small rare earth magnets to the doors for extra hold.
I think this console turned out super clean. I’m so stoked to add it to our living room!
The Whole Enchilada Plan Bundle
The Whole Enchilada Plan Bundle! You want it all? You Got it! Get every plan I offer in one bundle at a savings of over 65%!
This product is a DIGITAL DOWNLOAD. You can immediately download your product off the order receipt page after the purchase. You will also immediately receive an email titled “Your MWA Woodworks order is now complete” that contains the download link in the “Downloads” section of the email.


