
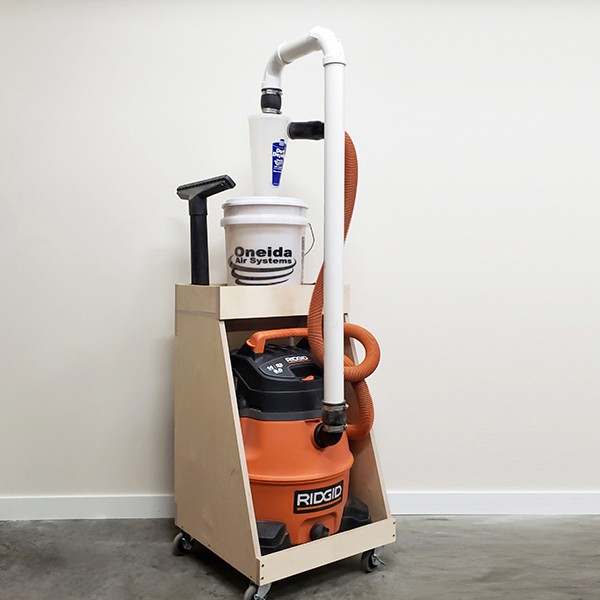
Keep reading to learn how I built this dust collection cart step-by-step. This is a project you can do in one day to improve your shop’s dust collection. My dust collection cart has less than a 2 sqft footprint and 3″ casters making it less obstructive and easy to get out of your way! You can follow these basic instructions and adjust the dimensions to fit your own shop vac or if you are starting from scratch you can pick up the vacuum I have HERE.

DID YOU KNOW: You can follow me on these social media platforms!
Instagram · YouTube · Facebook · Pinterest
| Materials & Supplies* | Tools* |
| (1) 3/4″ 4×8 Baltic Birch Plywood | TS55 Tracksaw |
| (4) 3″ Casters | Magswitch MagJig 150 |
| (2) Bungee Cords (red) | 2 3/4″ Hole Saw |
| (1) Oneida Dust Deputy Deluxe | |
| (1) 2″ PVC 10′ | |
| (2) 2″ PVC 90° long sweep elbow | |
| (2) 2″ PVC Rubber Coupling | |
| (1) Ridgid WD1450 Shop Vac | |
| 1 1/4″ min. length screws |
*I use affiliate links, please see details on my disclaimer.

Dust Collection Cart Plans
Turn your ordinary shop vac into a cyclone dust collection cart with less than a sheet of plywood! This is a great project for beginner woodworkers looking to build their shops or experienced woodworkers who want to control every bit of dust in their workspace!
This product is a DIGITAL DOWNLOAD. You can immediately download your product off the order receipt page after the purchase. You will also immediately receive an email titled “Your MWA Woodworks order is now complete” that contains the download link in the “Downloads” section of the email.

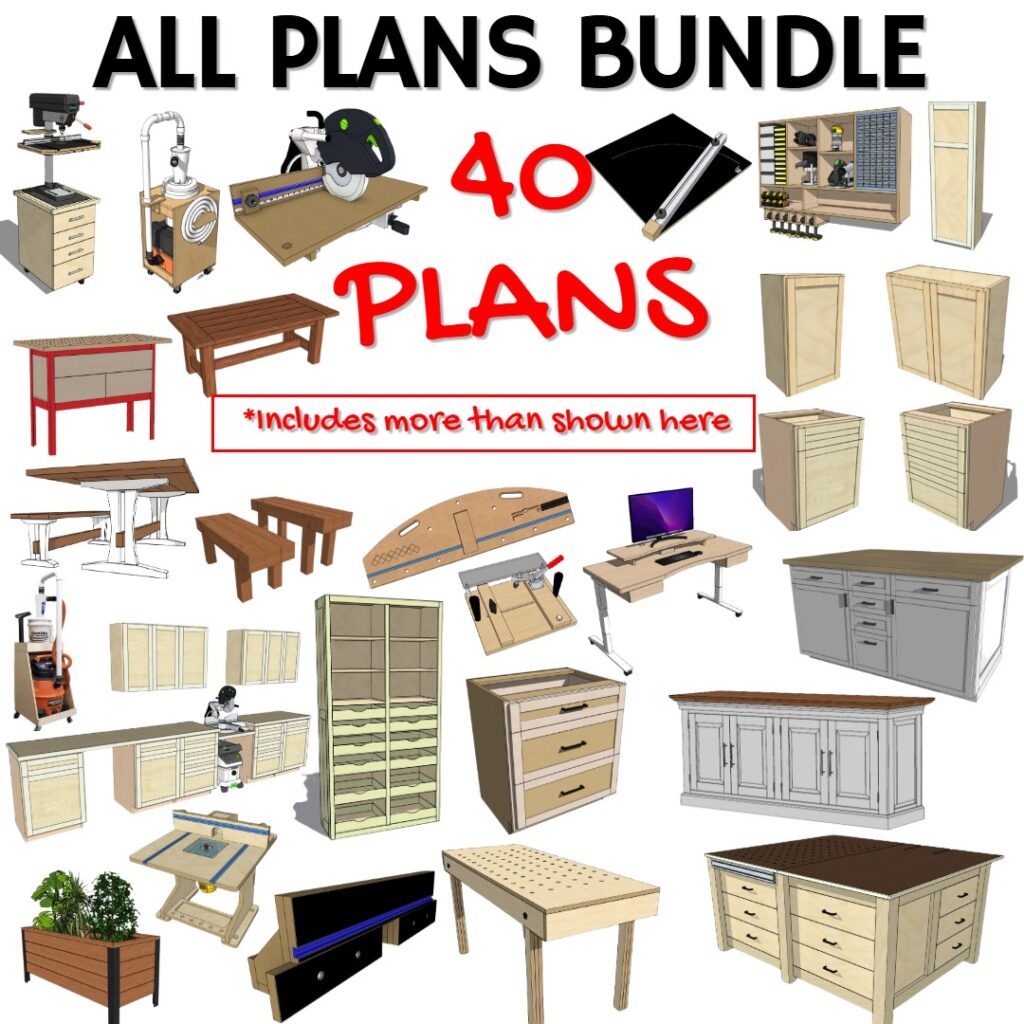
The Whole Enchilada Plan Bundle
The Whole Enchilada Plan Bundle! You want it all? You Got it! Get every plan I offer in one bundle at a savings of over 65%!
This product is a DIGITAL DOWNLOAD. You can immediately download your product off the order receipt page after the purchase. You will also immediately receive an email titled “Your MWA Woodworks order is now complete” that contains the download link in the “Downloads” section of the email.
How to Build a Dust Collection Cart
My dust collection cart is a pretty straight forward build. The only thing you really have to account for when making your own is your shop vac’s dimensions and how they may differ from mine. There are really two key dimensions you need to know in order to modify my cart to fit your shop vac 1) The overall width, which will tell you how big to make the bottom and sides and 2) the height, so you know where to place the platform that holds the cyclone bucket.
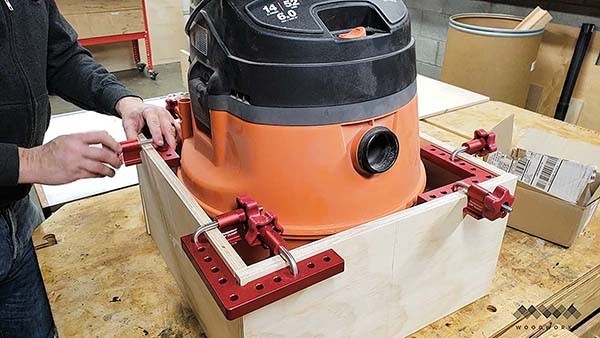
I made a makeshift “box” around my vac to get the length and width of my bottom

I used a straight rule and a scrap piece of wood to find my height.
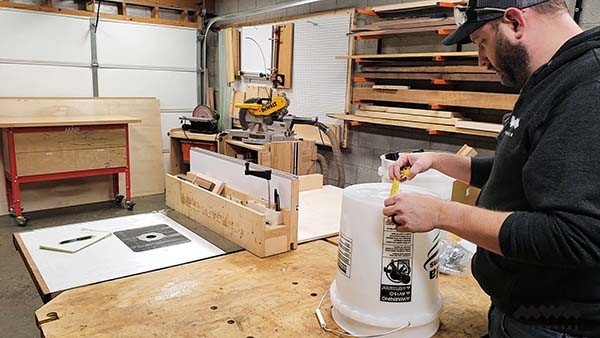
The final critical measurement is the width of the bottom of your cyclone bucket. This will tell you how deep the upper platform needs to be to hold your bucket snugly.
Cutting parts for the Dust Collection Cart

I began by breaking down my plywood into smaller, easier to manage chunks that I could cut my parts out of at the table saw.
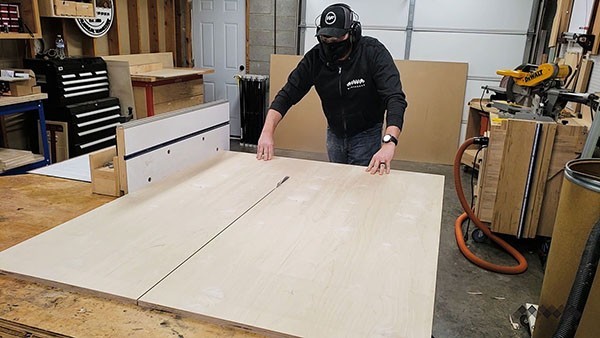
Once I had manageable pieces, I cut out the blanks for the sides and bottom as well as the blank to cut all the stretchers and platform parts from.
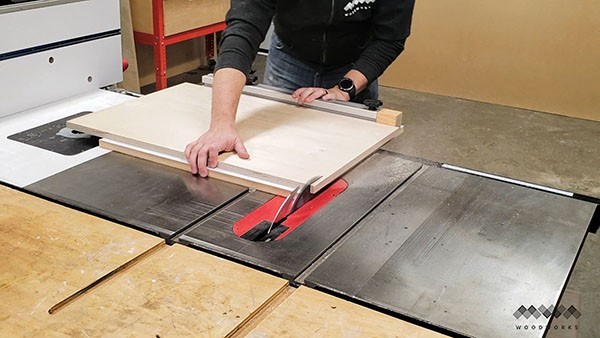
I cut my side and bottom panels to final length using my crosscut sled.
I then cut out all the stretchers and platform parts…
The Whole Enchilada Plan Bundle
The Whole Enchilada Plan Bundle! You want it all? You Got it! Get every plan I offer in one bundle at a savings of over 65%!
This product is a DIGITAL DOWNLOAD. You can immediately download your product off the order receipt page after the purchase. You will also immediately receive an email titled “Your MWA Woodworks order is now complete” that contains the download link in the “Downloads” section of the email.
Making the Sides of the Cart
…and cut them to their final lengths on the crosscut sled too. There’s a total of 12 parts to this whole cart, so getting through these steps can be done in an hour or so!
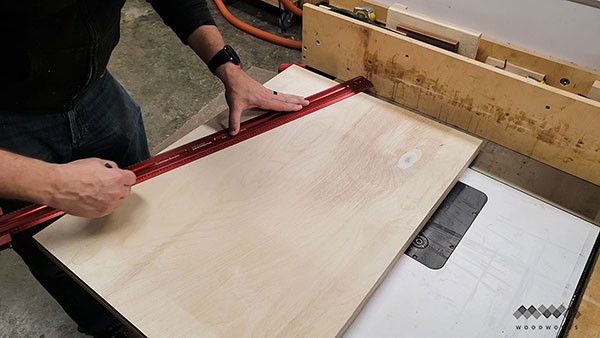
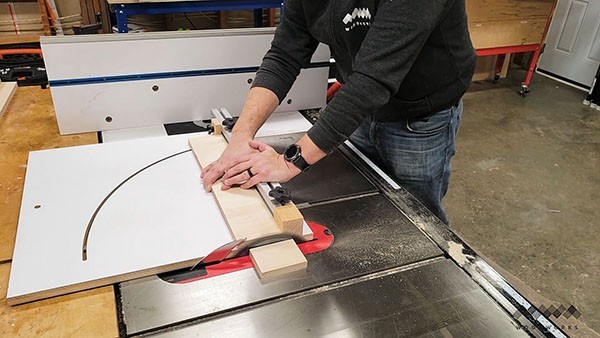
The next steps involve creating the tapered sides of the cart. I marked the beginning and ending of the taper (these measurements will depend of the height of your shopvac) and I strike a line with a straight edge.
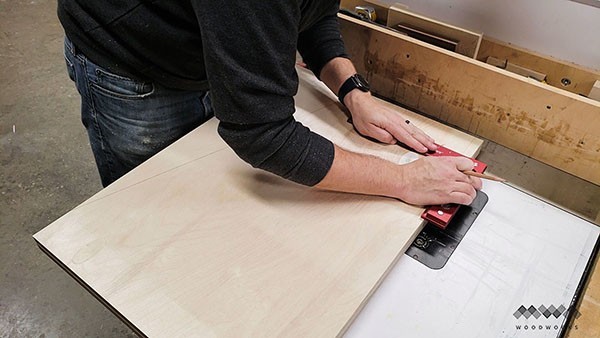
Then I marked out the locations of the notches that will accommodate the top and bottom stretchers.
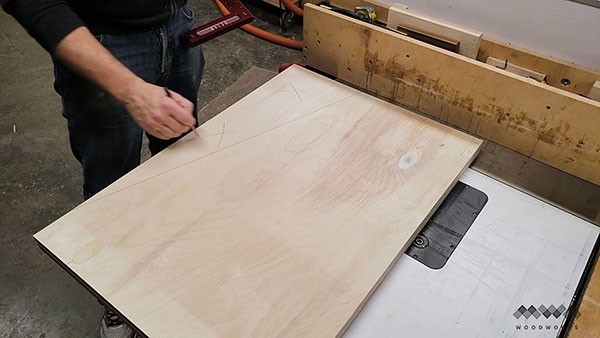
Then I marked the waste areas with a pencil and got ready to make the cuts!
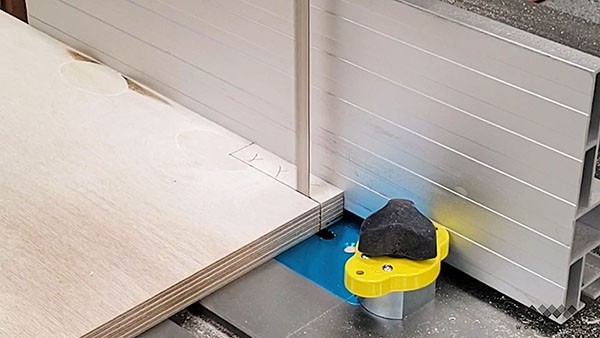
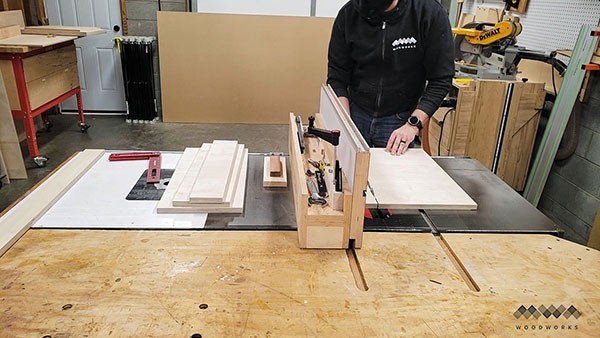
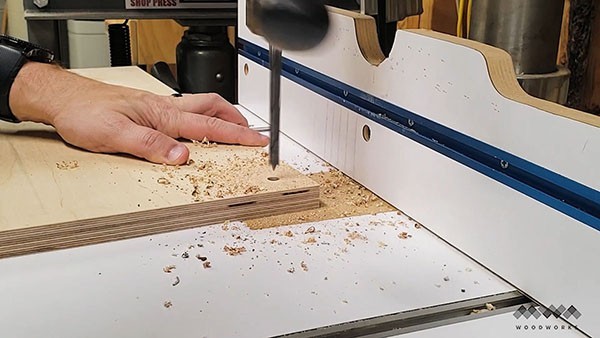
To cut out the notches for the stretchers, I used a magswitch as a positive stop and set my fence to cut out the vertical sides of the notches in a repeatable fashion (there are four total notches).
I then move the fence out to make the horizontal cuts on the notches.
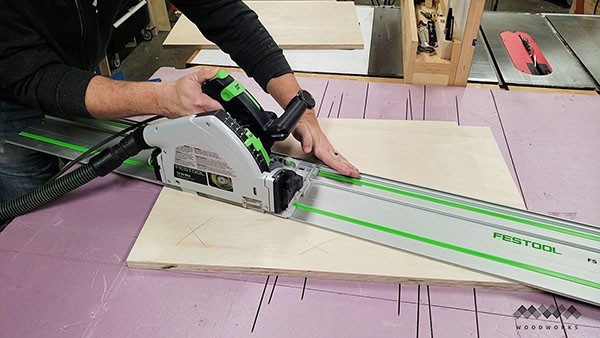
Finally I cut the tapers on the sides. The best way I have to do this is by using my track saw. If you don’t have a track saw you can use a circular saw and straight edge, but I recommend setting up in the driveway to make the cut to avoid poor dust collection in the shop.
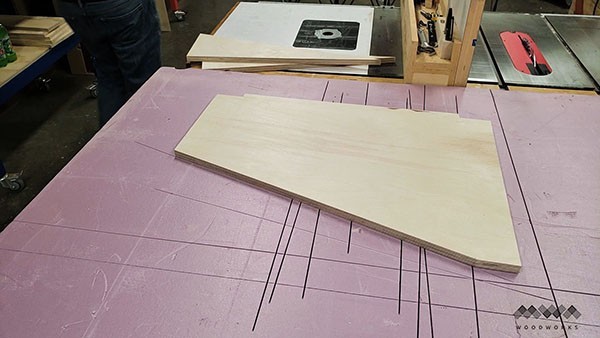
Once your notches and tapers are cut, each side should look like this.
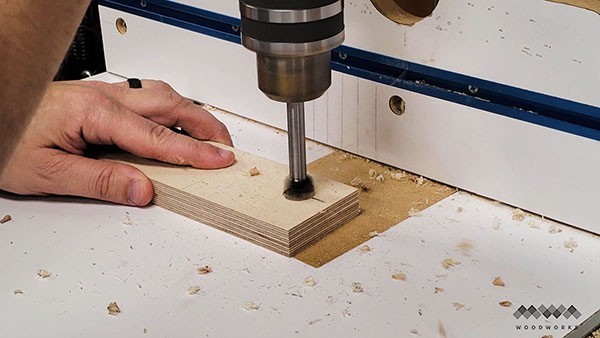
The final step before assembly begins is to drill out 5/16″ holes in each corner of the bottom panel. These will be used to fasten the casters at the end.
Assembling the Dust Collection Cart
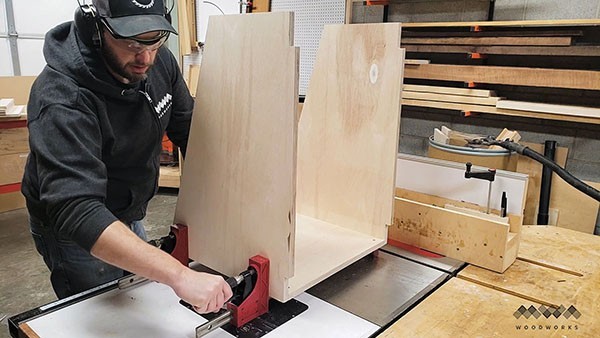
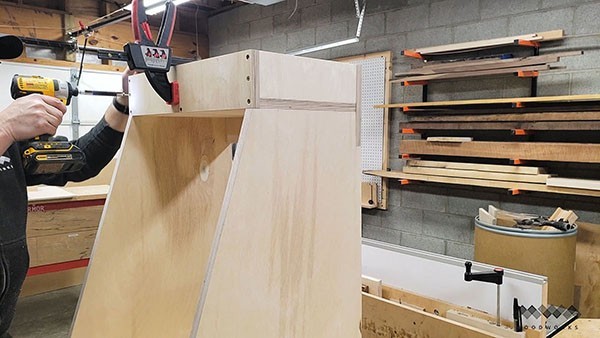
To begin assembly I positioned the two sides of the cart against the bottom panel and clamped them together with parallel clamps. This helps tremendously as the clamps act as a pair of hands that allow you to work to assemble the cart freely and accurately.
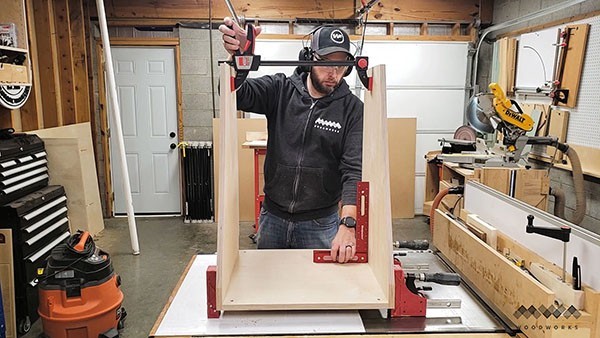
In order to make sure everything was assembled squarely, I used a one-handed clamps as a spreader, squeezing the trigger with one hand and checking for square with the other.
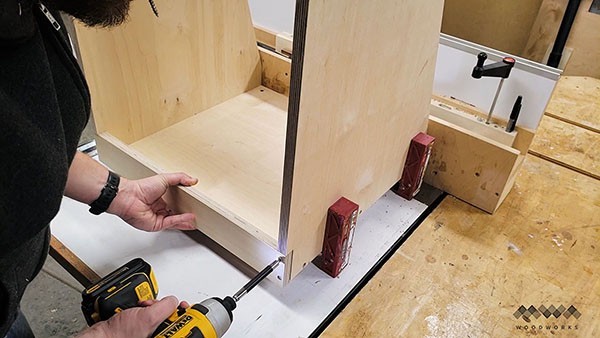
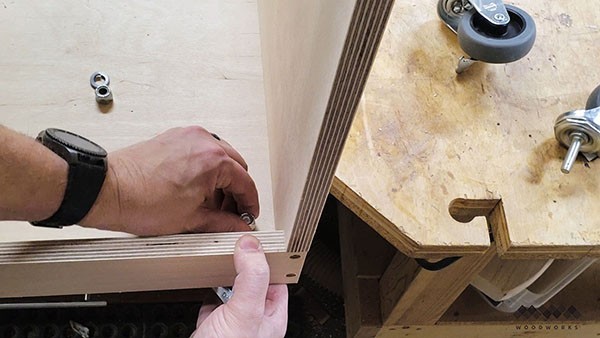
Once everything was square, I screwed the sides to the bottom. I pre-drilled the holes and countersunk them first. This step is critical because it prevents splitting the plywood.
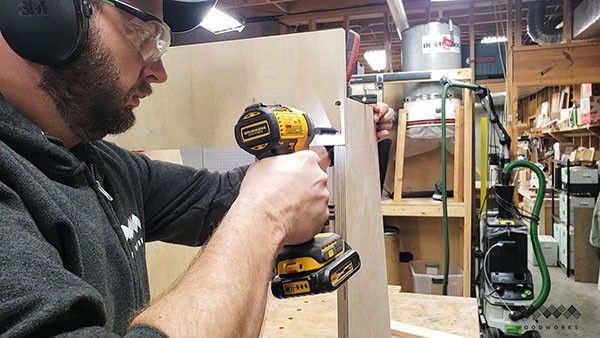
I then attached the upper stretcher by setting it into the upper pair of notches. Again, pre-drill, countersink, and screw two screws per side.
aaaaaaand, same for the bottom stretcher by setting it into the second pair of notches on the bottom.
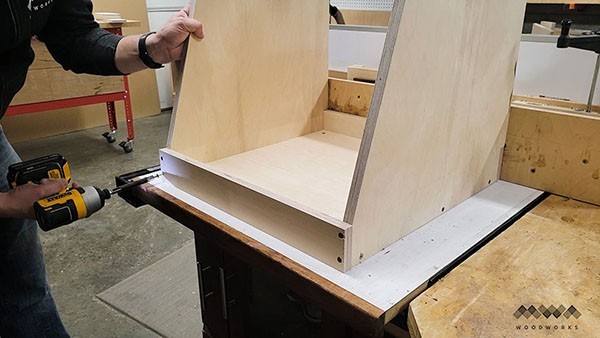
I then attached the front lip in the same fashion. The front lip acts as a stop so the vacuum doesn’t fall out of the cart.
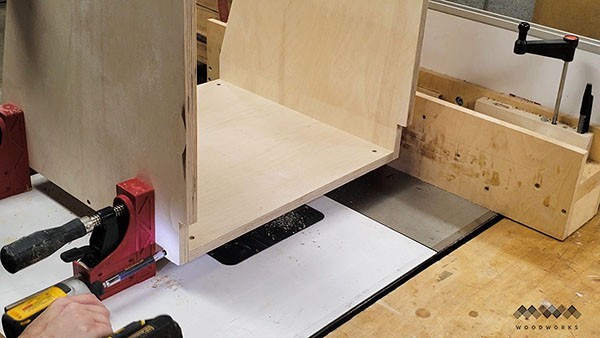
OK, next I moved on to the upper platform. I attached the upper platform bottom by butting it against the upper stretcher and fastening it to the sides with four screws.

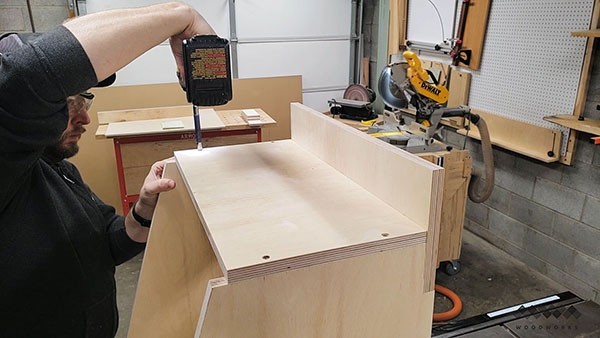
Next I attached the platform front to the platform bottom with three screws.
I then set the platform sides in between the front and back and secured them with two screws on the front and back side of the cart.
The Whole Enchilada Plan Bundle
The Whole Enchilada Plan Bundle! You want it all? You Got it! Get every plan I offer in one bundle at a savings of over 65%!
This product is a DIGITAL DOWNLOAD. You can immediately download your product off the order receipt page after the purchase. You will also immediately receive an email titled “Your MWA Woodworks order is now complete” that contains the download link in the “Downloads” section of the email.
Attaching Casters
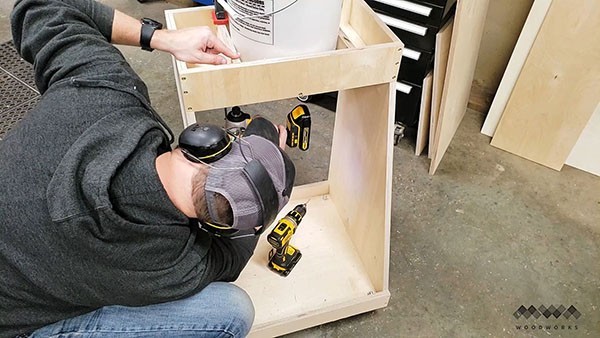
This was a good time to go ahead and attach the casters to the cart. I inserted the casters and fastened them with a lock washer and nylon locking nut.

The bottom of the cart was now fully assembled and so I wanted to do a test fit to make sure the vacuum fit. It was a perfect fit. The vacuum fit snugly in the cart (front, back and sides) and I had enough clearance at the top to get my hand over the handle of the vacuum so I could easily pull it out.
The final steps for assembling the upper platform were to create two spacers that would sit on either side of the cyclone bucket to hold it in place. I drilled two 3/4″ holes on either side of each spacer. These were used to give the bungee cords a place to attach to the cart.

I then placed some glue on the spacers and inserted them making sure they were square to the front and back of the platform. You probably don’t need to glue AND screw these into place, but I wanted to make sure I over-engineered this so I had plenty of holding power.
I screwed each spacer in from the underside of the platform with two screws each.

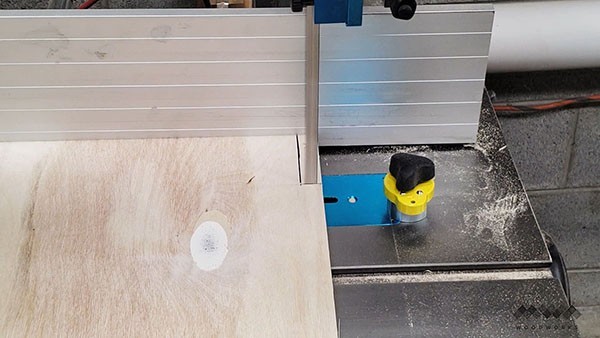
Next, I wanted to make a space to hold my vacuum wand that I use to sweep up my shop. I simply used a hole saw to accomplish the task. One thing you cant see here is that I temporarily attached a scrap piece of wood under the platform so I didn’t get a lot of blowout which hole saws are notorious for causing. Only clean holes in this shop!
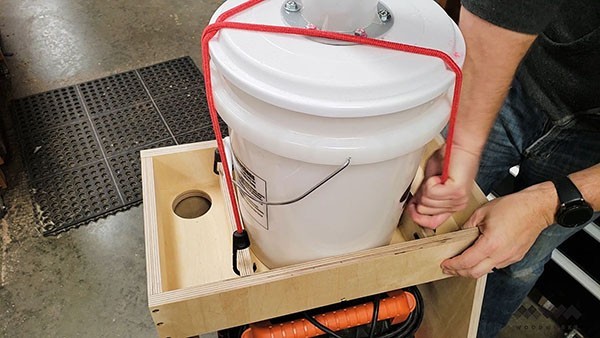
I could then attach my cyclone bucket to the cart with bungee cords. Bungee cords work great here because they hold the bucket firmly in place but are easy to remove when its time to empty the bucket.

I put my wand in its place and it was time to handle the final step of the assembly process. Come on, lets bring this thing home!
Attaching the Vacuum and Cyclone
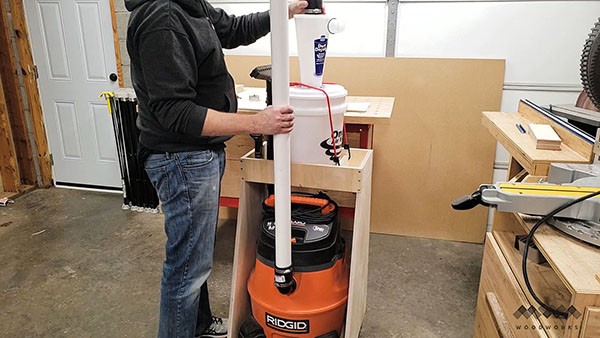
To attach the shop vac to the cyclone, I went with 2″ PVC pipe. I cut my PVC into lengths that worked for me based on the location of the inlet of my shop vac and the location of the top of the cyclone. These measurements are going to be different for you if you are using a different shopvac than mine. I accomplished the perfect lengths of pipe purely by trial and error. I made sure to cut long and then assemble them, checking the fit, and cutting further as needed. In the end you need one long vertical section of pipe that you’ll connect to a 90 degree long sweep elbow, one shorter horizontal section connected to another 90 degree elbow, and finally one very short vertical length of pipe. By they way, I glued my sections of PVC together using epoxy to maintain good suction.
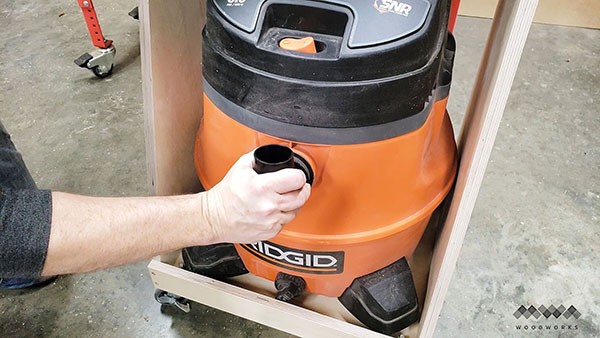
My Dust Deputy Deluxe came with this 90 degree hose adapter. It fit with friction into my shopvac inlet.
I then attached the whole assembly to the cart using two rubber 2″ pipe connectors. These were PERFECT for this application.

I just tightened the included pipe straps to fasten the bottom to the hose adapter.

I then repeated the same thing at the top of the cyclone.
The Final View

and BAM! One dust collection cart completed and ready for action. I just attached my shopvac’s hose to the inlet on the side of the cyclone.
I really love this addition to my shop. When coupled with a heppa filter and filter bag inside the shop vac, this thing is a dust terminator, nothing gets past it and my shop air is that much cleaner. I find it easy to wheel around my shop on those 3″ casters and it fits in less than a 2 square foot area so I can easily tuck it somewhere out of my way when I don’t need it.
The Whole Enchilada Plan Bundle
The Whole Enchilada Plan Bundle! You want it all? You Got it! Get every plan I offer in one bundle at a savings of over 65%!
This product is a DIGITAL DOWNLOAD. You can immediately download your product off the order receipt page after the purchase. You will also immediately receive an email titled “Your MWA Woodworks order is now complete” that contains the download link in the “Downloads” section of the email.


In your plans your cut sheet and layout doesn’t match for the sides. I believe the sides need to be 3/4″ wider than the base to accommodate the stretchers on the back of the side. That’s shown in the layout diagram but not in the cut list.
If I’m interpreting this wrong, please let me know before I start cutting my plywood!
I like it I’ve been trying to come up
Something for my dust collector and now I have it thank so much for sharing
my pleasure! Good luck!
What’s the procedure for emptying when full?
Any thoughts on using 1/2″ ply vs 3/4″ I simply have more 1/2″ on hand and with the price of lumber right now…