
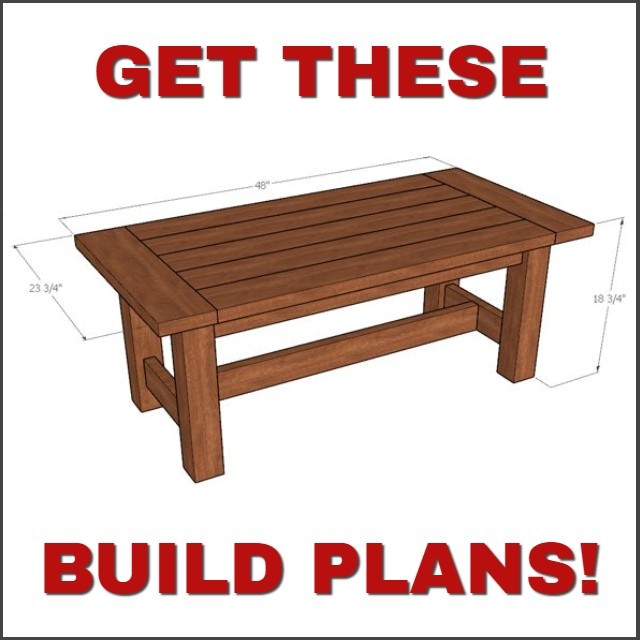
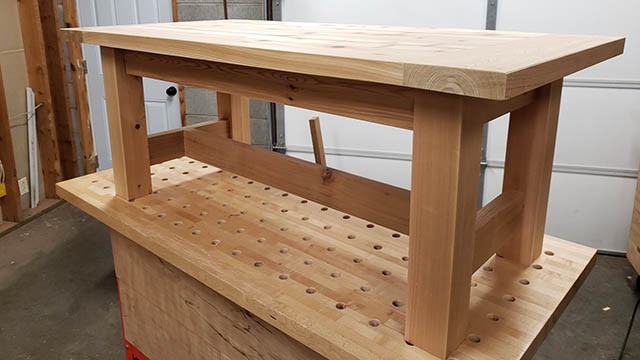
This outdoor coffee table is part of my outdoor furniture collection. If you like spending time relaxing on your deck or patio this would be a great addition! It’s made from western red cedar which is a great outdoor building material due to its rot resistance and stability. It’s also a pretty light weight wood so the table isn’t very hard to move around. I have plans available for this table below as well as step by step build instructions, so keep reading!

DID YOU KNOW: You can follow me on these social media platforms!
Instagram · YouTube · Facebook · Pinterest
| Materials & Supplies* | Tools* |
| (1) 4″x4″x8′ Western Red Cedar | Miter Saw |
| (2) 2″x4″x8′ Western Red Cedar | Table Saw |
| (3) 2″x6″x8′ Western Red Cedar | Clamps |
| #10x50mm Dominos or 1/2″ x 2″ Dowels | Rubber or Wooden Mallet |
| Water Resistant Wood Glue (Titebond III) | Domino or Doweling Jig |
| CPES (Clear Penetrating Epoxy Sealer) | |
| Spar Varnish (satin or gloss) |
*I use affiliate links, please see details on my disclaimer.
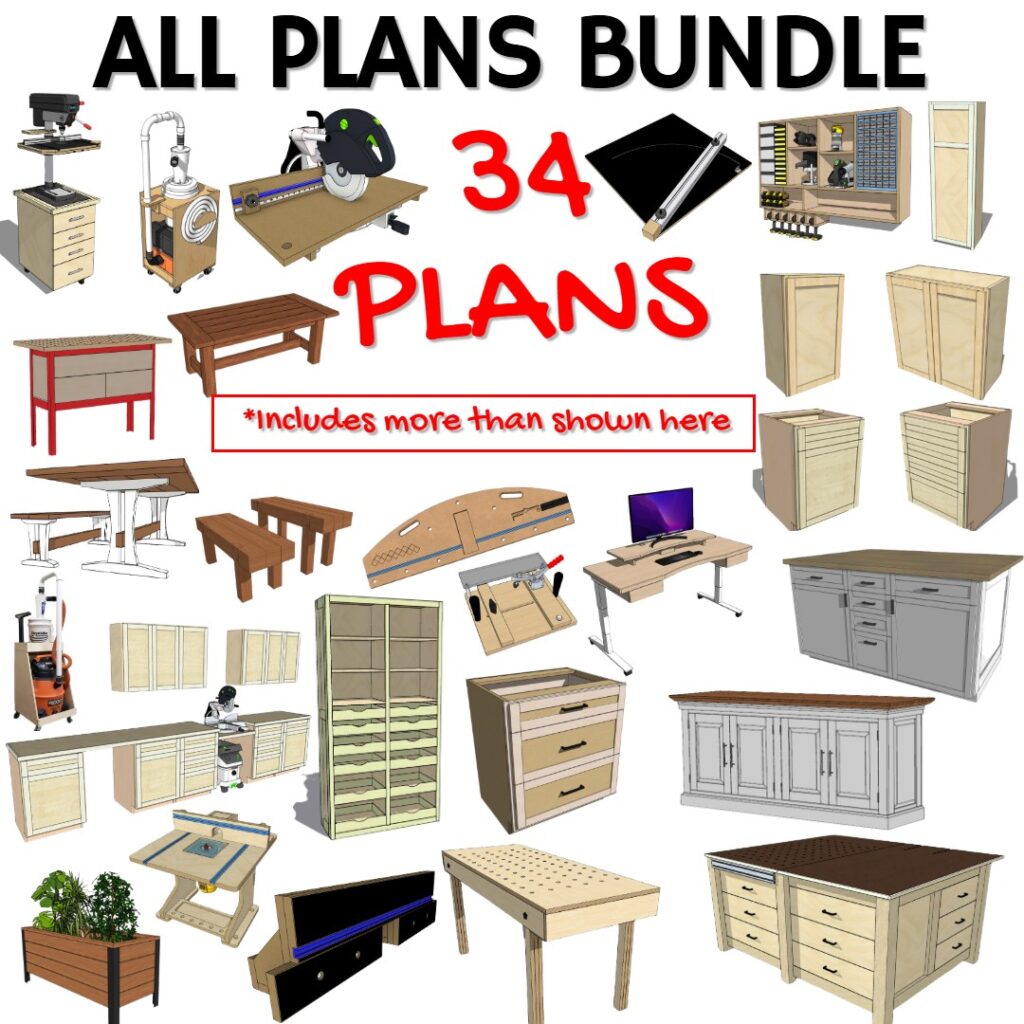
The Whole Enchilada Plan Bundle
The Whole Enchilada Plan Bundle! You want it all? You Got it! Get every plan I offer in one bundle at a savings of over 65%!
This product is a DIGITAL DOWNLOAD. You can immediately download your product off the order receipt page after the purchase. You will also immediately receive an email titled “Your MWA Woodworks order is now complete” that contains the download link in the “Downloads” section of the email.
Breaking Down Raw Materials
I begin by breaking down all my material to rough length at the miter saw.This project uses 2×4, 2×6 and 4×4 western red cedar lumber.
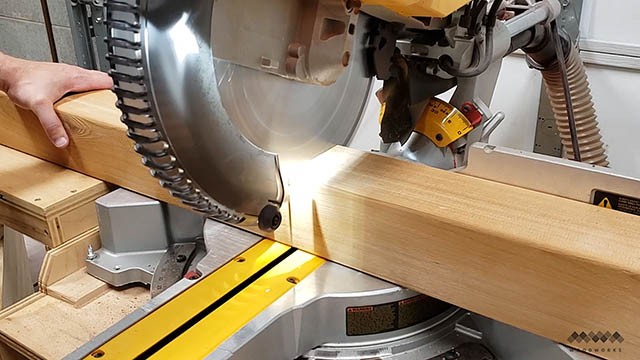
This is an excellent wood species for outdoor use because of it’s rot resistance and stability. Its also pretty light weight which makes moving the table around easier.
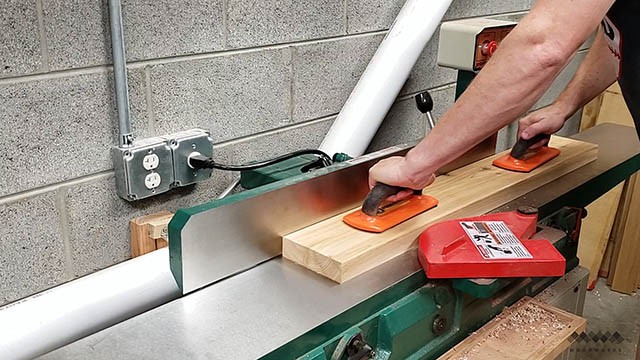
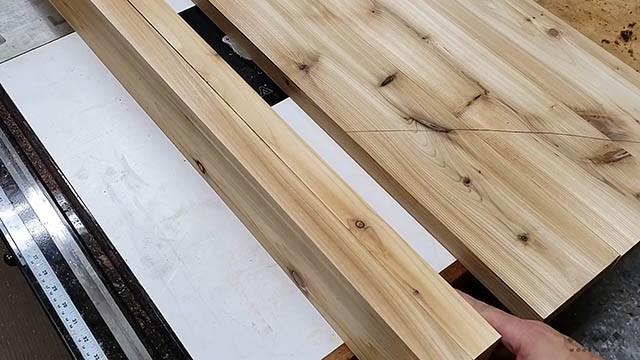
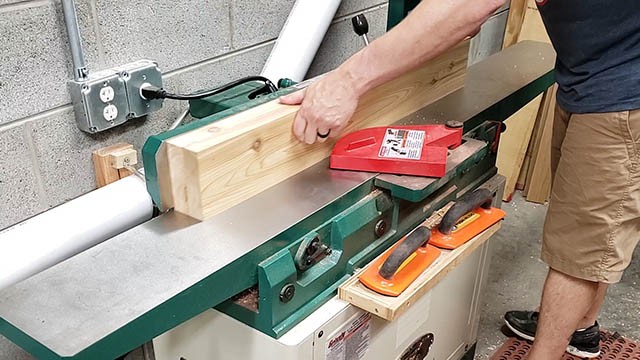
Next I run everything across the jointer to flatten one face.

Then I square up one edge. This will make it easier to rip everything to width at the table saw.
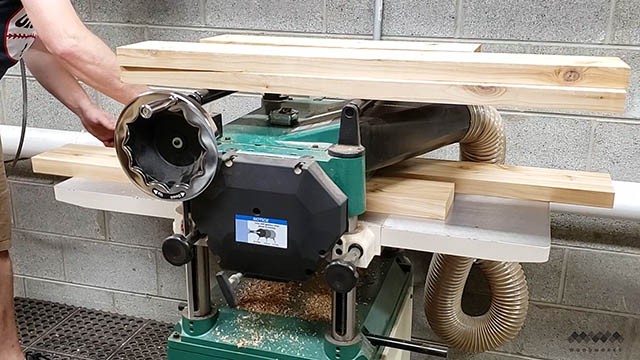
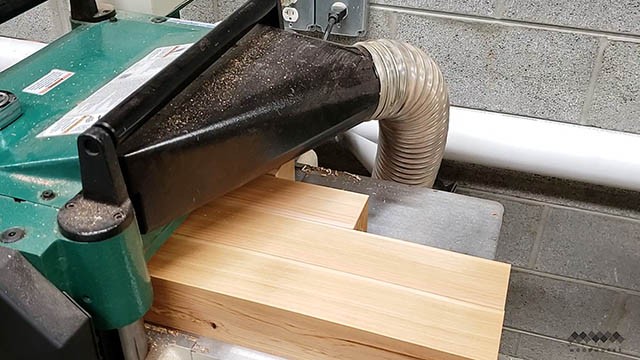
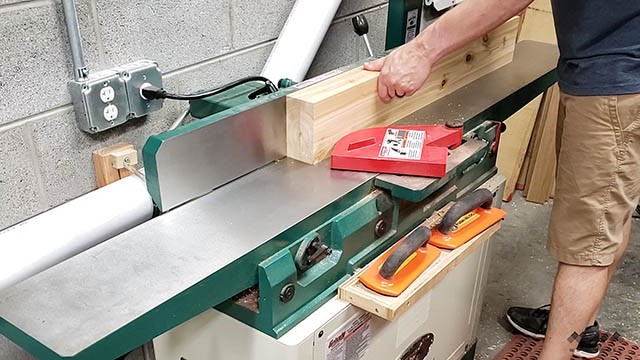
Then I run all my parts through the planer to get the other side of the board parallel with the first side that I flattened.
I do the same thing for the leg parts, running one side through and then flipping the parts 90 degrees to make all four sides equal and square.
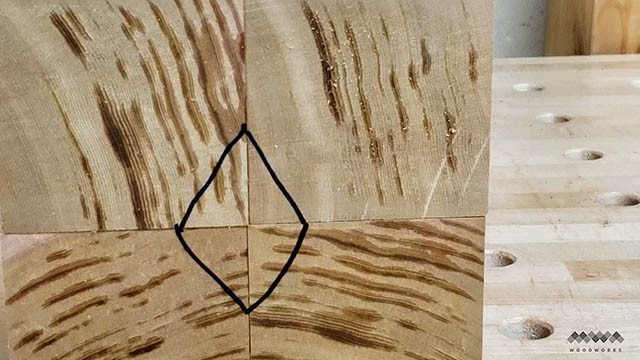
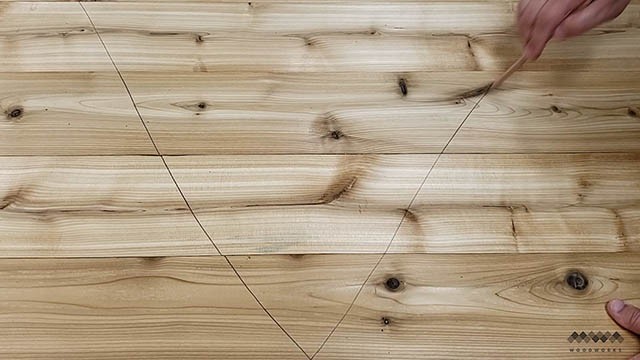
I then mark a diamond on the end on the board to note the orientation that I want the legs to be in when I make the table. This will help me make sure to cut the joinery in the right spots.
The Whole Enchilada Plan Bundle
The Whole Enchilada Plan Bundle! You want it all? You Got it! Get every plan I offer in one bundle at a savings of over 65%!
This product is a DIGITAL DOWNLOAD. You can immediately download your product off the order receipt page after the purchase. You will also immediately receive an email titled “Your MWA Woodworks order is now complete” that contains the download link in the “Downloads” section of the email.
Cutting the Boards for the Top
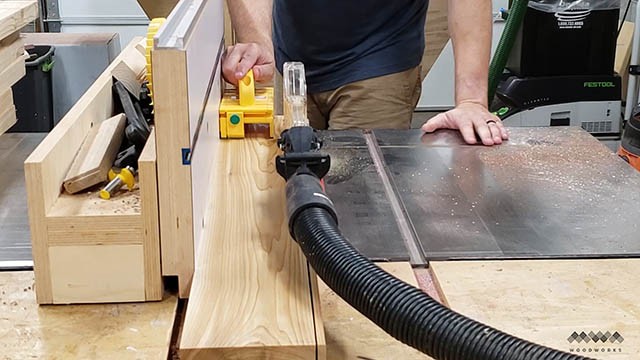
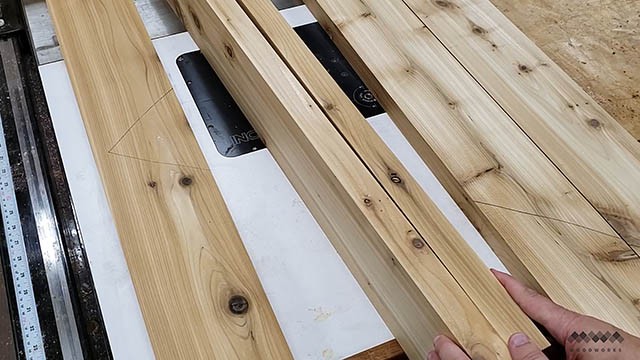
Now to make the table top I first need to rip my boards to width at the table saw. The reason I jointed the edges of these boards was so I could reference them against my fence to give me perfectly parallel cuts. I’m using five 2x6s for the top, but I’m only making the top 24” wide and so I have a bit to trim off each board.
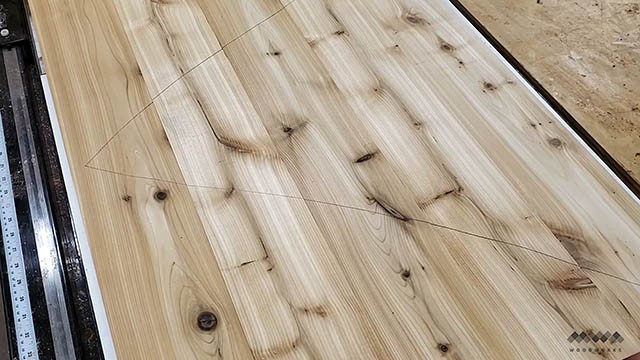
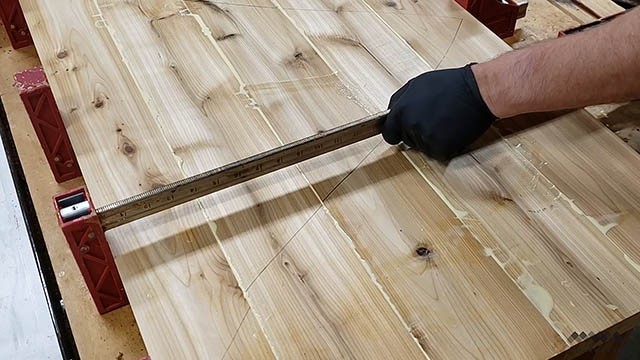
Next I lay all five boards side by side and switch them around until I’m happy with the look. I then make a carpenter’s triangle so I can keep track of the orientation of the boards.
The Whole Enchilada Plan Bundle
The Whole Enchilada Plan Bundle! You want it all? You Got it! Get every plan I offer in one bundle at a savings of over 65%!
This product is a DIGITAL DOWNLOAD. You can immediately download your product off the order receipt page after the purchase. You will also immediately receive an email titled “Your MWA Woodworks order is now complete” that contains the download link in the “Downloads” section of the email.
The Jointer Trick
Now comes one of my favorite tricks for a seamless table top. I Fold each pair of boards like a book at the glue joint.
Then run the first pair on edge across the jointer together. This will make the joint line between the boards perfectly matched to one another even if the fence on the jointer isn’t square.
Now I unfold those boards and fold up the next two boards in sequence.
And again run those across the jointer together and repeat this process over and over until I’ve jointed the last pair.
Now as I unfold everything you can see I have perfect seamless joints to glue up.
Speaking of glueup, that’s what I did next, making sure everything was carefully aligned. You can use biscuits or even dominos for help with alignment if you want.
The Whole Enchilada Plan Bundle
The Whole Enchilada Plan Bundle! You want it all? You Got it! Get every plan I offer in one bundle at a savings of over 65%!
This product is a DIGITAL DOWNLOAD. You can immediately download your product off the order receipt page after the purchase. You will also immediately receive an email titled “Your MWA Woodworks order is now complete” that contains the download link in the “Downloads” section of the email.
Finish Sanding the Coffee Table Top
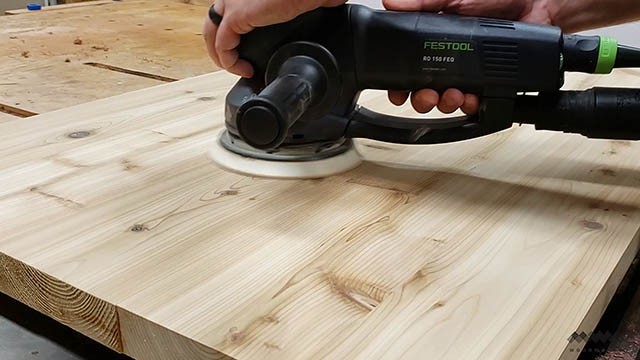
Once the top was dry I sanded it with 80 grit to remove all the glue stains and make everything nice and even. I then switched to 120 grit and finally 150 grit. Since I’ll be putting a thick exterior film finish on this table, there’s really no need to sand past this point because the finish will prevent you from feeling the difference.
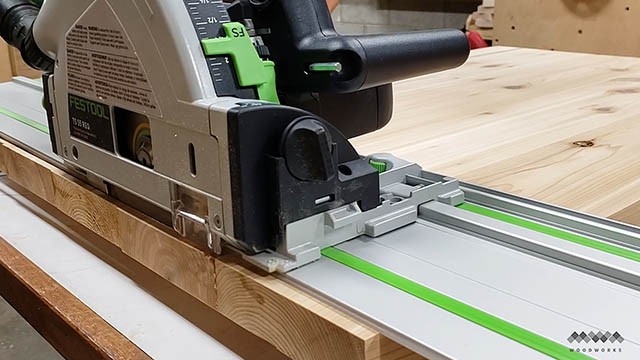
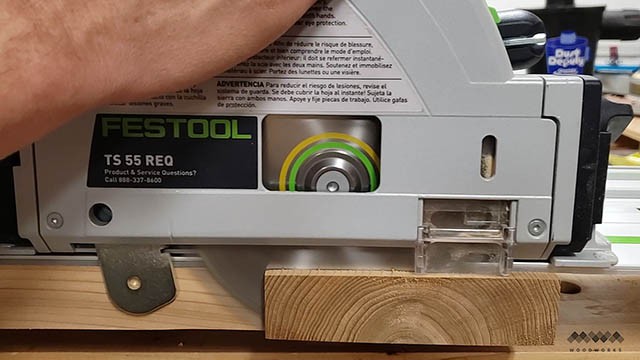
Next I trim up the ends of the table top using my track saw.
Cutting the Joinery for the Outdoor Coffee Table
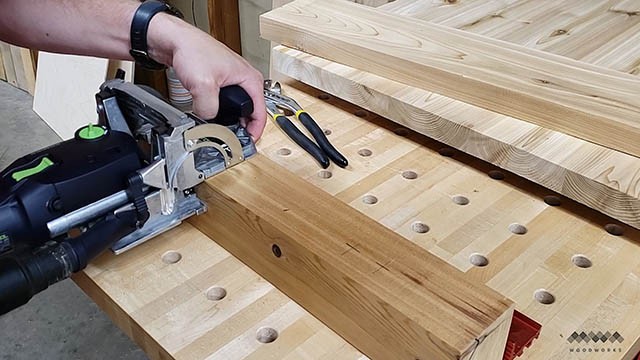
From here I’m going to set the table top aside and focus on cutting the joinery for the table. I’m using dominos to join everything together but you could just as easily use ½” dowels instead and it wouldn’t change anything. But I have a domino and so that’s what I’m using.
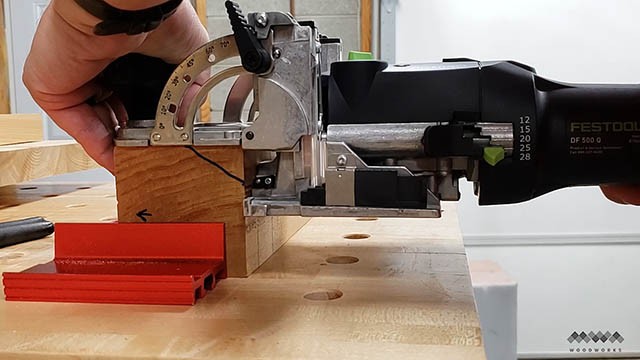
After laying out the location of all my joints I make the cuts for #10 50mm dominos on the legs and the apron parts.
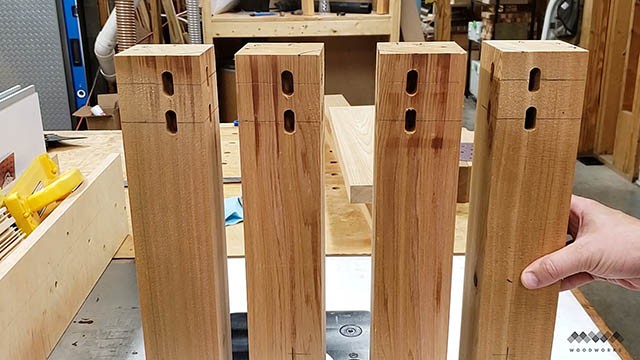
This is a pretty fast process and all four legs are done in no time.
Assembling the Outdoor Coffee Table
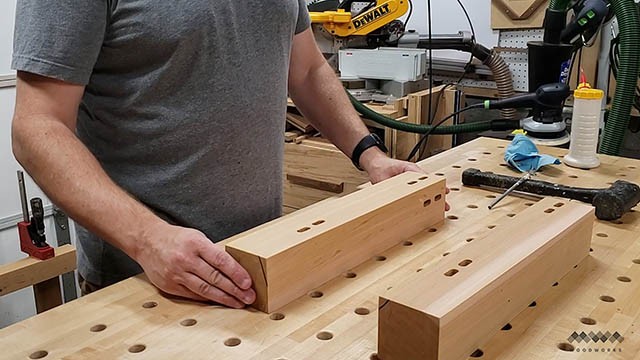
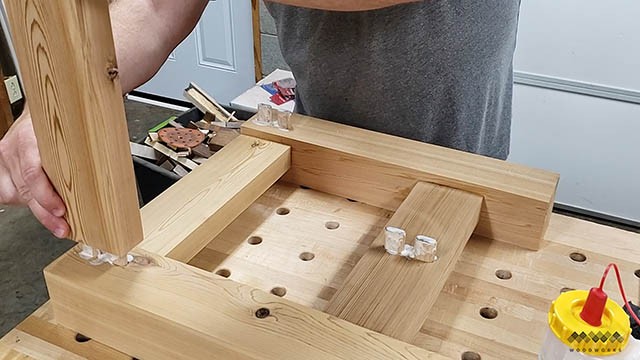
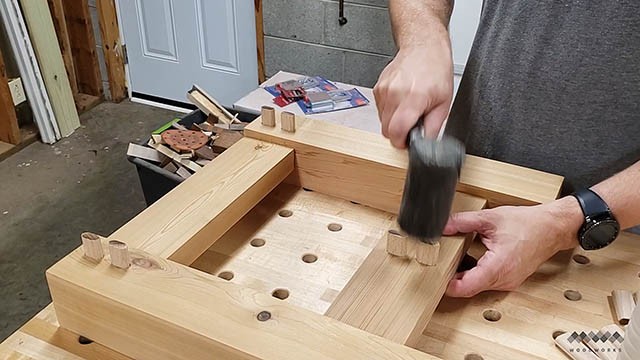
Now to begin assembly I’m careful to orient my legs correctly.
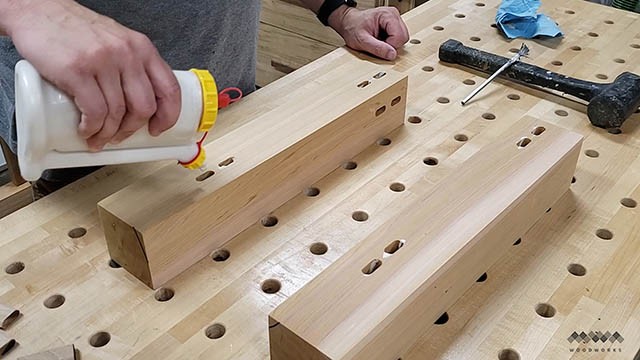
I then apply glue to each mortise.
I’m using Titebond III for this build because of it’s higher water resistance since this thing will live outdoors.
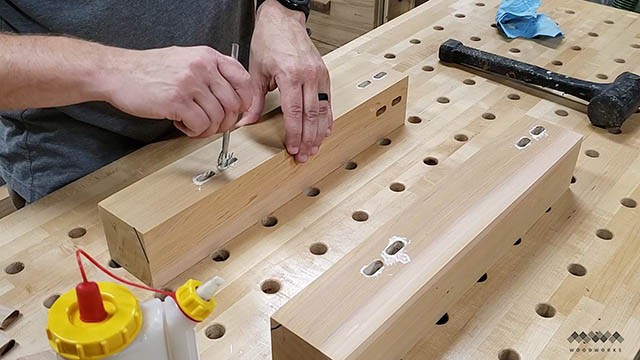
And with a mallet I tap in each of the eight dominos. I don’t know why, but tapping in dominos is so fun.
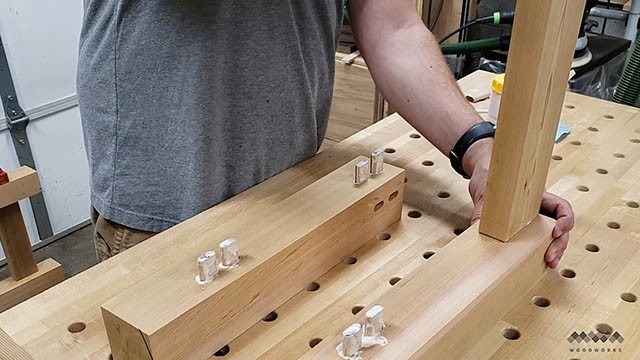
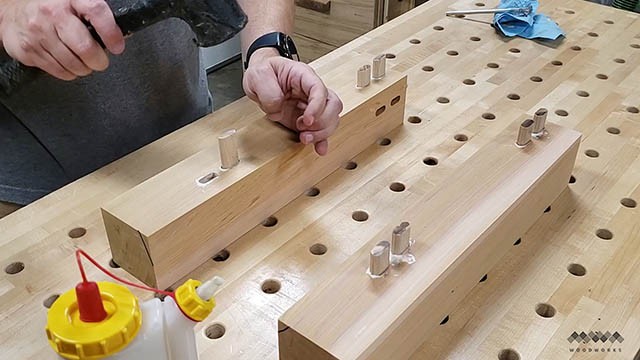
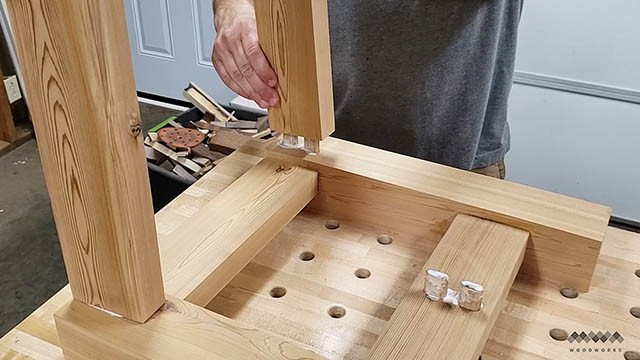
Then I give each domino a little hat made of glue and spread it over the whole domino. Next I add the short apron and stretcher. What I’m doing is assembling the sides of the table first.
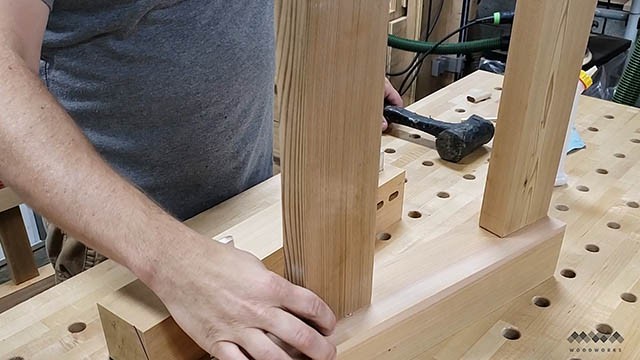
A few taps with the mallet will get everything seated well enough. The clamps will take care of the rest.
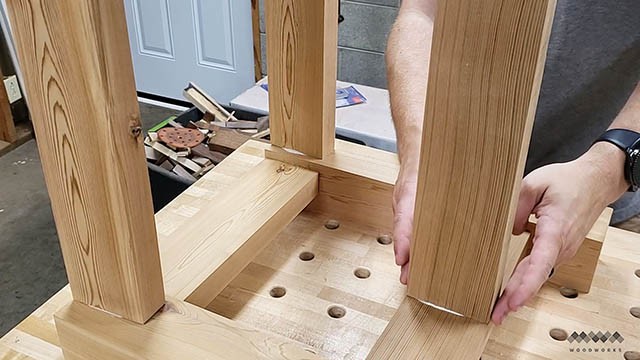
Finally I add the other leg and tap it into place.

I then put both table sides in clamps and make sure my joints are all tight. Be careful not to crank down super hard on the clamps because cedar is a pretty soft wood and you can leave a clamp shaped indentation on the legs.
The Whole Enchilada Plan Bundle
The Whole Enchilada Plan Bundle! You want it all? You Got it! Get every plan I offer in one bundle at a savings of over 65%!
This product is a DIGITAL DOWNLOAD. You can immediately download your product off the order receipt page after the purchase. You will also immediately receive an email titled “Your MWA Woodworks order is now complete” that contains the download link in the “Downloads” section of the email.
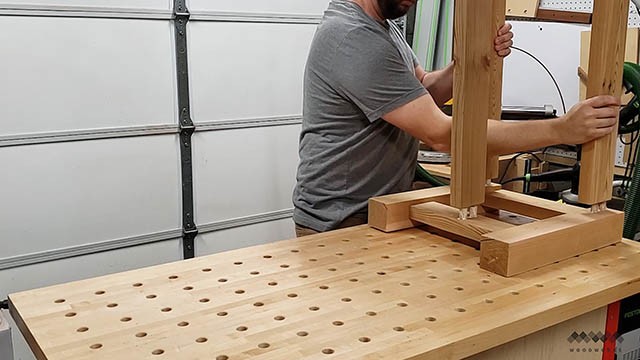
Assembling the Legs to the Long Aprons
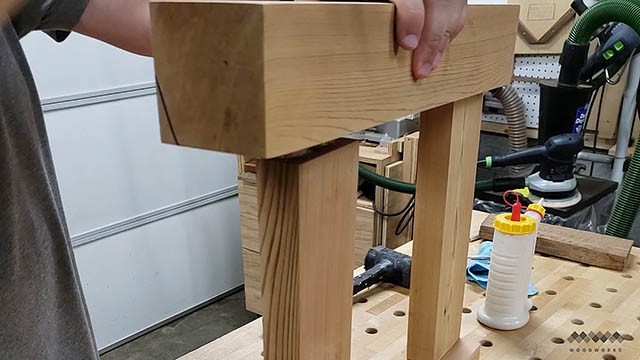
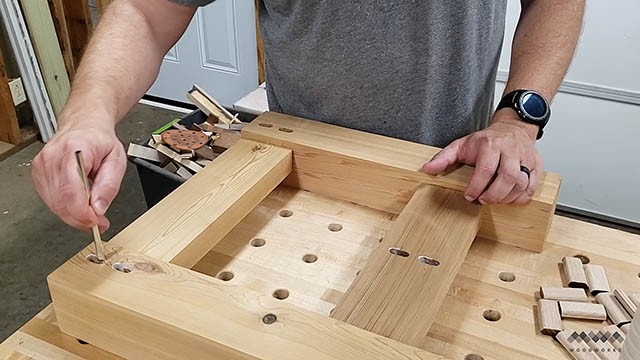
After the sides are dry and out of the clamps, I add the remaining dominos and glue, making sure to spread the glue around.
I then add both long apron parts as well as the long stretcher.
These slipped on pretty easily and everything is flush.
Next I repeat the process for the other side.
I add glue to the mortises and tap in the dominos until they are fully seated and cover in glue.
The Whole Enchilada Plan Bundle
The Whole Enchilada Plan Bundle! You want it all? You Got it! Get every plan I offer in one bundle at a savings of over 65%!
This product is a DIGITAL DOWNLOAD. You can immediately download your product off the order receipt page after the purchase. You will also immediately receive an email titled “Your MWA Woodworks order is now complete” that contains the download link in the “Downloads” section of the email.
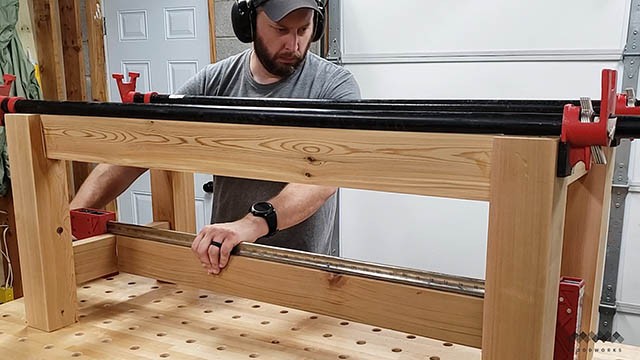
Finishing the Base Assembly
Now, who knows why I decided to do it this way, but I picked up the side with the stretchers when I could have just picked up the other side to connect them. I guess the cedar was so light I didn’t notice what I was doing.
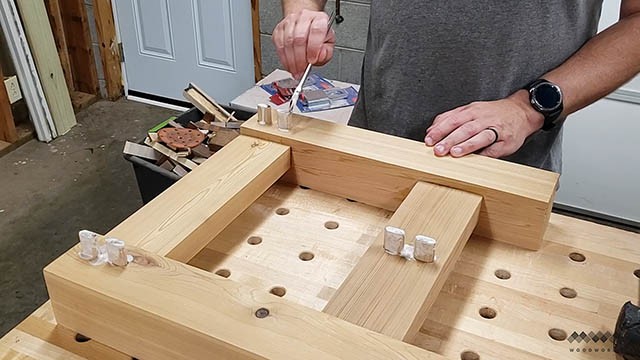
I then add clamps to each side as well as the stretcher to draw everything together. Again, only apply enough pressure to close the joints.
The final step is to add these cleats to the frame with glue. Each one has two screw holes that will hold the top to the base and allow it to expand and contract with the seasons.
OK back to the top. I’m going to add breadboard ends to this table to keep everything nice and flat. I’m using dominos again instead of traditional tenons for this job.
The Whole Enchilada Plan Bundle
The Whole Enchilada Plan Bundle! You want it all? You Got it! Get every plan I offer in one bundle at a savings of over 65%!
This product is a DIGITAL DOWNLOAD. You can immediately download your product off the order receipt page after the purchase. You will also immediately receive an email titled “Your MWA Woodworks order is now complete” that contains the download link in the “Downloads” section of the email.
Making Breadboard Ends
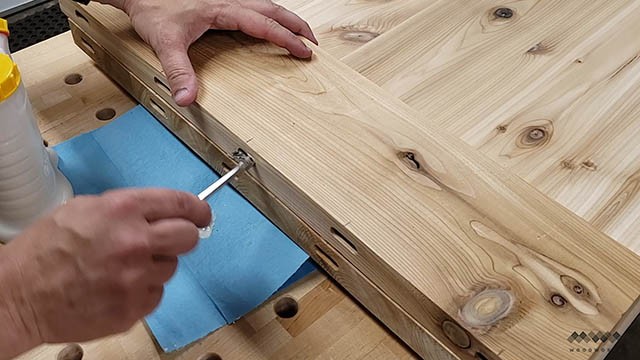
I’m adding glue to the mortises on the table top side and only glue to the center mortise on the breadboard side.
Then I pop my dominos into the mortises on the table top side. Give em a little tap to seat them.
And then again, only add glue to the center tenon.
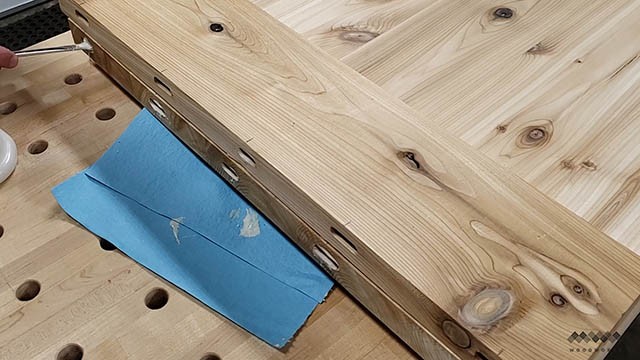
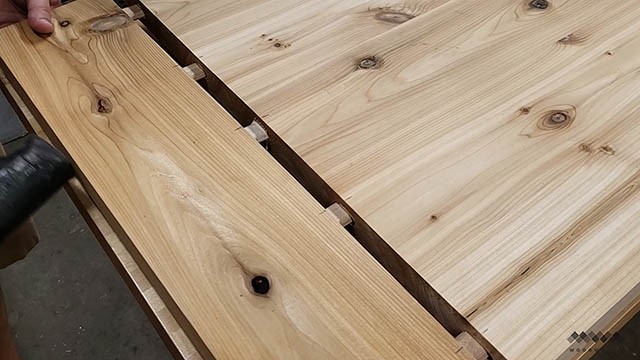
The mortises on either side of the center are elongated on the breadboard end. This will allow for expansion and contraction of the top. Now I just mate up the breadboard end with the tenons and tap everything into place. I’m using a shop towel to keep from marring the soft cedar.
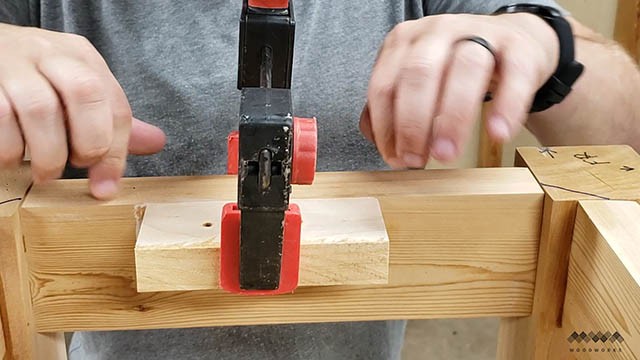
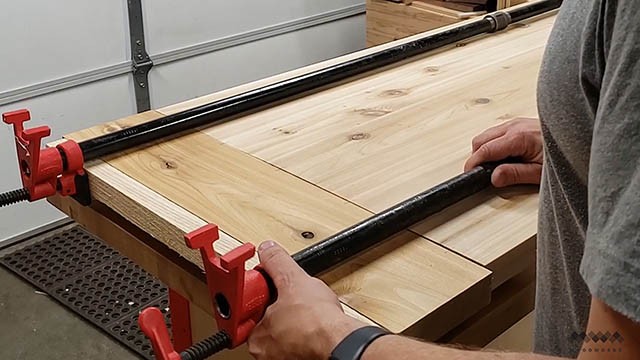
I’m using a scrap piece of ash as a caul to evenly spread the clamping pressure so I only need to use two clamps here.
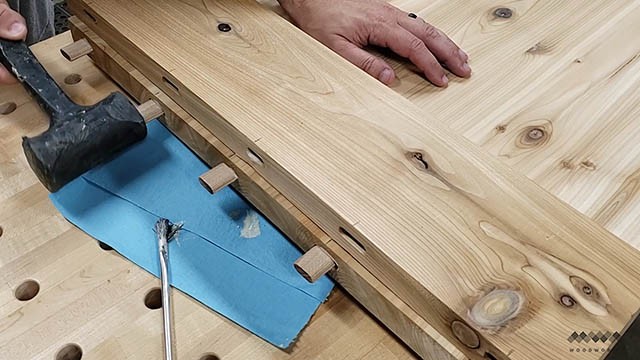
Next I’m going to add dowels to each domino except the center one which was glued. This will hold the breadboards in place while allowing for wood movement.
Using Dowels as Pins

Now I probably should have elongated the holes in the dominos to allow for greater freedom of movement, but this cedar is so soft and I elongated the mortises enough that the tenons have room to flex when the wood moves.
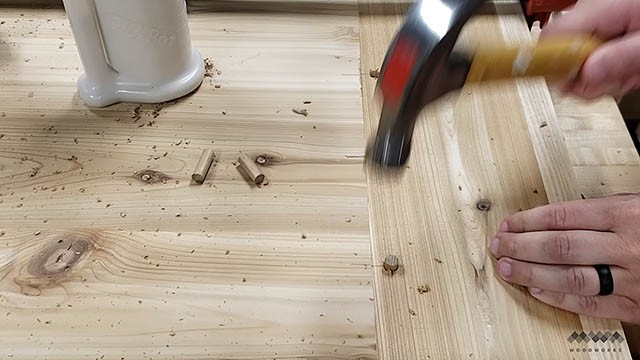
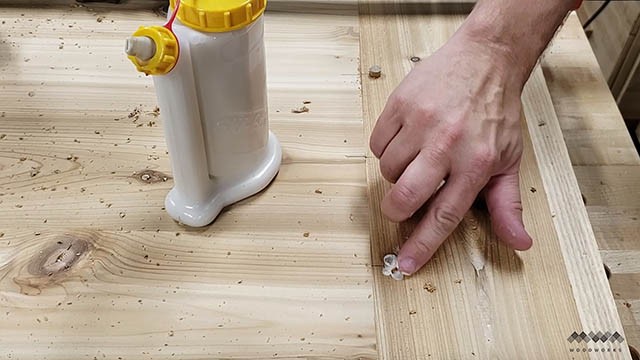
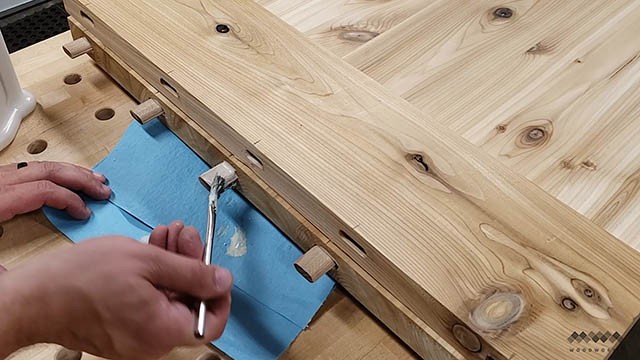
With a little glue around the top of the dowel I tap it fully into place.
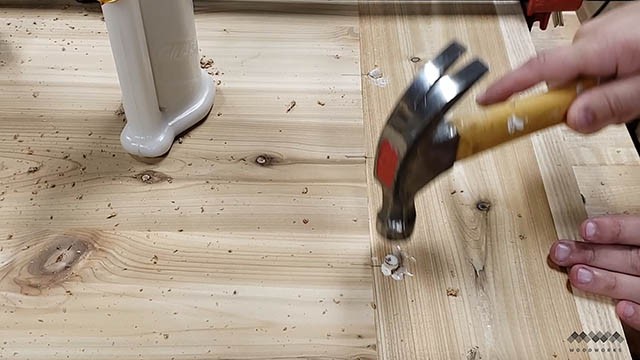
Just a little trim of the dowels with my flush trim saw and the rest can be sanded flush.
The Whole Enchilada Plan Bundle
The Whole Enchilada Plan Bundle! You want it all? You Got it! Get every plan I offer in one bundle at a savings of over 65%!
This product is a DIGITAL DOWNLOAD. You can immediately download your product off the order receipt page after the purchase. You will also immediately receive an email titled “Your MWA Woodworks order is now complete” that contains the download link in the “Downloads” section of the email.
Finishing Touches
Once the top is dry and out of the clamps I trim the over-sized breadboards flush with the sides using my track saw.
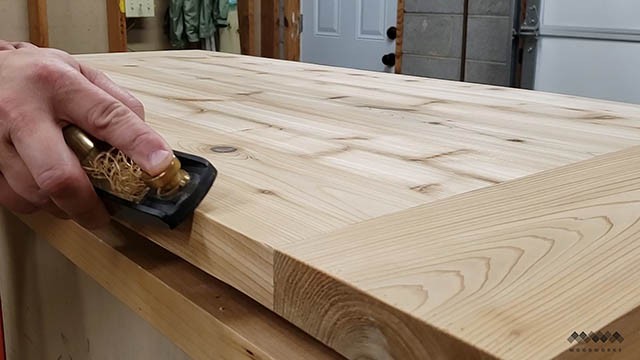
And as a final touch I break the edges with a block plane. I don’t want any sharp edges on the table top.
Filling in Voids and Defects
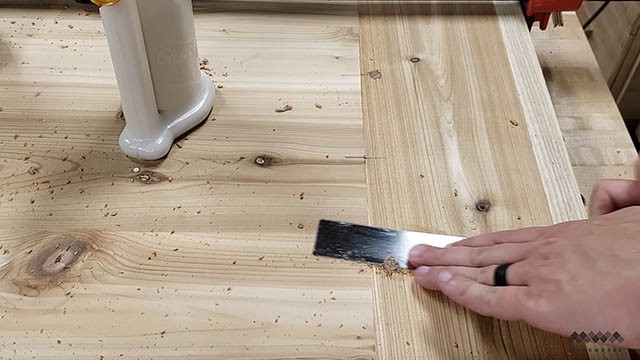
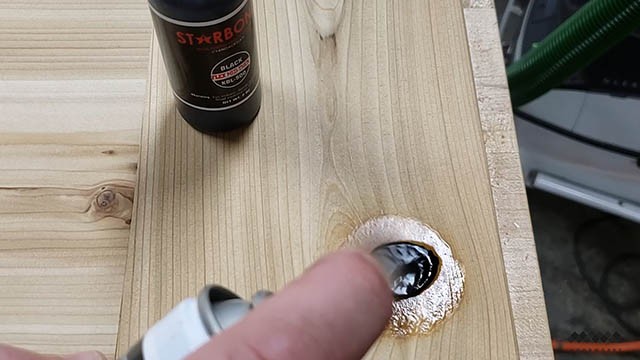
Now red cedar does tend to have knots and checks in it and to fill these I’m using a black CA glue. I just apply the glue to the voids and let it sink in. This is a medium thick CA glue to it does a good job of filling smaller voids.
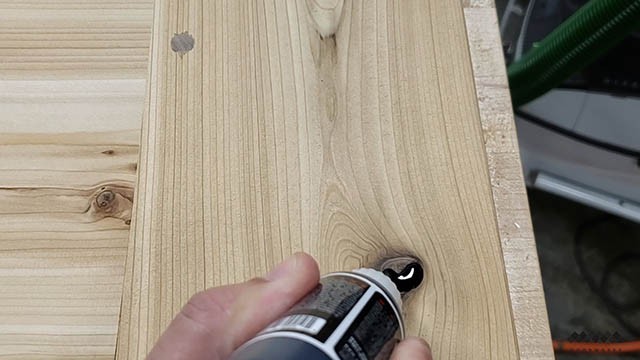
A couple shots with an activator spray will speed up the hardening time. You can see it doesn’t take much to fill these small defects.
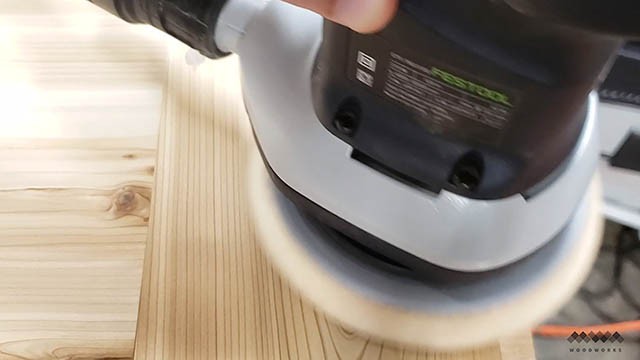
And once the glue is fully hardened I can hit it with my sander and remove the excess down to bare wood again
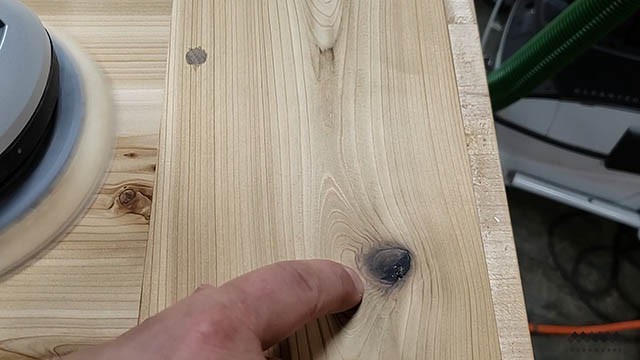
And you can see here how all the little cracks and voids are nicely filled in with the glue.
Outdoor Coffee Table Complete!
All that was left to do was screw the top to the base using the cleats and its done!
I finished this piece with a clear epoxy sealer and a top coat of spar varnish to really bring the cedar to life.
Well I hope you enjoyed this Outdoor Coffee Table build and you learned something new. If so, please make sure and leave a comment below to let me know what you thoughts.
The Whole Enchilada Plan Bundle
The Whole Enchilada Plan Bundle! You want it all? You Got it! Get every plan I offer in one bundle at a savings of over 65%!
This product is a DIGITAL DOWNLOAD. You can immediately download your product off the order receipt page after the purchase. You will also immediately receive an email titled “Your MWA Woodworks order is now complete” that contains the download link in the “Downloads” section of the email.


Hi
How much are you taking of the table top sides when you run them through the joiner and how much are you taking off the legs and the finish top when your putting them through the planer 1/6 or an 1/8 ?
Hi
I for got to ask what make CA glue do you buy ?