
If you’ve ever made a cutting board as a gift or to sell, you’ve probably wondered what the best finish to use is. My answer to that is the best finish to use is the one you make yourself! Stay tuned and I’ll walk you through the best finish for cutting boards that you can make yourself!

DID YOU KNOW: You can follow me on these social media platforms!
Instagram · YouTube · Facebook · Pinterest
| Materials & Supplies* | Tools* |
| 1 lb Bag Beeswax Pellets | Turkey Baster |
| (4) 16 oz Bottles Mineral Oil | 1/2 cup Measuring Cup |
| Crock Pot (not cool like mine tho) | 4 oz Tins |
* DISCLAIMER – As an Amazon Associate I earn from qualifying purchases.
see details on my disclaimer.

The Whole Enchilada Plan Bundle
The Whole Enchilada Plan Bundle! You want it all? You Got it! Get every plan I offer in one bundle at a savings of over 65%!
This product is a DIGITAL DOWNLOAD. You can immediately download your product off the order receipt page after the purchase. You will also immediately receive an email titled “Your MWA Woodworks order is now complete” that contains the download link in the “Downloads” section of the email.
DIY Wax Finish Ingredients
Not only is this an easy finish to use, but its the best finish for cutting boards. It only requires two simple ingredients. Beeswax and mineral oil. That’s it! Super simple, food safe and gives your cutting board a buttery smooth finish.
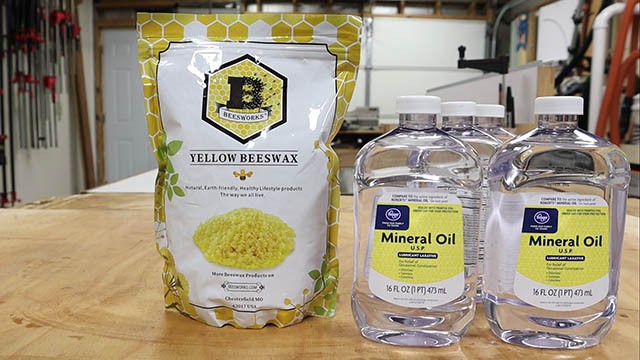
For the beeswax, I like to buy mine in a 1 lb bag of pellets. You can also get “chunks” or “bricks” of wax, but these pellets seem to melt much faster than those other forms do. You can get your wax locally from a bee keeper or you can buy it on the internet as I like to do.
For the mineral oil, the key is to get “pharmaceutical grade”, “food grade”, or “100% pure” mineral oil. Basically this is the stuff you would buy at a drug store or a grocer (or on-line). Brand isn’t important as long as its 100% pure.
My recipe calls for a 4 to 1 ratio of mineral oil to wax. So I usually get four (4) 16 oz bottles of mineral oil and one (1) 1 lb bag of bees wax pellets.

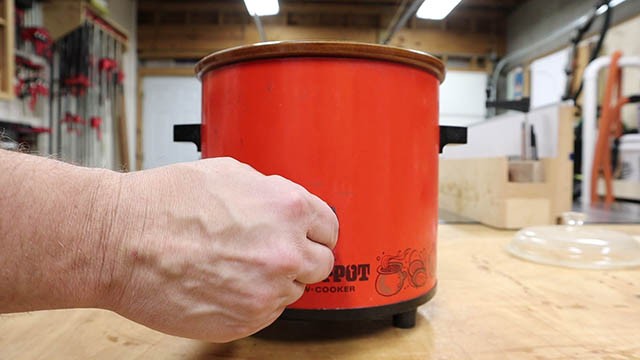
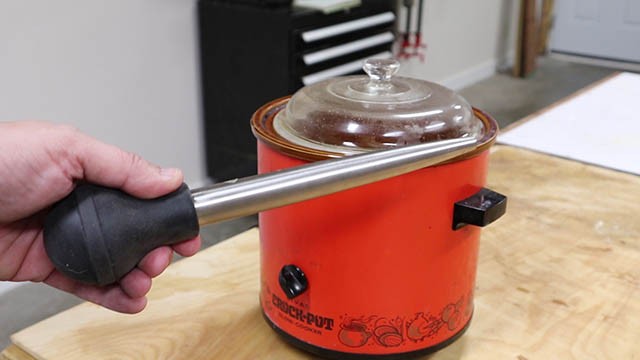
Now, you need something to heat up this mixture and there is really no better tool than a crock pot or double boiler. If its vintage 70’s then even better!
Making the Best Finish for Cutting Boards

Just dump in all four bottles of mineral oil first.
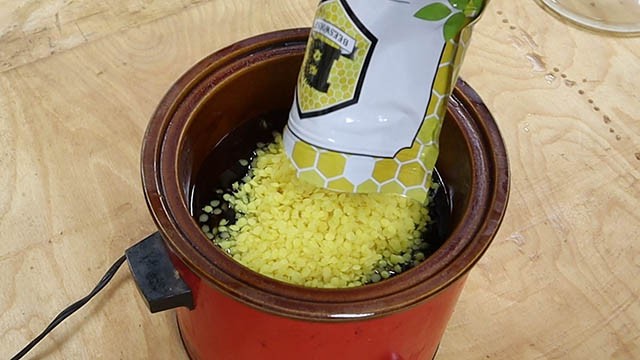
Then add the wax pellets to the oil.

The wax will settle at the bottom and will need periodic stirring to make sure it doesn’t clump up at the bottom of the crock.
Turn the crock pot to it’s highest setting. You’ll want this in order to melt the wax as fast as possible.
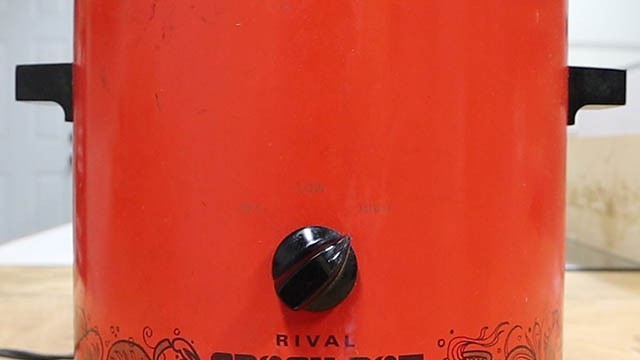
On mine, there are two options “High” and “Low”. I’ll let you guess which one I chose…LOL

Keeping the lid on your crock pot will help the mixture heat up faster. With one or two stirrings, the wax should completely melt in about 30 minutes.
Storing the DIY Wax Finish
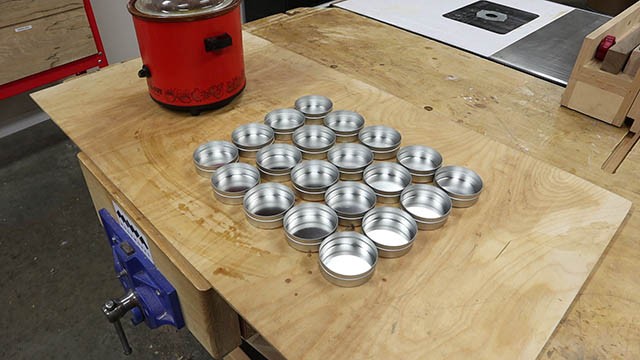
While you’re waiting you can set up the containers you’ll be storing the wax in. For me, I like using these 4oz round tins. They are a perfect size for using and for shipping if you plan on selling your mixture to others.
Now lets talk delivery system. Probably the best tool for this job is a turkey baster. You can safely deliver your mixture to the tins with little chance of spillage.

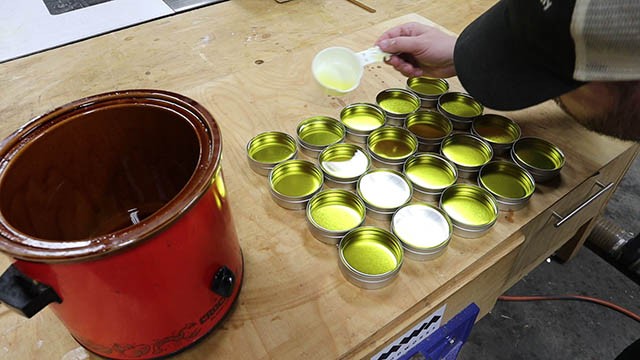
However, if you’re like me and you aren’t allowed to use the baster and are too cheap and lazy to buy another one for the shop, then just use a 1/2 cup measuring cup. This old reindeer measuring cup works good for me. You’ll want to make sure it has a pour spout on it if at all possible again, to minimize spilling.
That reminds me, make sure to put a scrap of plywood or parchment or some other thing to prevent wax from spilling on your work surface. You’ll thank me later!

Now CAREFULLY deliver the wax to the containers. PLEASE AVOID GETTING BURNED with hot wax. Keep it safe people!

This recipe is good for about 20 of these 4 oz tins with just a little to spare at the end.
Go back and carefully top off your containers with any remaining wax. and then let them sit for about two hours to completely cool and solidify.
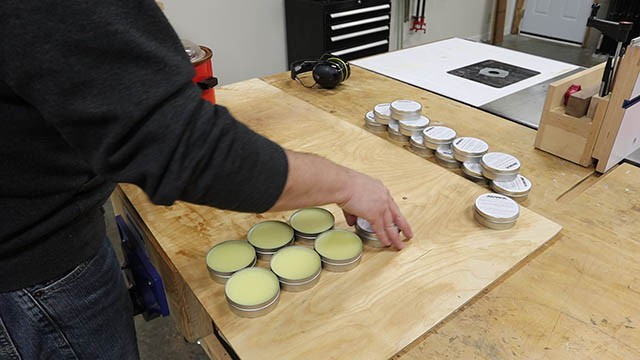
Once your wax is completely cooled and hardened, you can lid them up and store them in a cool location, preferably not your shop in July if you don’t have AC!
Applying the Beeswax Finish
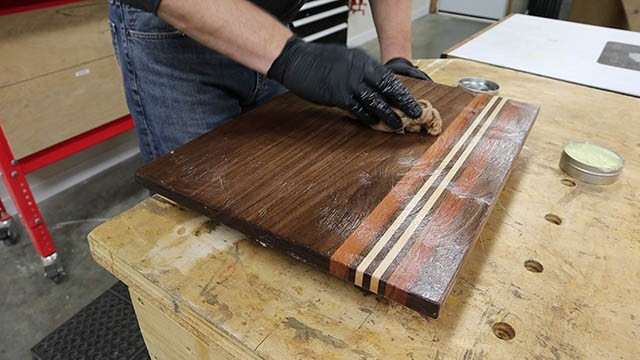
Now, to use your best finish for cutting boards on a new cutting board, just apply a liberal amount of wax to all surfaces of the board.
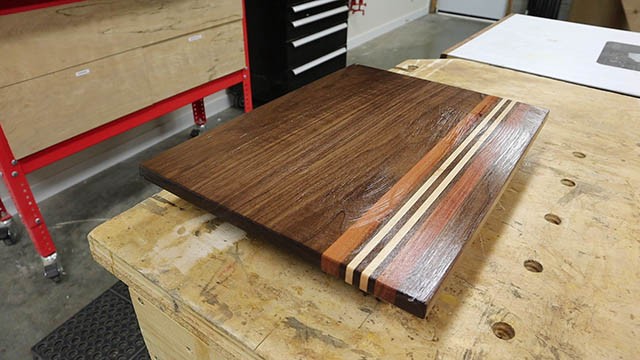
Let the board sit like this for as long as possible. I like to leave them overnight. This allows the board to soak up as much of the mineral oil as it can and leaves the wax behind on the surface to solidify.
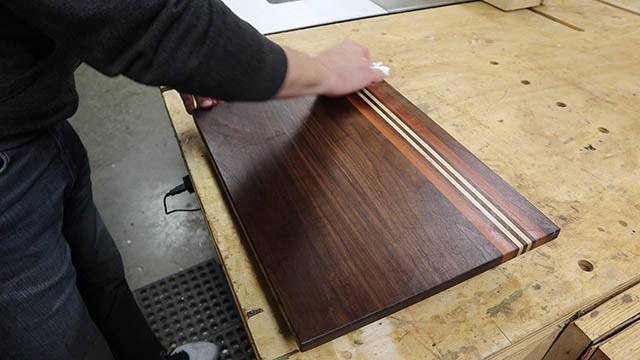
Once this happens, just use a clean cotton cloth to buff the wax to a soft glowing finish. It will feel buttery sooth and give a nice luster!
To recondition an old cutting board, just add a thin coat of the wax and buff out after a couple hours.


Hi,
Have you had experience with White beewax instead of Yellow ?
Isn’t Yellow beewax altering the color of the wood ?
Regards
Pierre
Yellow beeswax when mixed with the mineral oil is mostly a white color. Either way It’s OK to have a little color as it warms up the tones of the wood.
Matt – I love the idea of this finish and how simple it can be to use especially for reapplication. I still like straight mineral oil for the initial finish to ensure deep penetration. One thing I’ve been trying to figure out for my board is how to reduce food smells (especially onions) in the board over time, and I’ve read that lemon peel oil can be a great way of accomplishing this. Any thoughts on the ratio of lemon oil added to this recipe?
Thanks! Chad
Thanks for your recipe!
If I’m not going to sell individual wax mixtures, do you have a suggestion for just having one container for me, the maker?
Thanks again! Loving your videos!
Hi Matt –
I was wondering what your labels say.
Thanks, Risa
Me too???
I made my first batch of the oil and wax mixture. I was wondering what your opinion of adding a small amount of essential oil, I’m thinking lemon, to the mixture? Would this ruin/alter the formula?
Thanks,
Mike
Hey Matt! Just discovered your channel as I’ve been building my own coasters and cutting boards. I saw your videos with the beeswax and mineral oil you made in that sweet crock pot, and I wanted to know if you sell the mix in the cans? I know for certain that I can make it myself but just wanted to know if you sold yours.