
This is my ULTIMATE router table fence! Many woodworkers faced with constraints on budget or space, opt to skip the stand-alone router table and instead build one into the wing of their table saw.
BUT there’s a problem. Unlike a store-bought router table this option lacks a router table fence.
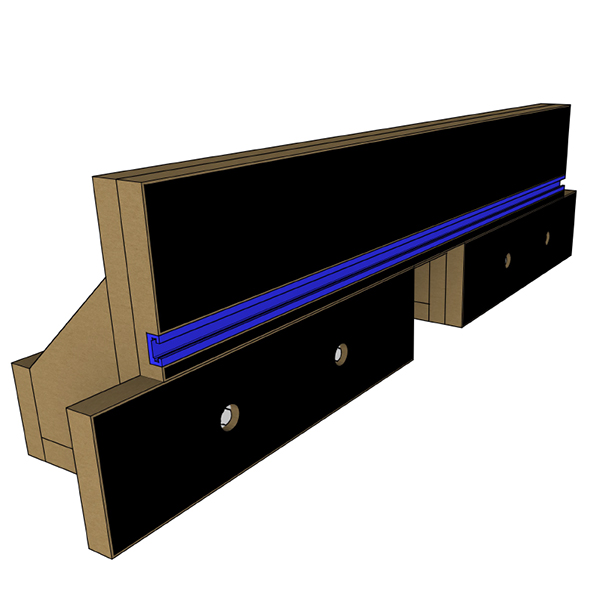
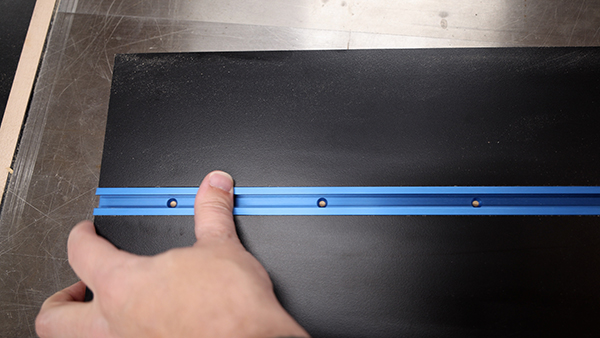
It has a nice tall fence with t track, which is great for making vertical cuts. I can add feather boards or stop blocks here and the bottom half of the fence opens up to allow for dust collection.
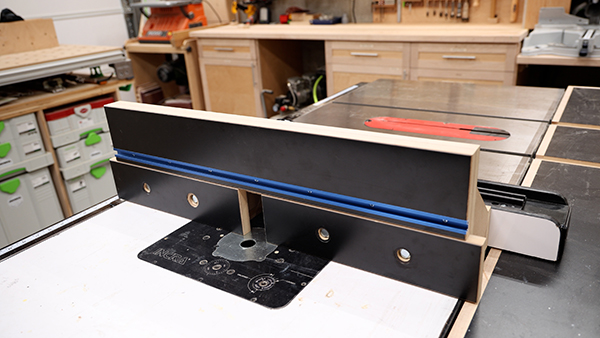
Back here there’s a tray for holding accessories and a port for dust collection. These knobs loosen to adjust the front fence.
Router Table Fence Plans!
The Ultimate Router Table Fence Plans
If your router table is built into your table saw, then this is the ULTIMATE router table fence for you! Easy to connect to your table saw’s rip fence, it has dust collection, t track for feather boards, stop blocks or other accessories, sliding fence openings and storage in the back for your accessories!
This product is a DIGITAL DOWNLOAD. You can immediately download your product off the order receipt page after the purchase. You will also immediately receive an email titled “Your MWA Woodworks order is now complete” that contains the download link in the “Downloads” section of the email.
Tools and Materials
Materials
3/4″ MDF
Formica (optional)
Hardware
(4) 2.5″ T Bolts – https://amzn.to/40quh0u
(4) Female Threaded Knobs – https://amzn.to/4jmwdyy
(1) 36″ T Track – https://amzn.to/3WdhRGP
Universal Fence Clamps – https://tsoproducts.com/clamping-workholding/clamps/ujk-universal-fence-clamps-pair/?ref=MWAWW
CA Glue & Activator- https://amzn.to/4j44DGd
2.5″ OD Dust Port – https://amzn.to/4285yPC
2.5″ ID Dust Port – https://amzn.to/4fTlCrC
Portable Drill Guide – https://tsoproducts.com/jigs-fixtures-guides/ujk-drill-guide/?ref=MWAWW
Chamfer Reamer Tool – https://tsoproducts.com/bench-dogs/accessories/ujk-combined-chamfer-reamer-tool/?ref=MWAWW
Contact Cement – https://amzn.to/3W8ELPh
Pressure Roller – https://amzn.to/4jemURg
Flush Trim Bit – https://amzn.to/3Cc4tf2
(2) 1.25″ Male Threaded Knobs – https://amzn.to/4j41RAN
*Disclaimer – As an Amazon Associate I earn from qualifying purchases
Router Table Fence Construction
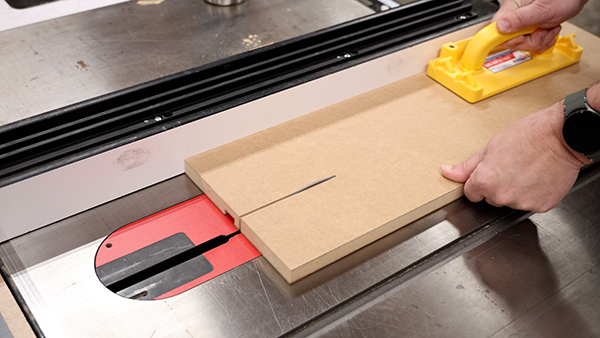
So, to start I need to cut some strips out of this piece of MDF at the table saw.
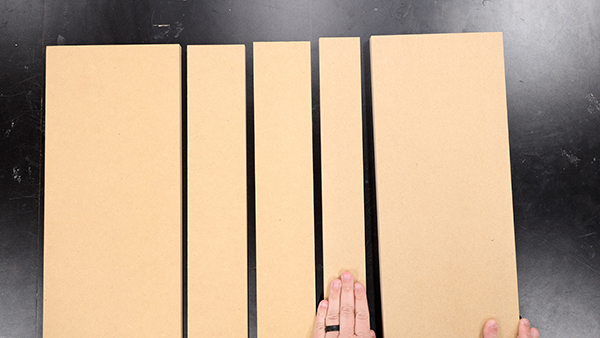
These strips are various widths but all of them are 27” long
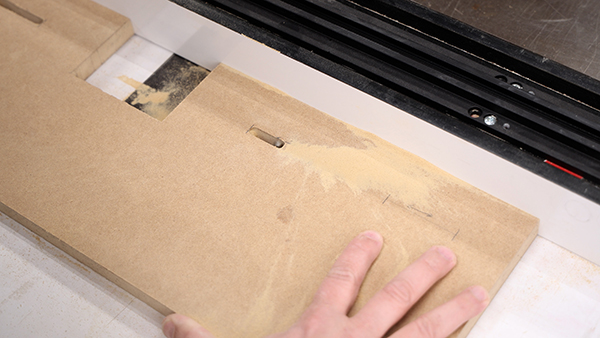
Now I need to take the bottom and the subfence and cut a notch in both which will allow for dust collection later.
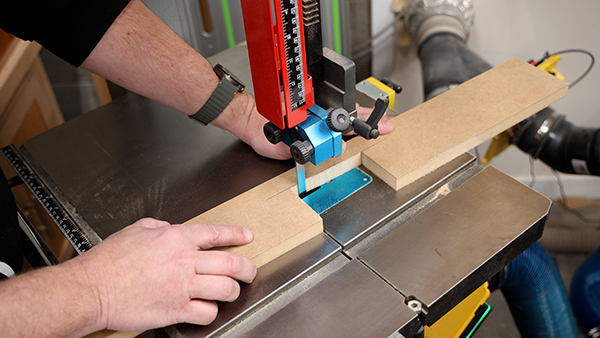
Now I need to make make four slots spaced evenly apart on each side that allow for 2 inches of travel. To make the slots I’m going to use my rip fence as a guide and make a plunge cut. I made starting and stopping marks to make sure I stayed in that 2 inch range.
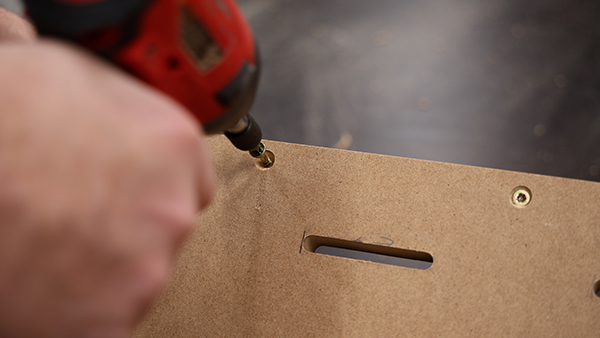
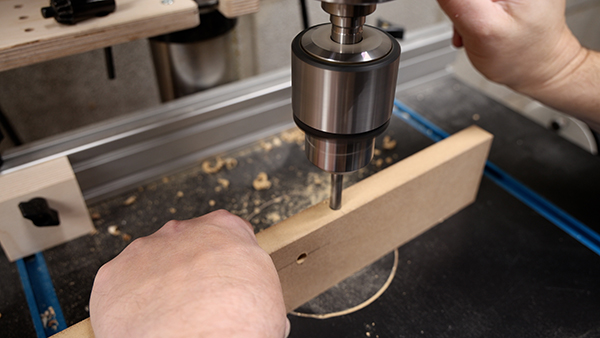
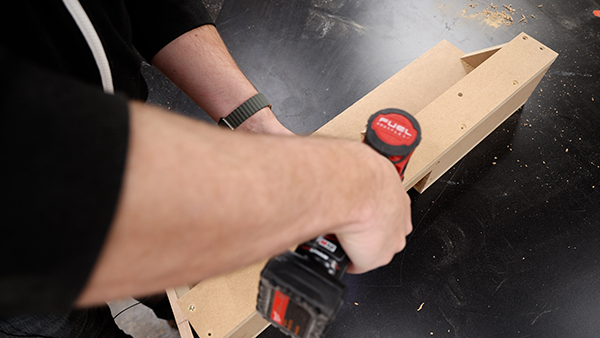
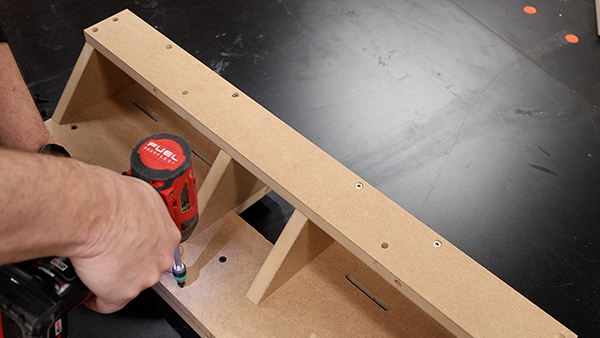
Then I can fasten this to the bottom with screws. It’s important on this whole build that you countersink your screw holes because you don’t want the screw heads to interfere with the fit of everything.
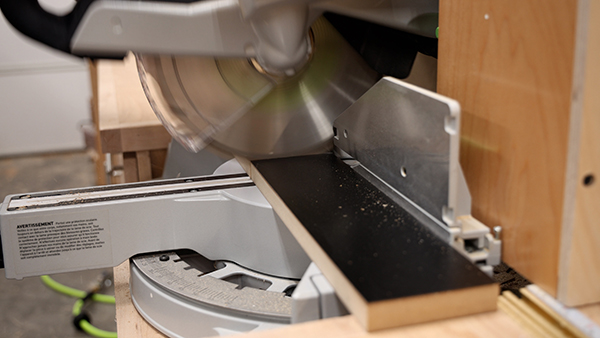
OK next I need to cut these blocks at the miter saw. And then miter one corner like this.
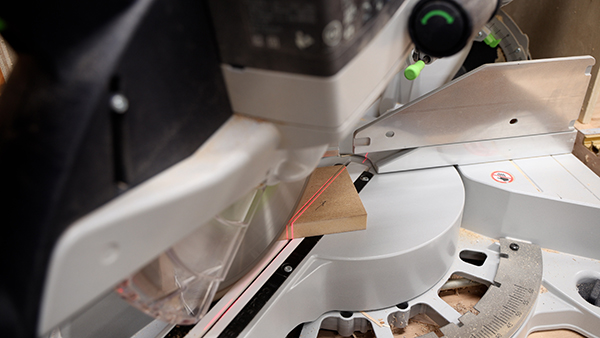
These will be the fence supports and they get screwed to the bottom of the fence and to the front.
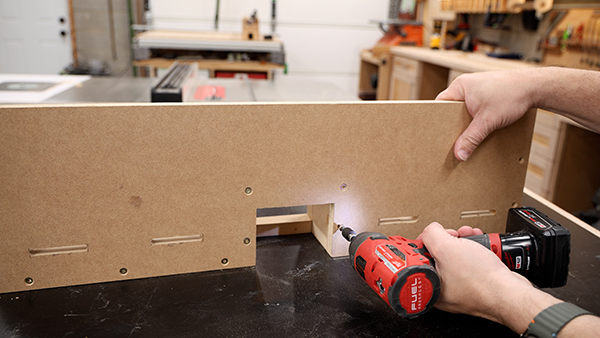
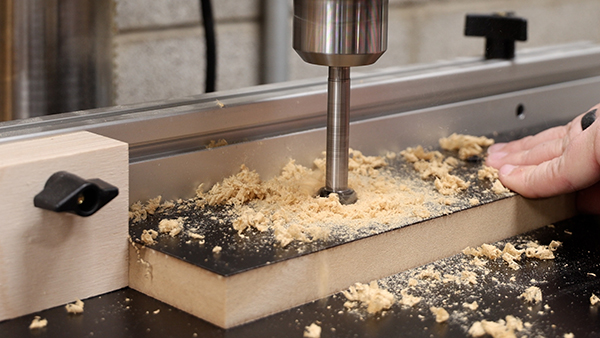
This strip will be the back and I need to drill two holes on top if I want to use the universal fence clamps to fasten this to my table saw’s rip fence.
And that gets screwed to the bottom as well as the supports.
Router Table Fence Front
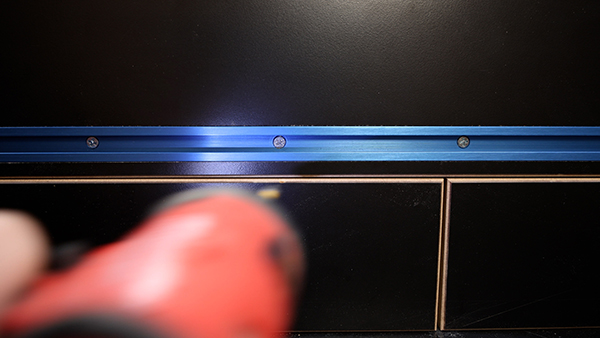
Now I need to make the face of this fence. The first thing is to cut a dado in the face and this is to hold the t-track. I’m not going to install it yet, just checking the fit and sneaking up on the exact width I need.
Then I’m going to cut the fence in half 3/8” inch below the bottom of the dado.
And THEN I’m going to take the offcut and cut it exactly in half.
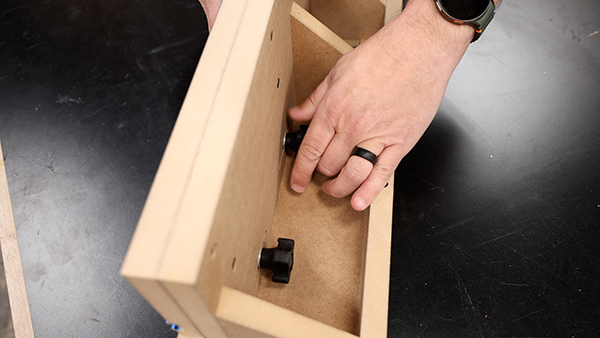
Also, each sliding wing gets two countersunk holes
The top gets fastened to the fence with screws from the backside.
And the sliding wings are attached with t bolts and a washer that go through the slots I made earlier and fasten with these knobs.
Then I can cut my t track to match the dado and screw it in and bam, we are done!
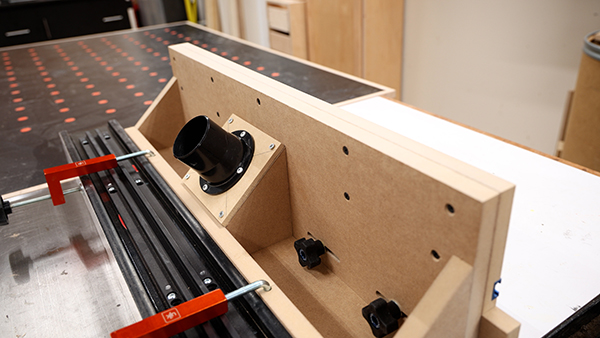
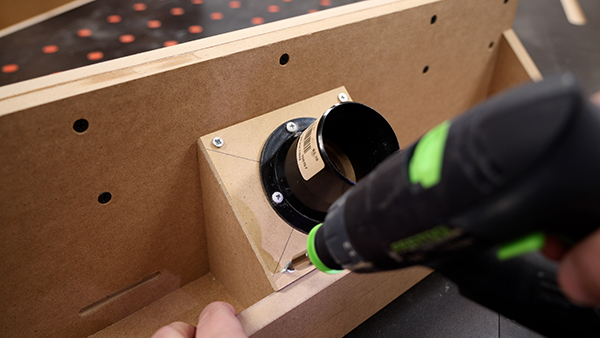
Oh, actually we aren’t done. I forgot dust collection. And to do this, I actually have three options for three situations.
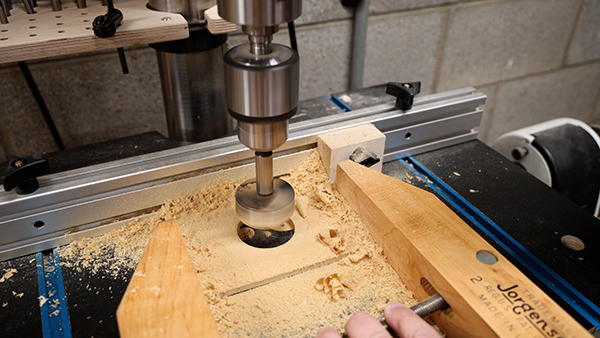
If you have a dust port laying around like I have here, you can grab a small piece of ¼” MDF or plywood and drill a 2 inch hole in it and attach it into place like this then add your flange on to that.
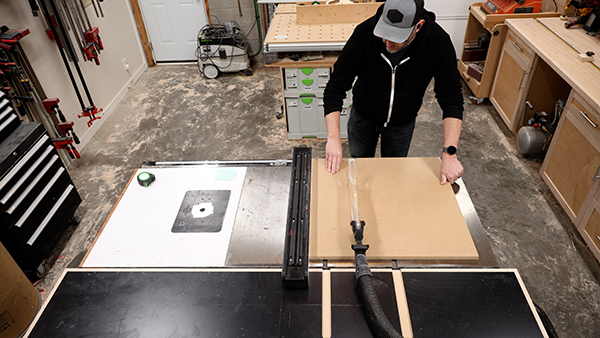
And that’s it! Now just attach your router fence to your table saw rip fence using universal fence clamps and you’re ready to cut!


