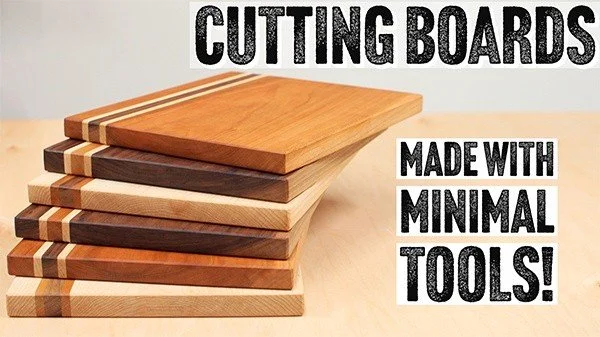
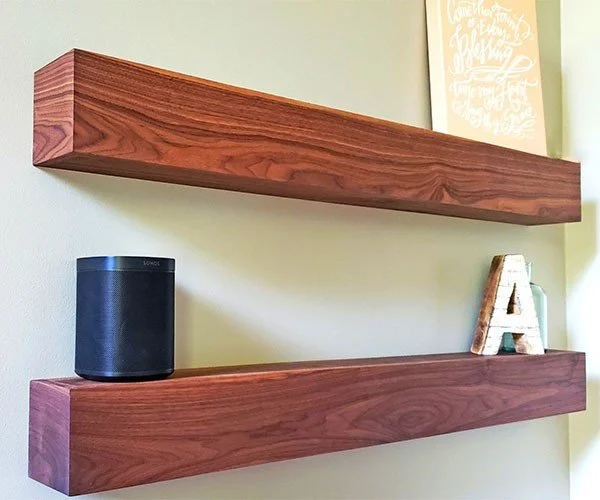
Zero Clearance Miter Saw Fence

This is my Zero Clearance Miter Saw Fence! If you own a miter saw, you know how versatile this tool can be. It’s a real workhorse.

BUT there are things it doesn’t do well.

Problem #1, it’s very easy to get tear out on a miter saw, especially back here behind the blade.

The 2nd more dangerous problem is cutting small parts. The blade tends to catch the piece and pull it backwards causing some pretty scary kickback.


The good news is that both of these problems can be solved with a pretty simple zero clearance fence jig!

Zero Clearance Miter Saw Fence Plans!

Tools and Materials

Materials
3/4 MDF

Hardware
36″ T Track – https://amzn.to/3WdhRGP
1.5″ T Bolt – https://amzn.to/428EQGP
Female Threaded Knob – https://amzn.to/4jmwdyy
Right to left adhesive measuring tape – https://amzn.to/4abLHBe
Left to right adhesive measuring tape – https://amzn.to/3C4RhbR
CA Glue & Activator- https://amzn.to/4j44DGd

*Disclaimer – As an Amazon Associate I earn from qualifying purchases

Zero Clearance Miter Saw Construction

Think of this as a secondary fence that sits on top of the main fence when you need the added capability. To start building this, I cut a piece of MDF slightly larger than the width of my miter saw’s base that almost covers the base from front to back. Then another piece that is the same length for the fence.

I center the base on the saw so it overhangs both sides equally. And I used CA glue to add some strips which hug the sides of the saw that way the base always registers in the same spot every time I use it and there’s no wiggle.

And I used CA glue to add some strips which hug the sides of the saw that way the base always registers in the same spot every time I use it and there’s no wiggle.

Then I tacked the cleats in place with brad nails and screwed the back fence in place for added strength.

Make sure to avoid placing a screw near the center where the blade will cut through.

Zero Clearance Miter Saw Fence

Here on my miter saw station I have these built in stop blocks with a measuring tape so I can make accurate repeatable cuts every time.
The problem is once I transition from the countertop to the miter saw I lose all my measurements.
If I want to cut anything less that 12 inches I have a really difficult time getting that measurement.

So, I cut a dado into the back using my table saw and adding a piece of t-track.
I also cut a second really shallow dado just below it.

Then I can go ahead and cut my zero clearance kerfs and if you didn’t already know, you can cut aluminum using your miter saw so I’m taking advantage of that to make sure I still have a nice zero clearance kerf on the back.

The awesome thing about this zero-clearance is now I know exactly where my blade will be every time, so I can add some adhesive measuring tape and place the zero right on that kerf line. You can get this tape in right to left or left to right so I can measure from either side of the blade.

Now I can use a stop block and get really accurate measurements when cutting smaller parts.

I even added a little note to remind me to set the depth stop each time I use it.

So, with this one simple jig I just improved three issues that all miter saws have!

LEAVE A REPLY

Please enter your comment!
Please enter your name here